
Very nice looking orks. The burnas are particularly well done.
BoLS Lounge : Wargames, Warhammer & Miniatures Forum
Results 101 to 110 of 503
Thread: Sukigod's Ork Waaagh! Log
-
12-31-2009, 10:53 AM #101Brother-Sergeant

- Join Date
- Dec 2009
- Posts
- 61

-
12-31-2009, 10:55 AM #102Chaplain
- Join Date
- Aug 2009
- Location
- Central MN, USA
- Posts
- 370
Thanks to everyone for the Duplicolor recommendations - works like a charm. It's a little on the "light black" side but easily overlooked for what I need it for. Very thin coat and the paint works well on it.
On to the pics for the day..
Primed and did the skin on the next four burnas. Hoping to get these fellas done by the end of the long weekend so I can concentrate on Zaggy (and quickly do one last burna for the Kommandos).
Burnas with green skin... (about 2.5 hours of work)
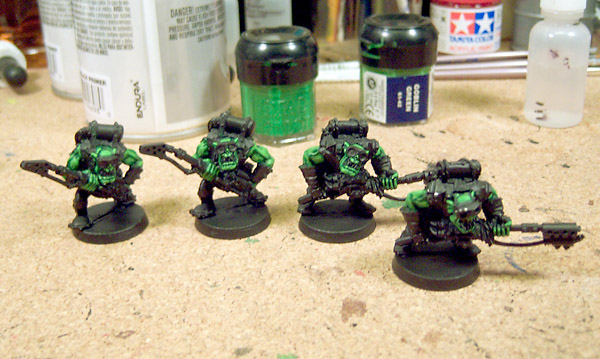
I'll post over the weekend as I get certain areas done - just to keep myself motivated.
Later!http://www.bigshoota.com
http://www.waaaghfest.com/
-
12-31-2009, 09:11 PM #103Librarian
- Join Date
- Jul 2009
- Location
- VANCOUVER BC
- Posts
- 845
Keep it up and happpy New year!
"STUPIDITY, If your going to do it, go for GOLD!"
-
01-01-2010, 10:45 AM #104Chaplain
- Join Date
- Aug 2009
- Location
- Central MN, USA
- Posts
- 370
Thanks person person - Happy New Year to you as well!
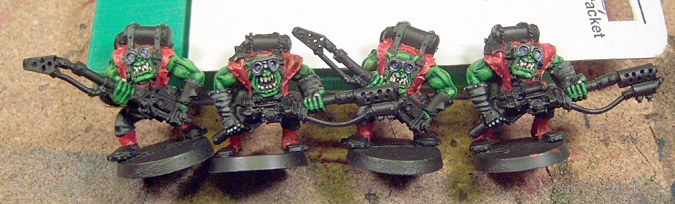
It's all about the faces!
Finished the heads this morning, on to the clothing and boots.
Time on faces/goggles: 1.5 hours.

Later!http://www.bigshoota.com
http://www.waaaghfest.com/
-
01-01-2010, 09:04 PM #105Chaplain
- Join Date
- Aug 2009
- Location
- Central MN, USA
- Posts
- 370
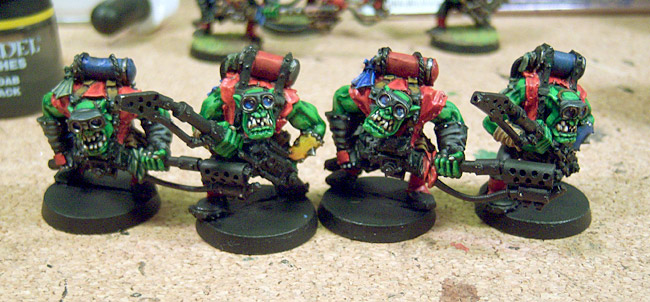
Finished the clothing parts - tops, pants and boots (minus the soles).
Another 2.25 hours.
Later!http://www.bigshoota.com
http://www.waaaghfest.com/
-
01-02-2010, 11:17 PM #106Chaplain
- Join Date
- Aug 2009
- Location
- Central MN, USA
- Posts
- 370
80% done. Finished most of the burnas. I've got the wrappings from the backpacks and the burnas left - things are progressing smoothly and on schedule! I wonder how that happened?
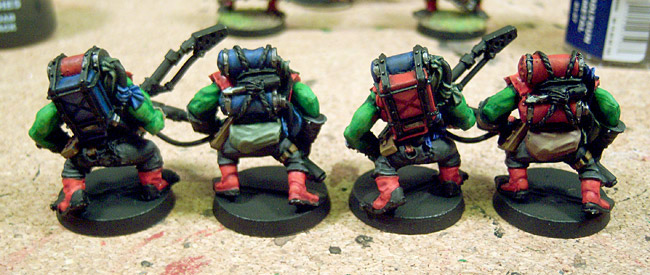
Tomorrow I'll do the tutorial on the straps and ropes (as per DocNuks request). Til then,
Later!http://www.bigshoota.com
http://www.waaaghfest.com/
-
01-03-2010, 02:17 AM #107Librarian
- Join Date
- Jul 2009
- Location
- VANCOUVER BC
- Posts
- 845
Alternating Blue and red looks nice, makes the models look more different.
"STUPIDITY, If your going to do it, go for GOLD!"
-
01-03-2010, 12:19 PM #108Chaplain
- Join Date
- Aug 2009
- Location
- Central MN, USA
- Posts
- 370
Thanks person person. I normally would have painted four different colored tanks but Ineed a bit more speed for these to get onto the next project.
OK - Here's the tutorial for how I do my leather straps - nothing super fancy, pretty much the usual. I originally got this from the internets so I'm just showing you how someone else did it.
I started by cleaning up the straps, making them all black and trying my best to separate them out from the surrounding areas.
I'm showing you photos really close up so you'll see how messy it can be close up. I paint my "regular joes" to just a high tabletop and you can see the messiness of the work in these photos. More steps and thinner paint makes for a smoother transition and cleaner paintjobs - I reserve that for the special characters and bosses.
On to the ugliness!
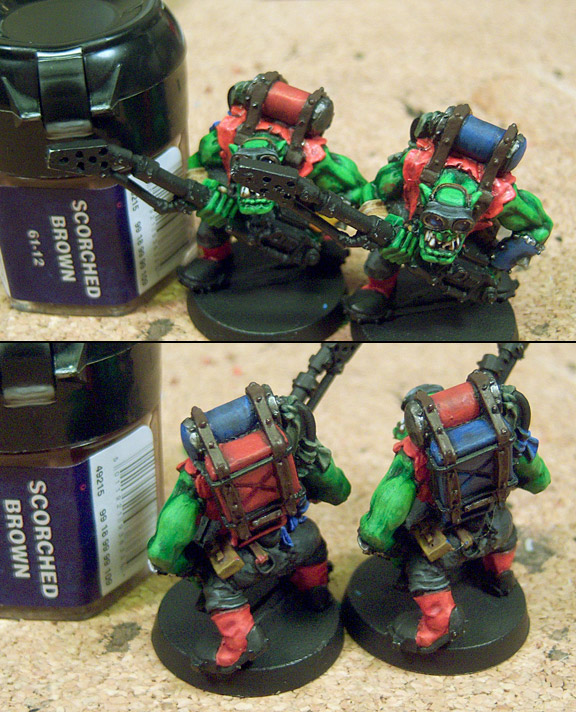
The first step is Scorched Brown. This is laid down evenly across the entire strap. Since this color is already so dark I don't feel the need to leave any black at the edges of the strap or the rivets/studs.
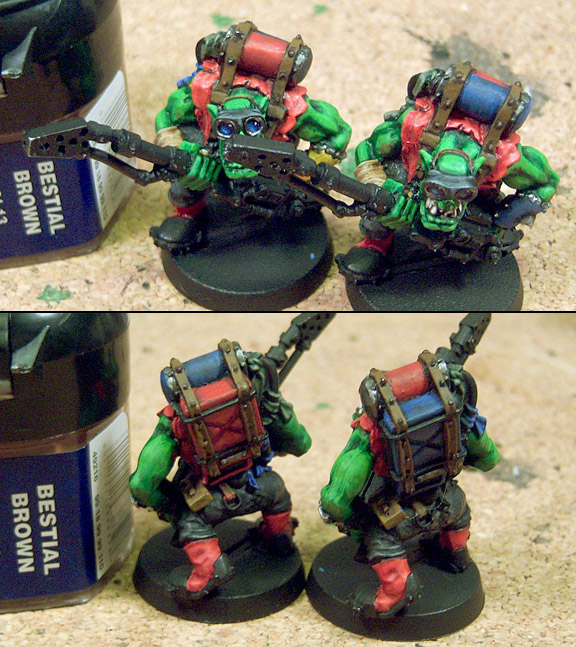
Step two (or three after clean up) is Bestial Brown. This is used to give a base color to the straps and define the actual outline or edges of the straps.This is where I start pulling back and leaving some of the Scorched Brown showing to give definition to the separate areas. I do this in two or three thin coats, building up more paint in the higher areas and more open spaces such as between the rivets/studs.
The next step (and final for the actual leather areas) is Snakebite Leather. This is layered much like the previous Bestial Brown. A few thinner layers with more layers applied on the highest spots and also giving the sharp edge a little highlight for a little extra definition.
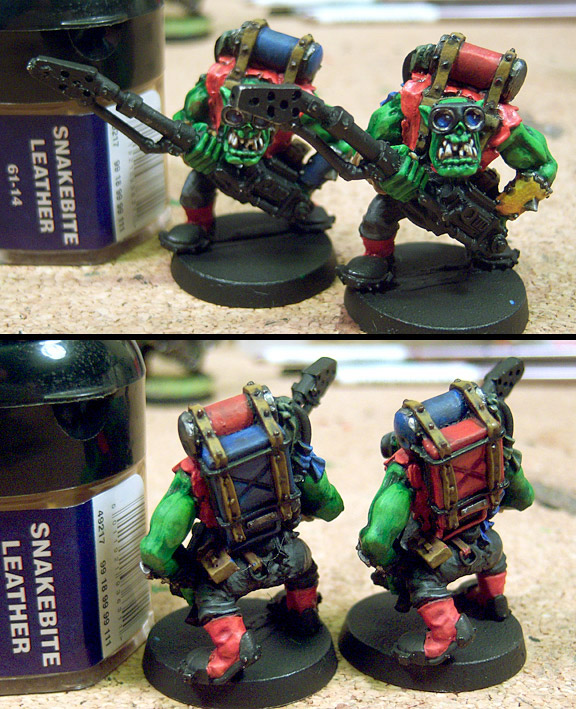
It all doesn't look like much while going on but building up these layers from dark becomes second nature after a while and really makes for some smooth and more natural transitions.
Part II Coming Up! (image limit)http://www.bigshoota.com
http://www.waaaghfest.com/
-
01-03-2010, 12:20 PM #109Chaplain
- Join Date
- Aug 2009
- Location
- Central MN, USA
- Posts
- 370
Part II...
I did the studs in a quick and dirty NMM style using Chaos Black to re-dot the studs (I'm kinda messy remember?), then a dot of Chaos Black mixed 50/50 with Codex Grey. A spot of straight Codex Grey on that with a highlight of Fortress Grey for reflection.
Now, in all reality, I didn't get a really got coat of those colors in the perfect places, I'm not anywhere near that good. What it does do is give preceding layers something to sit on and sometimes it works out. The ones that don't? Say something like "Orks aren't perfect and they're supposed to be beat up and dirty" or "It's for variation. We don't want them all the same, do we?" Yeah, that's it! The point being, for high-tabletop standard, it's pretty good.
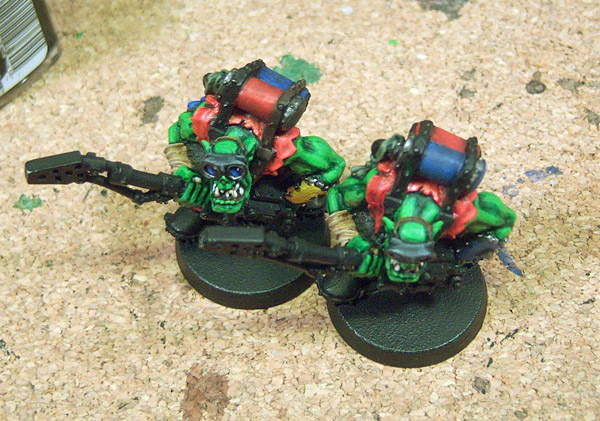
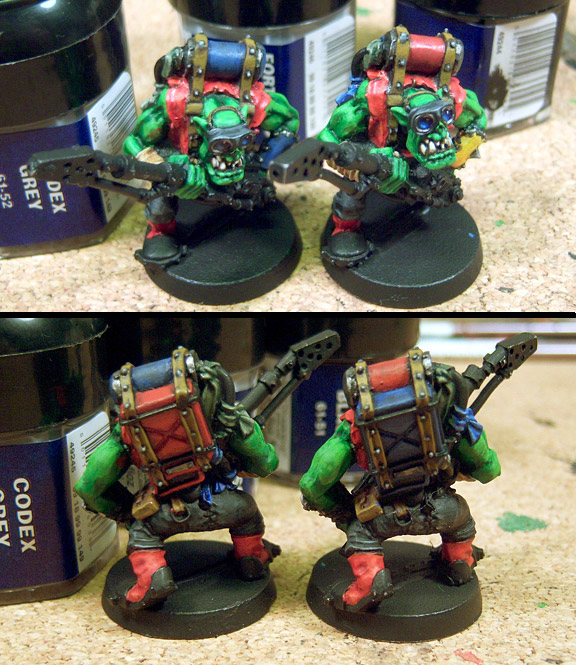
I also have one last trick up my sleeve and that the knowledge that the final varnish (I use Testors Dulcote) will defuse the light enough to smooth the trasitions all over the model. Here's what that difference looks like.
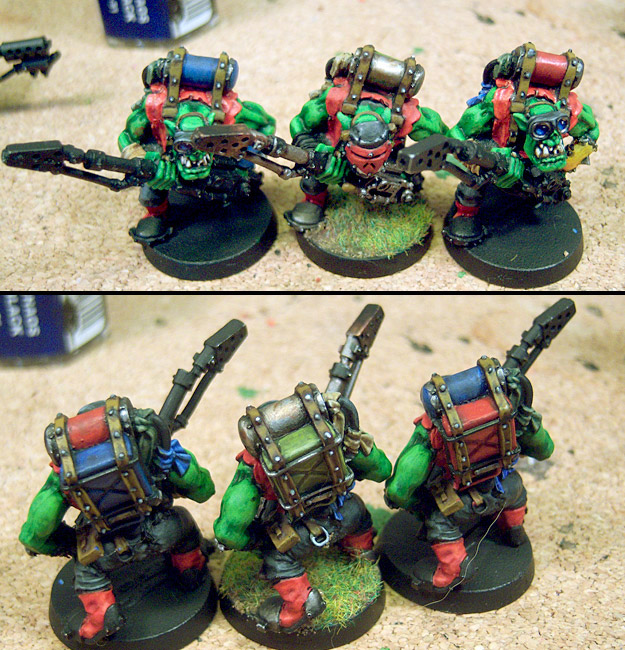
The middle burna has been sealed already, notice the colors a bit muted (a side effect of the Dulcote - I highlight one step higher to negate this for the finished product) and the straps/studs are a little smoother than the boyz unfinished.
I hope this helps anyone (especially you DocNuk!) and I'm more than happy to show people how I do things, I like to teach - at least those willing to learn!
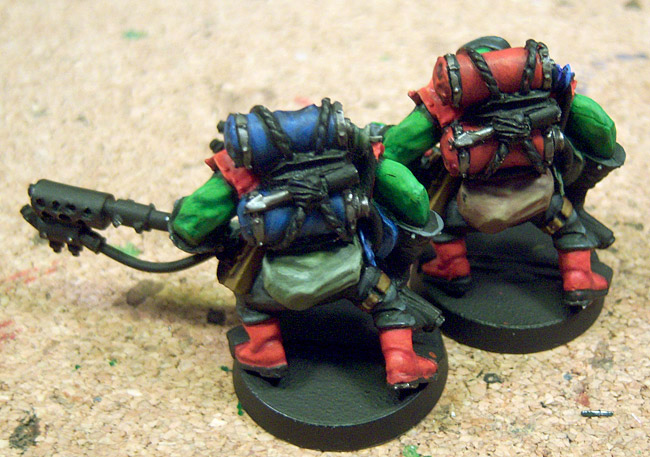
Later today I'll show you how I did the ropes holding down the dual tank burnas.
Later!http://www.bigshoota.com
http://www.waaaghfest.com/
-
01-03-2010, 02:33 PM #110Chaplain
- Join Date
- Aug 2009
- Location
- Central MN, USA
- Posts
- 370
Ropes!
Here's the second part of the tutorials DocNuk requested.
I'm assuming you've read the preceding tutorial on the straps (it's a few posts up...) so I'm not going to go over everything or reasoning, I'm just going to list what colors I used and how.
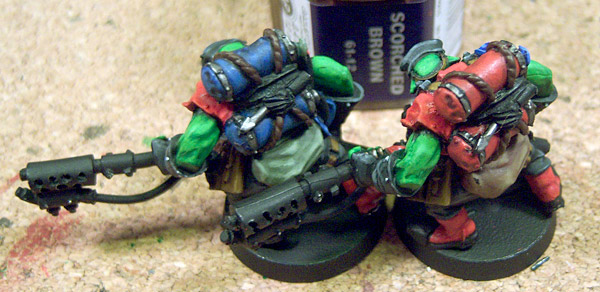
Here's the start, the boyz with the ropes blackened and cleaned up and the paints I'll use.
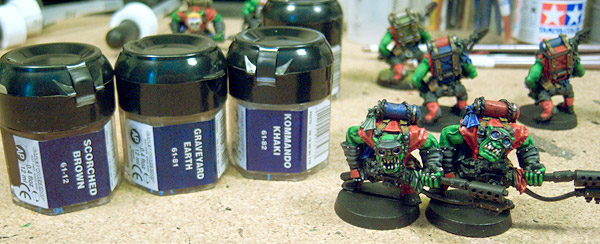
The close up and uglies...
Scorched Brown base much like the straps.
From here on out I'll show the palette along side the boyz so you can get an idea of how to mix this as there's no recipe, it's all by sight and what I feel like. I've added a bit of Graveyard Earth to the Scroched Brown nad mixed it out on the palette. It may look like a lot of paint but it needs to be enough so I can add more to it down the road - you'll see this in the following progressions.
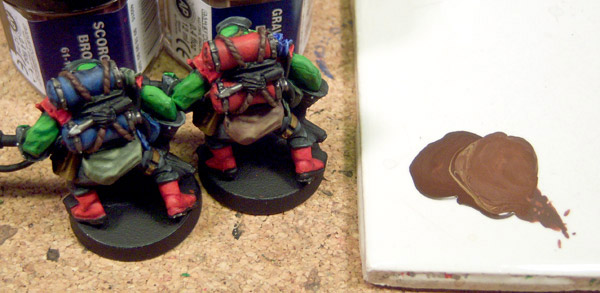
Part Two Coming........http://www.bigshoota.com
http://www.waaaghfest.com/

 Reply With Quote

