
-Intro-
So im a bit stuck with my painting. well not really stuck more tired of painting. but to stay connected to the hobby and after reading the FW newsletter i decided to build myself a zone mortalis table. I really like the FW setup but at the moment the funds for the hobby are running a bit low so no buying tiles for me, the wife said.
(well actually she said "you have enough skill to build those tiles yourself!, your not buying those!!!!" )
-The budget-
so i did some planning in building the tiles for myself and found out that 16 tiles would be nice to begin with. having a budget of just 50 euro's the funds are limited to what i have and what i can scavenge up around the house.
-The plans-
The plan is actually simple i took a look at what FW had to offer on tiles and decided to make 2 of each which should be enough to wreak some havoc and have fun with the family or even the gaming club! The layout of the boards will be identical to the FW ones but the details will be, ofc a bit different.
Im using 4mm MDf as a base for the tiles which ill have cut at the hardware store in 30x30cm slices the actual deck will be made of embroider mesh which is not the cheapest stuff but i need some tiles to make an atmosphere, the walls and pillars will be made of a core of cardboard with a layer of thin plasticard the details are made of bitz and gubbitz i have laying around (plenty of those) any rivets are actually clothing pins and wire will be electric wires.
-The mockup-
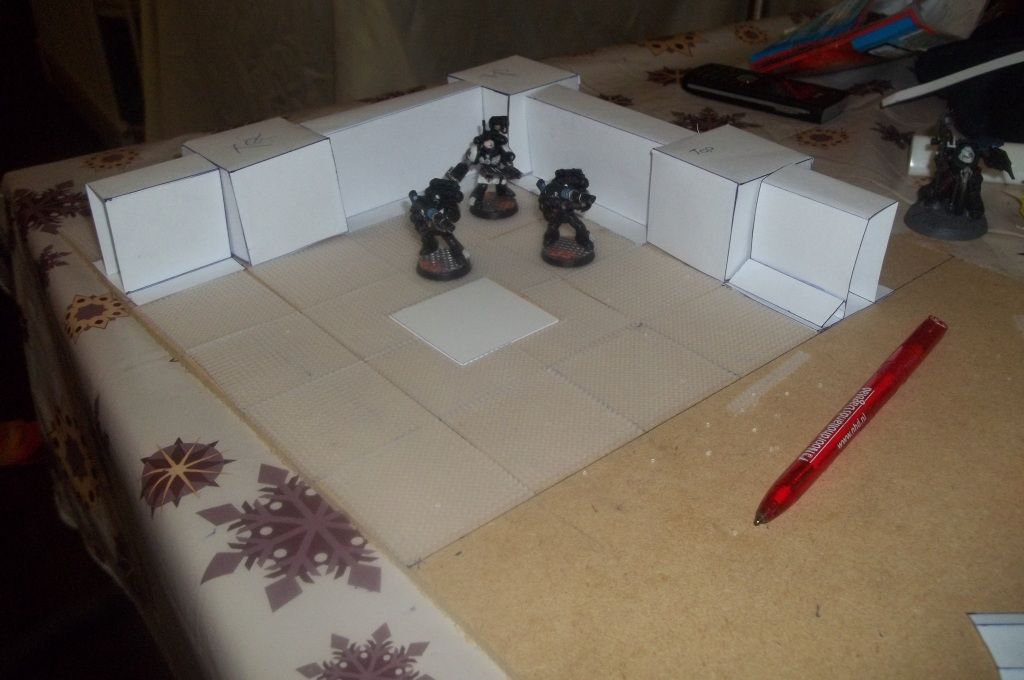
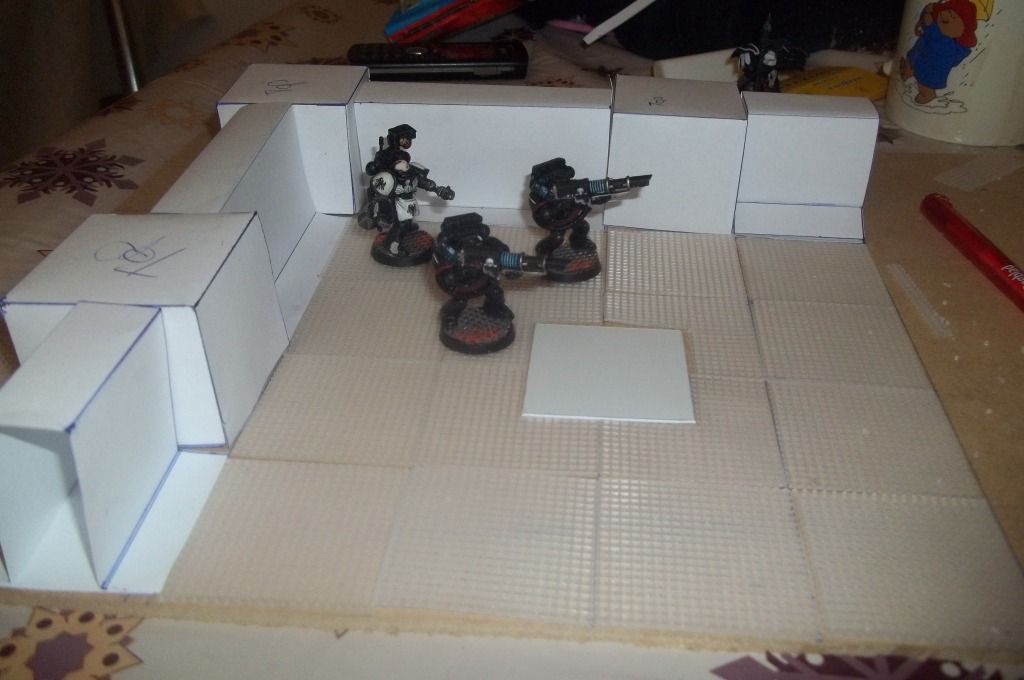
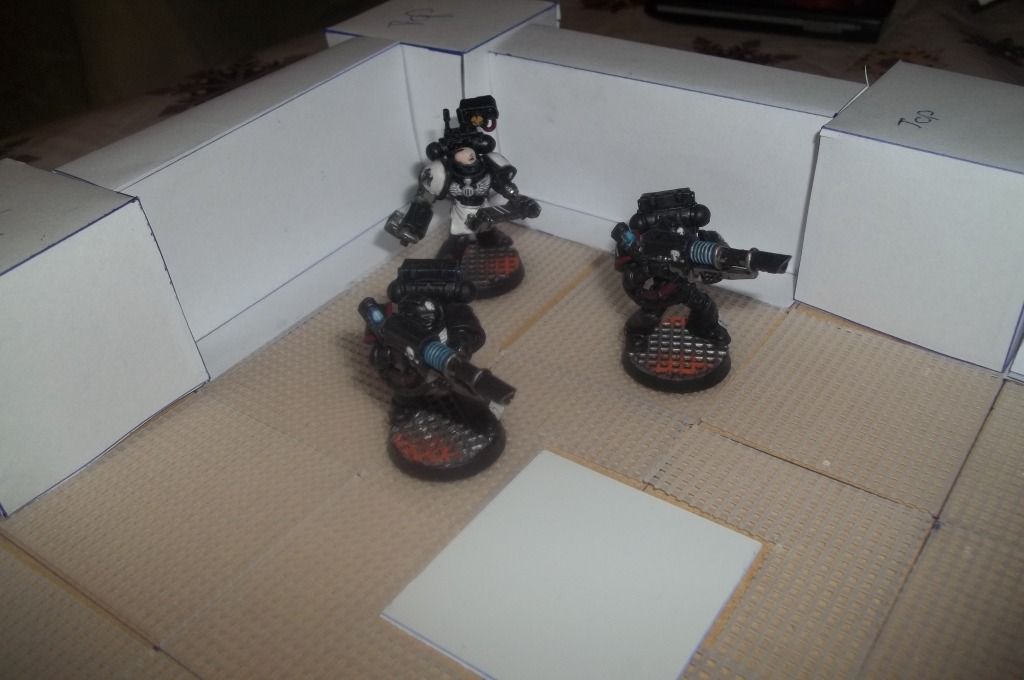
Now the fun part! i have a really good friend -who is a game developer- and he suggested to me to make a mockup first, so listening to someones advice for the first time ever i made a mockup! got my paws on some mdf cut it to size and started building the result after just 1.5 hours is this
now i was using 4.5cm high walls but found out they where just not high enough to be good walls the walls on the design will be 6cm which should be good.
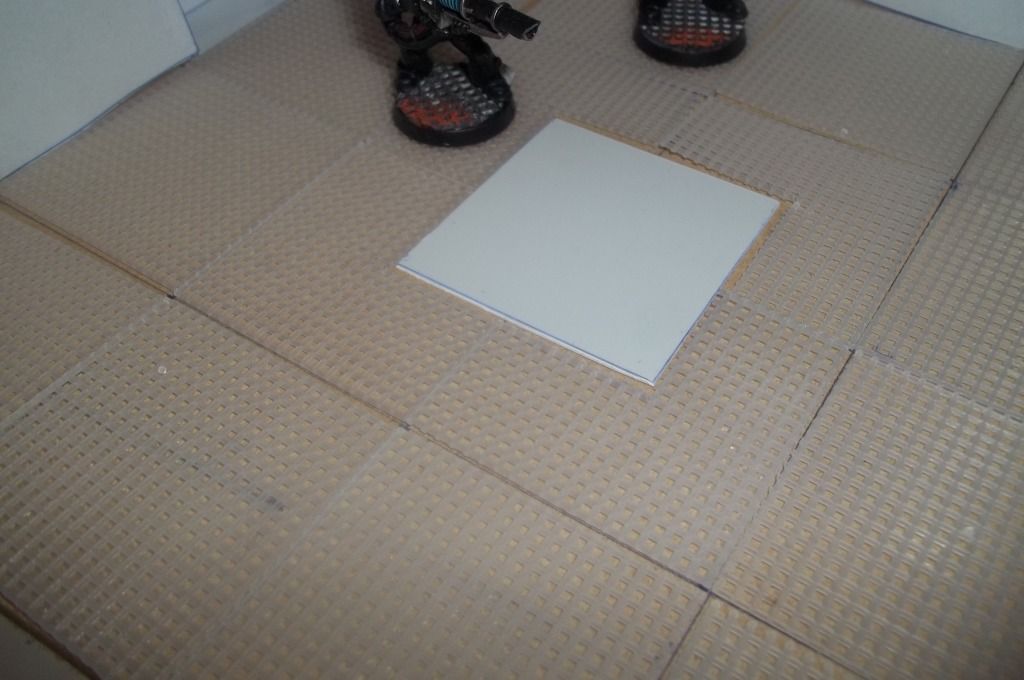
also the floortiles are not glued in yet, need at least one to be a template for the rest.
also im having a bit of trouble with the pilars i really want them to have an angled cornered look but didnt have any succes so far.
Tomorrow ill go out shopping to get a new piece of mdf and some mesh and start making some floors if i can get those done by the end of the week ill be a happy camper
BoLS Lounge : Wargames, Warhammer & Miniatures Forum
Results 1 to 6 of 6
-
01-15-2013, 04:43 PM #1Chaplain

- Join Date
- Mar 2012
- Posts
- 396
 Zone Mortalis project-the budget challenge
Last edited by olberon; 01-15-2013 at 04:45 PM.
-
01-15-2013, 06:41 PM #2Scout
- Join Date
- Dec 2012
- Location
- Savannah, GA
- Posts
- 14
I thought what this guy did was pretty cool:
[url]http://www.heresy-online.net/forums/showthread.php?t=45559[/url]
Just for reference.
-
01-16-2013, 05:49 PM #3Chaplain
- Join Date
- Mar 2012
- Posts
- 396
today i started out making the walls for my first tile. Since i dont like the cathedral look of the FW board i decided to make mine more bulkhead spaceship style. this leaves plenty of room to make the board a personal one which i really like
here's a pic of the progress i made today:
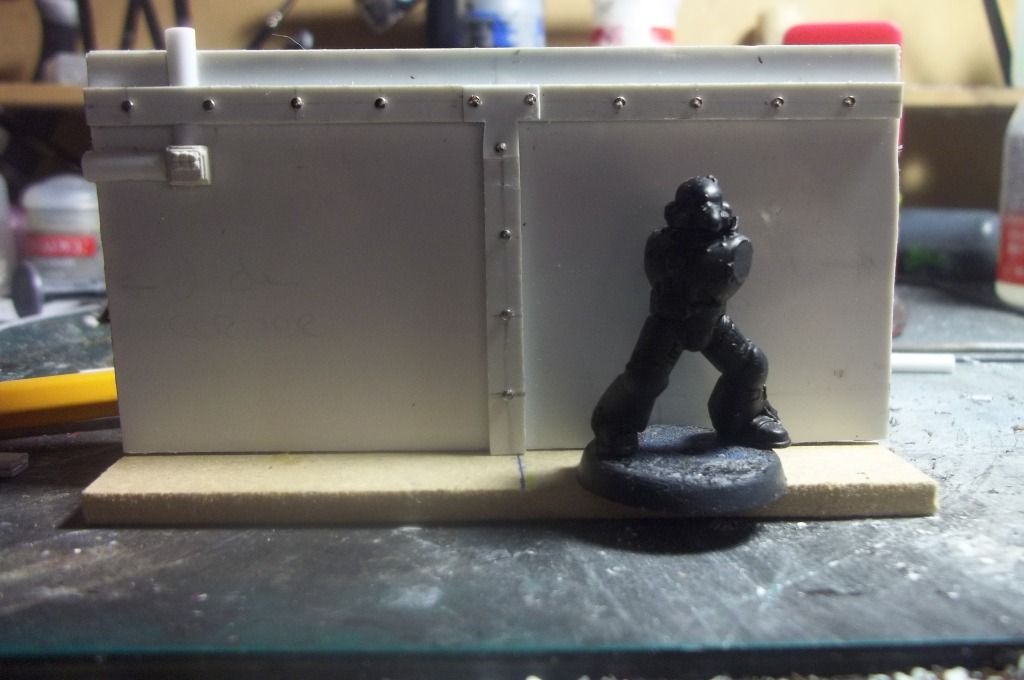
its still a wip and the right side still needs some detailing (more pipes) but let me know what you think!
-
01-20-2013, 05:34 PM #4Chaplain
- Join Date
- Aug 2009
- Location
- northern ireland
- Posts
- 310
nice work, do you plan on casting any of the bits, or just plasticarding them all?
currently working on a line of sci-fi bunkers and tunneling, input always appreciated
-
03-27-2013, 04:22 PM #5Librarian
- Join Date
- Nov 2010
- Posts
- 565
I've put together a quite large modular space hulk board. Each section was 2'x2' with a door in the center of each outer wall - this allows the components to be rearranged and rotated over and over for new layouts. Make sure the doors are wide enough for a Dreadnought base if you plan to allow them in your games - The walls should be taller than a dreadnought as well.
To save a ton of money 1" pink foam board was used for the floors and walls. Don't bother cutting it with a hot wire, score it deeply with a carpet knife and snap it over a table edge, it will break clean. Glue the walls to the floor with craft hot melt - you can use a toothpick as rebar to reinforce the joint - fun, but not necessary unless the boards will travel a lot.
To make inexpensive grid floors, purchase a roll of window screen replacement - less than $10 for a 3'x8' roll.
Spray the whole thing with water based Kraft paint through a cheap airbrush to protect the foam."Build a man a fire, and he'll be warm for a day. Set a man on fire, and he'll be warm for the rest of his life." ~ T. Pratchett
-
05-08-2013, 03:41 PM #6Scout
- Join Date
- Apr 2013
- Posts
- 6
nice start dude. looking forward to seeing more.

 Reply With Quote


