

Ahoy-hoy.
So it's another one of these. This week, I'm going to look at an adaption of the Assault Cannon tutorial; most of the things I build are made using the same skills, only adjusted for different purposes.
Today, I will be showing you how to create an Autocannon ammunition drum, in the style of the current Imperial Guard Heavy Weapon Team/Hydra. Depending on the size of the styrene rod you decide to use for this scratchbuild, you can make ammo drums for anything from a bolter to a mega-gatler.
The Things You Will Need:
Styrene rod: in two sizes one thinner, to be the bullets/shells; the other thicker. You'll see why.
Styrene strip: should be roughly one third as thick as the size of the ammo drum you're going to make.
Plasticard: should be thin.
Superglue.
Poly cement.
Let's get it on!
How To Build An Autocannon Ammo Drum
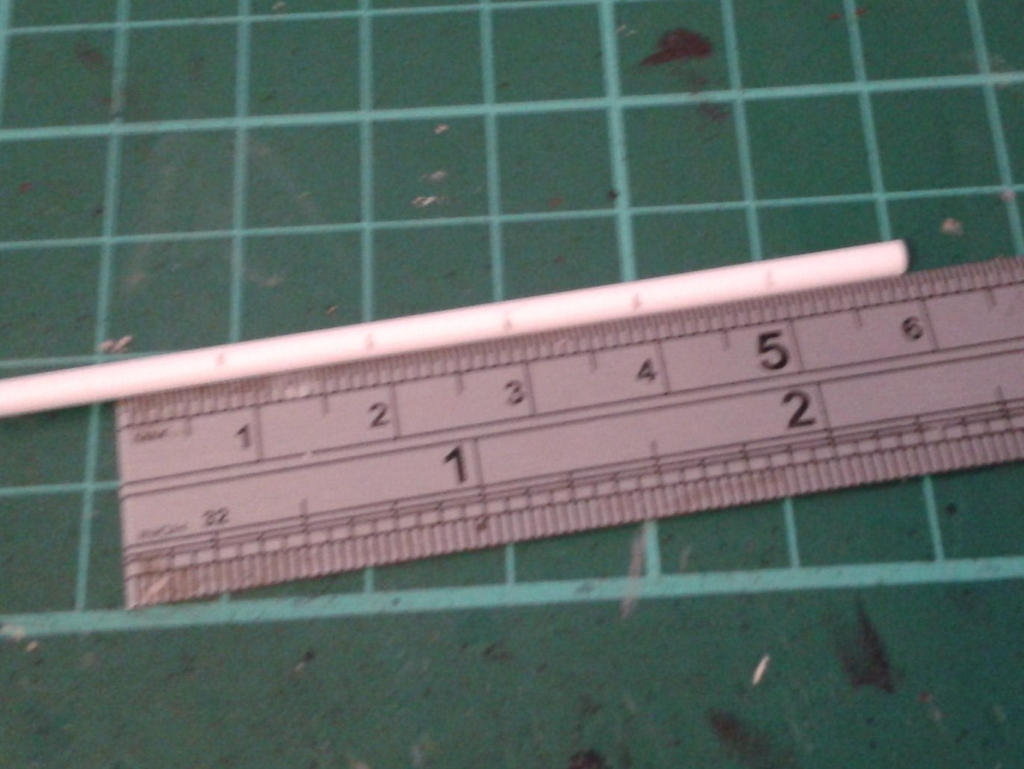
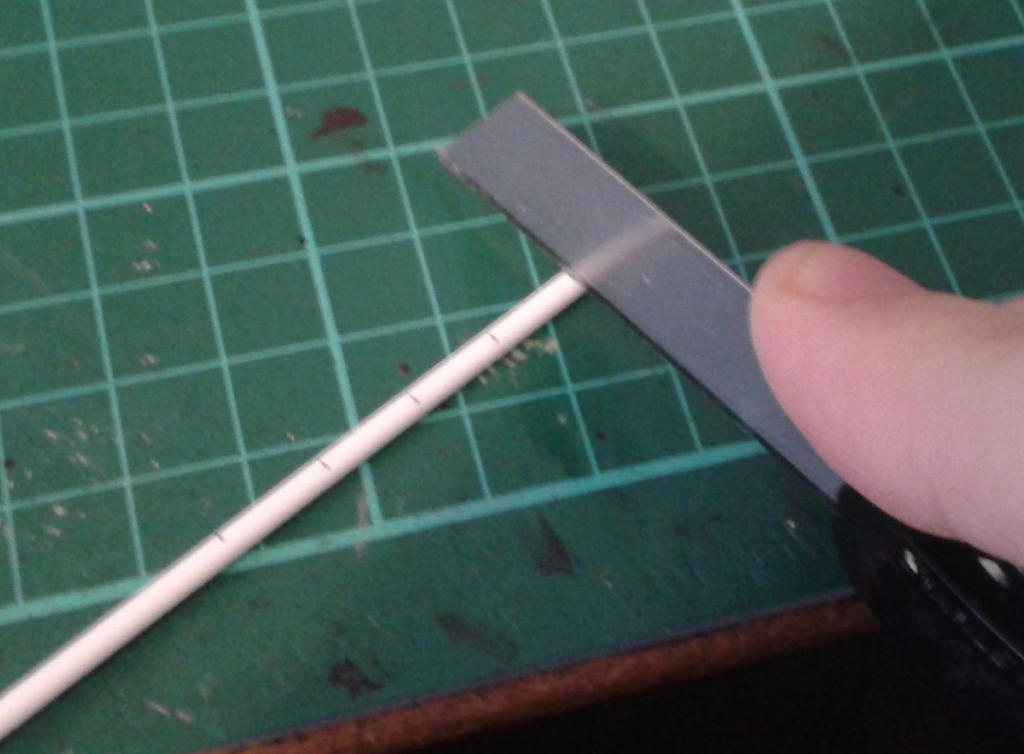
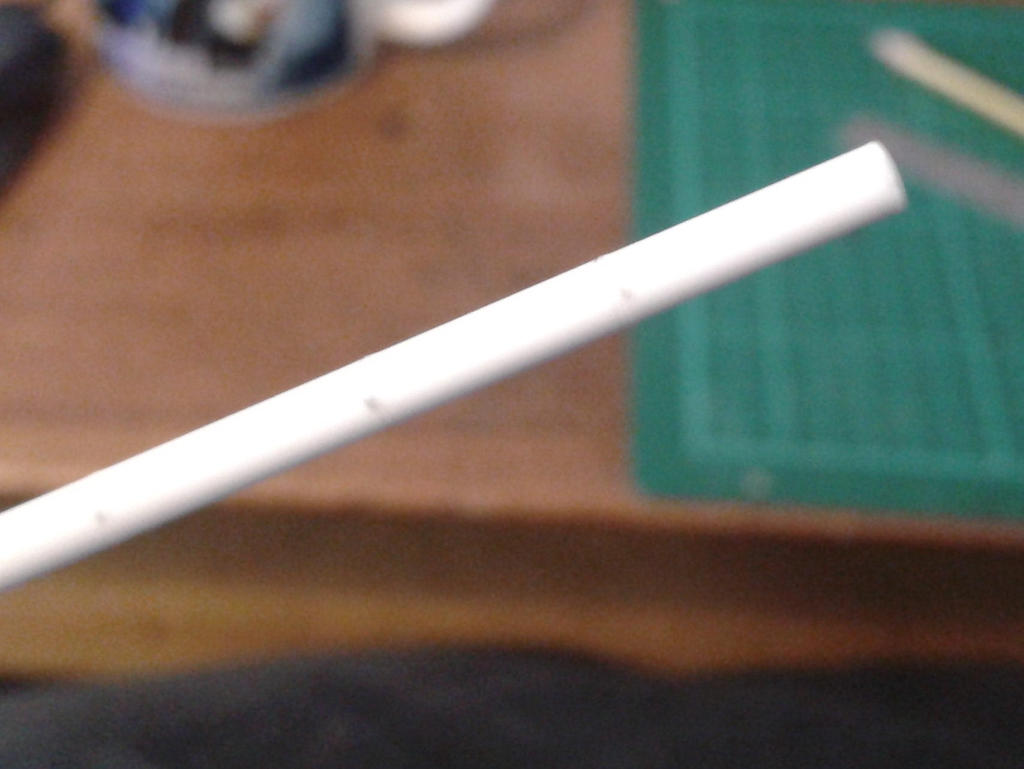
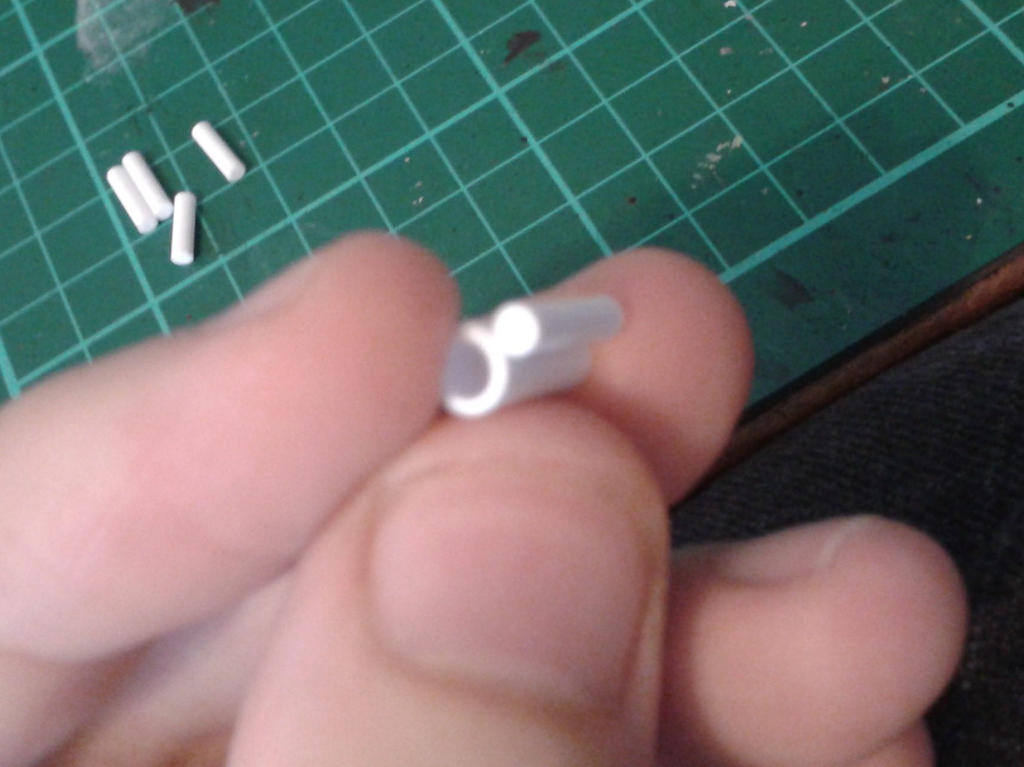
Start by measuring the length you want your shells to be:
and cut them using the 'press roll crack' method from earlier tutorials.
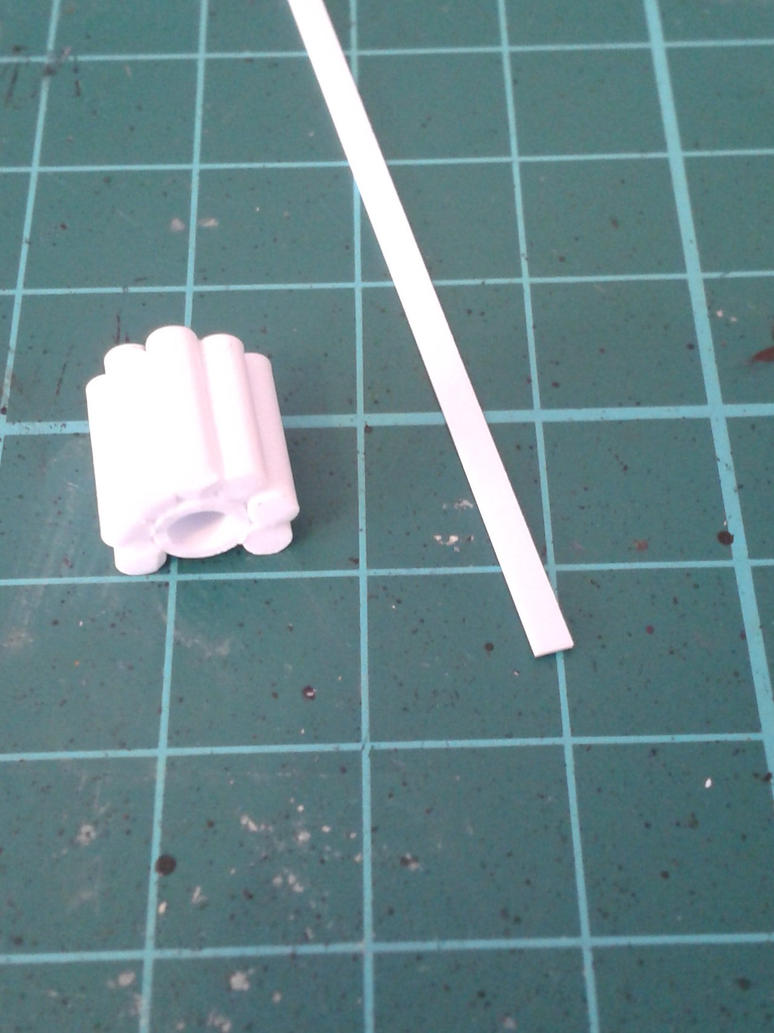
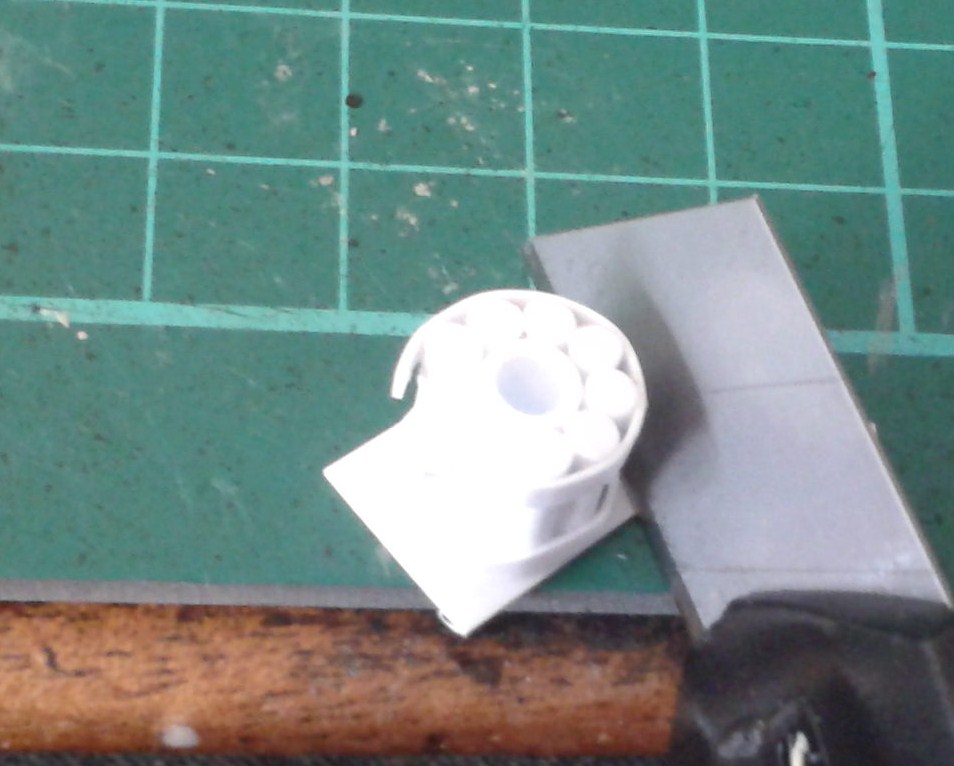
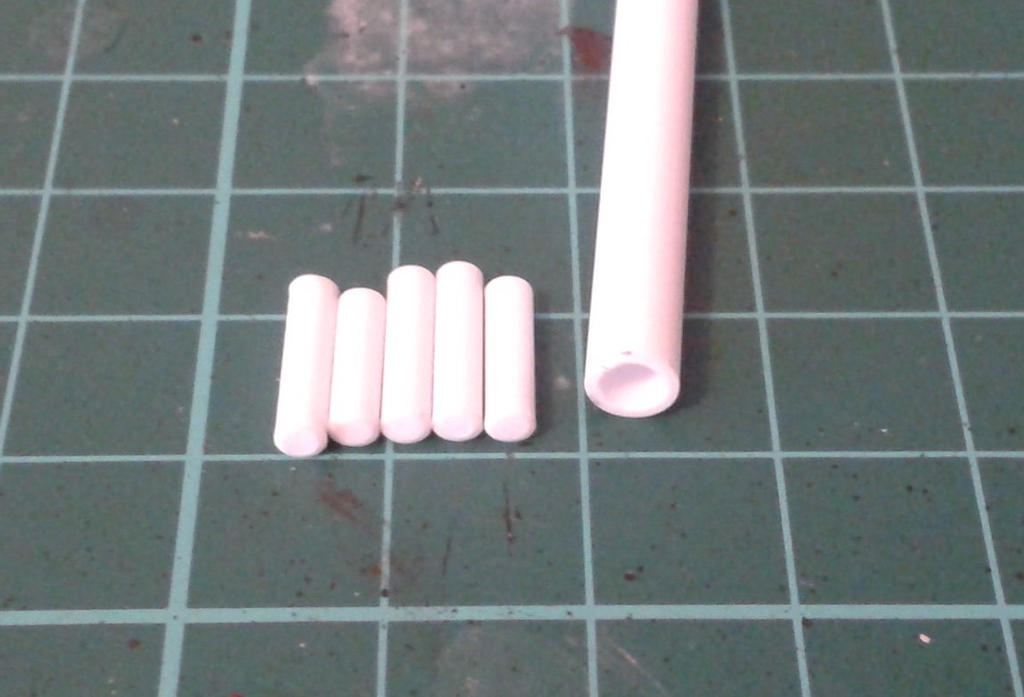
This should give you some shells. You may need more than this if so, just make them as you go. You next need to take your thicker rod. I'm making a vehicle-sized ammo drum here, so I'm using a hollow thick rod. If you want to make infantry-sized ammo drums, you should use thinner, or solid ones. The key is that the thicker rod should be about 1.5 to 2 times thicker than the 'shell' rod.
Once you've got your thicker rod, simply measure and 'press-roll-crack'.
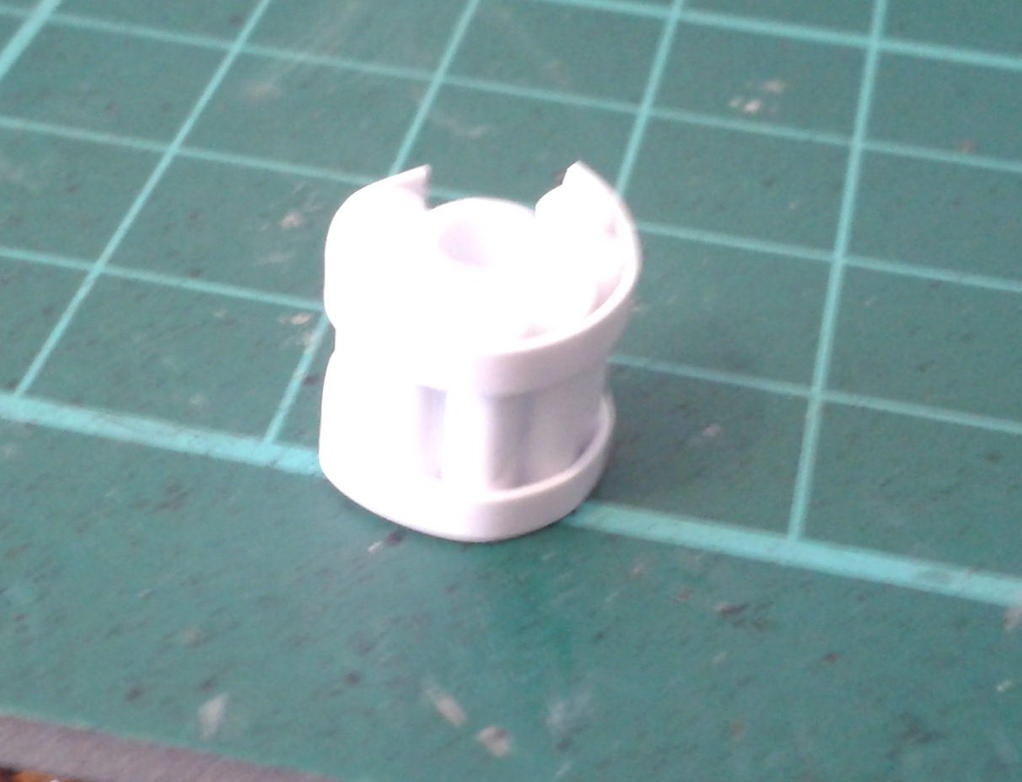
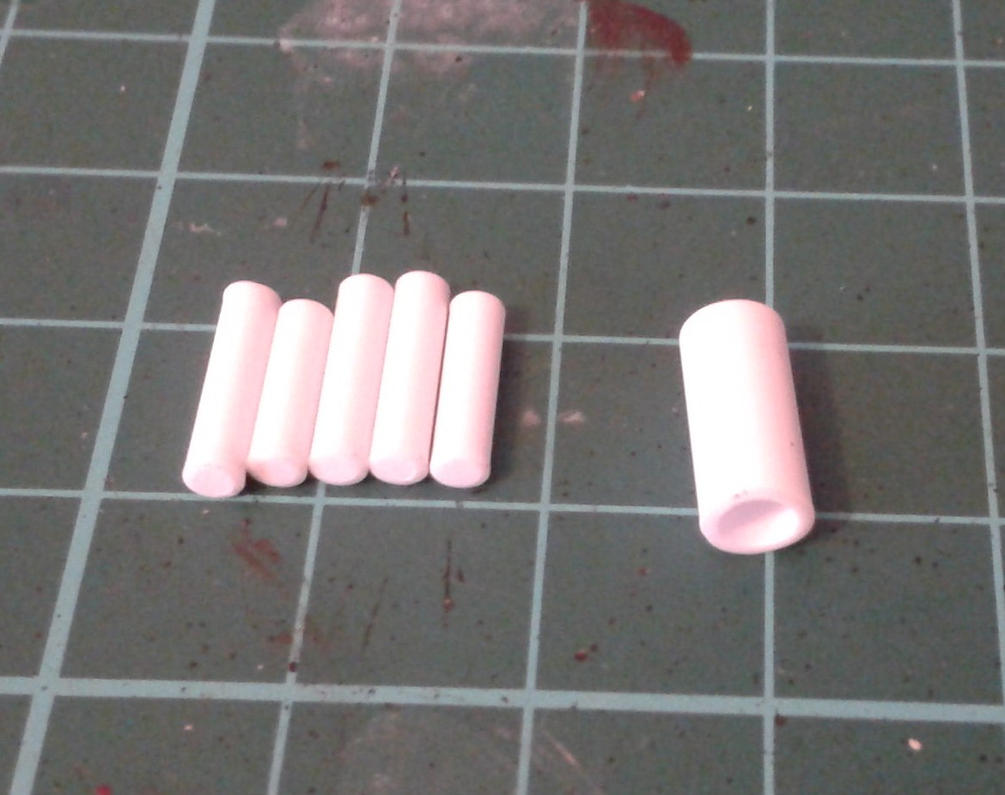
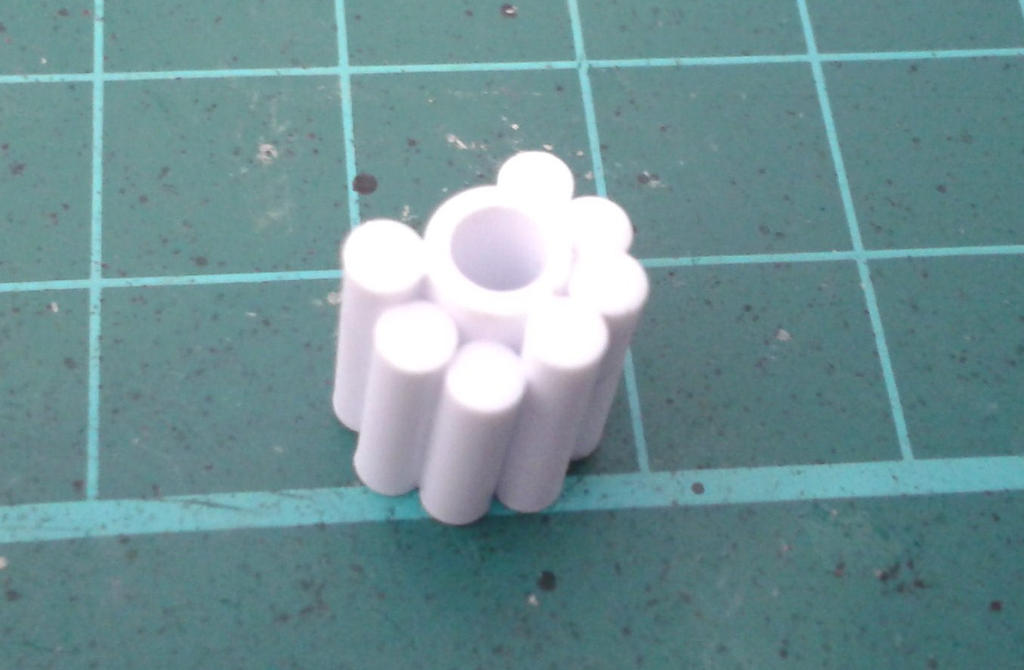
Then, just as in the Assault Cannon tutorial, use poly cement to glue the shells to the central 'core'
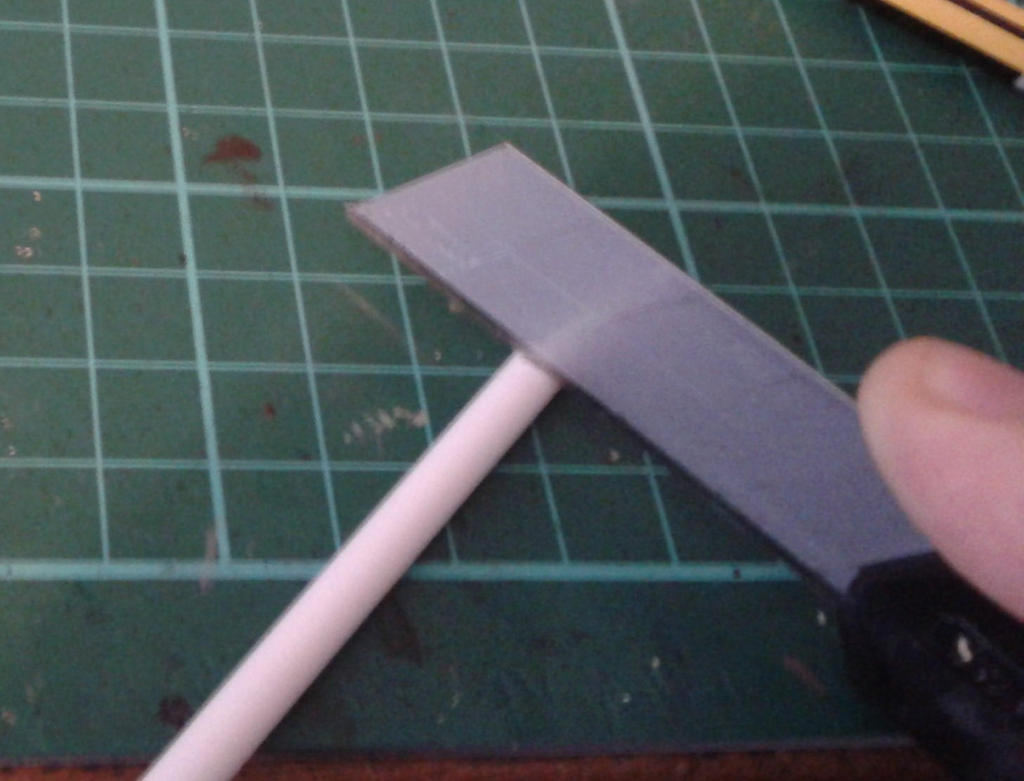
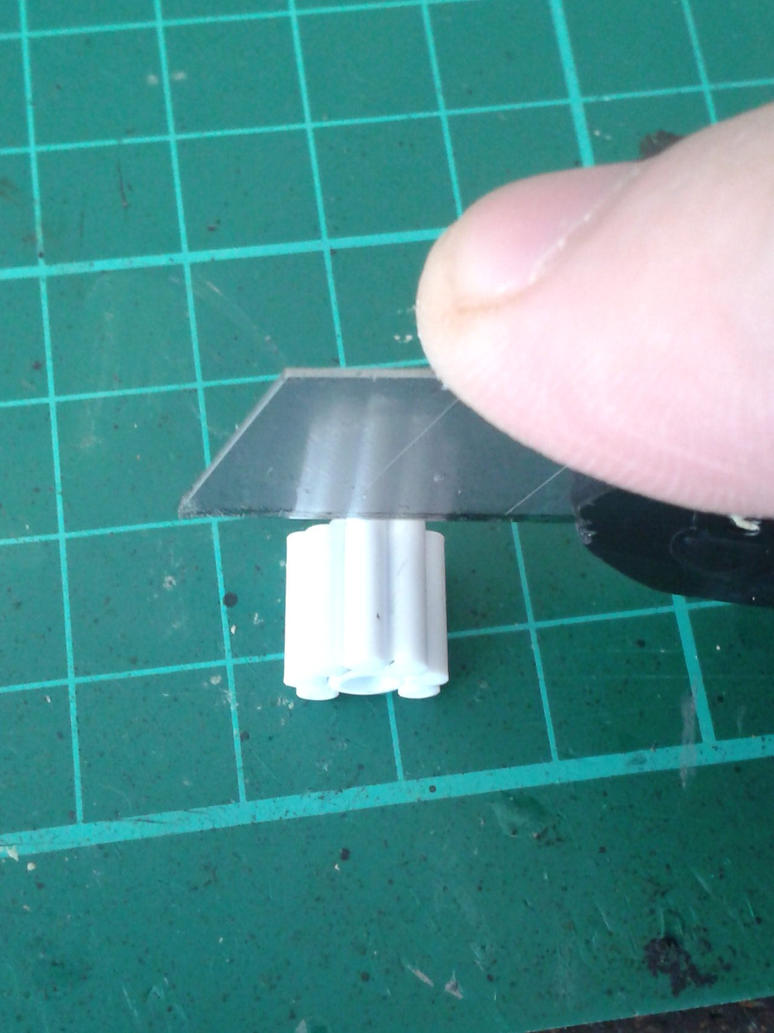
Make sure you use poly cement so you can readjust shells to be in-line with one another. Also, you may notice that some of your shells are longer or shorter than each other. This isn't a huge issue. Simply wait until the glue has set and use the 'press down' blade technique to cut a clean, straight edge as shown here (with the usual caveat of USE BOTH HANDS! This picture simply shows the angle of the blade you need to use!):
As always, BoLS forums only let me post 10 pics at a time more of this tutorial when I get a reply!
BoLS Lounge : Wargames, Warhammer & Miniatures Forum
Results 1 to 6 of 6
-
06-05-2014, 11:11 AM #1First-Captain

- Join Date
- Dec 2012
- Posts
- 1,997
 A Beginner's Guide: How To Build An Autocannon Ammo Drum
AUT TACE AUT LOQUERE MELIORA SILENTIO
A Beginner's Guide: How To Build An Autocannon Ammo Drum
AUT TACE AUT LOQUERE MELIORA SILENTIO
-
06-05-2014, 11:35 AM #2Initiate
- Join Date
- May 2014
- Location
- where you least expect
- Posts
- 2
interesting
-
06-05-2014, 11:40 AM #3First-Captain
- Join Date
- Dec 2012
- Posts
- 1,997
I hope so!
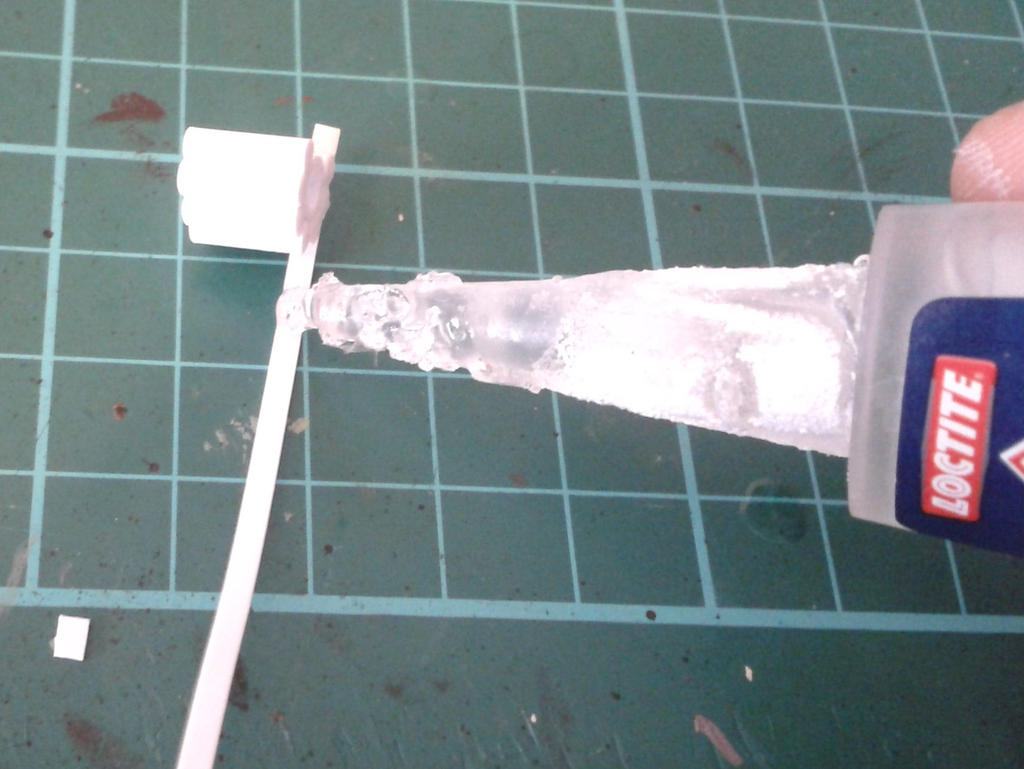
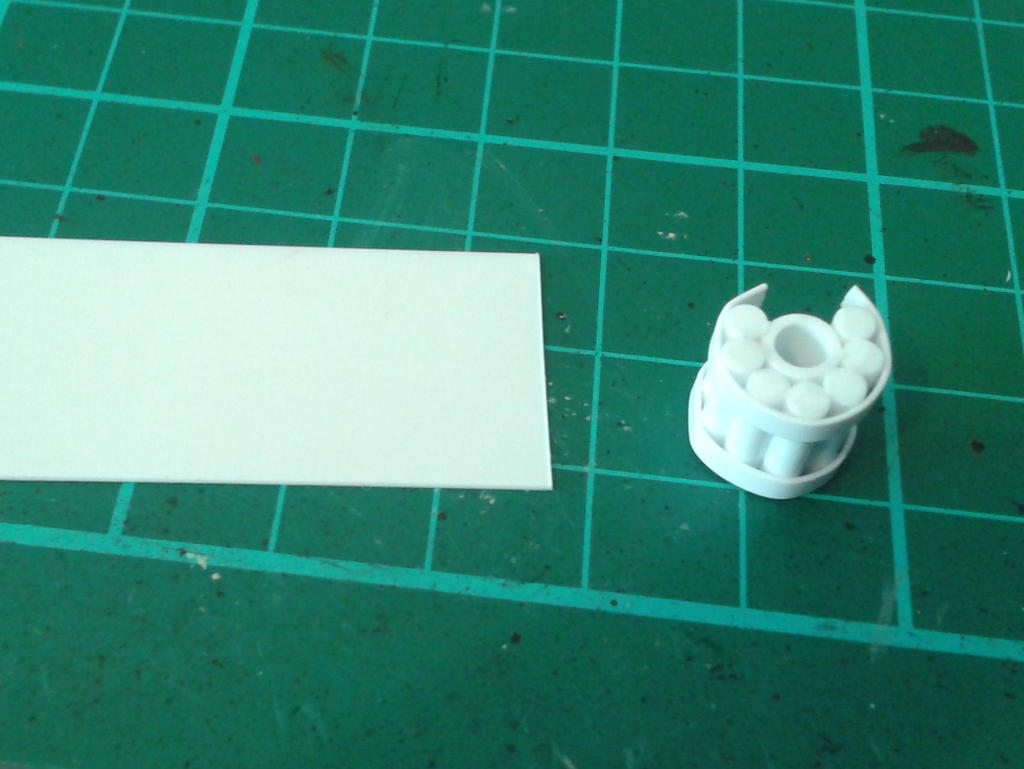
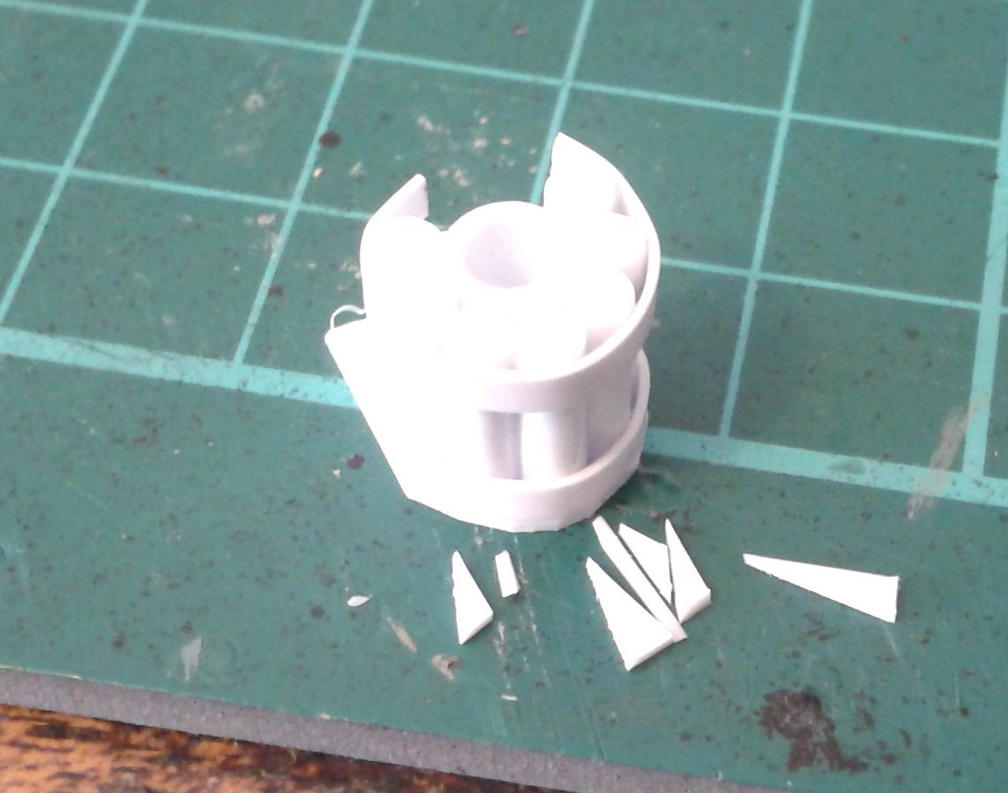
Next, take your styrene strip
and use superglue to affix it to the edge of the first shell. You do this so that you can pull the strip tight to the remainder of the shells when you glue it.
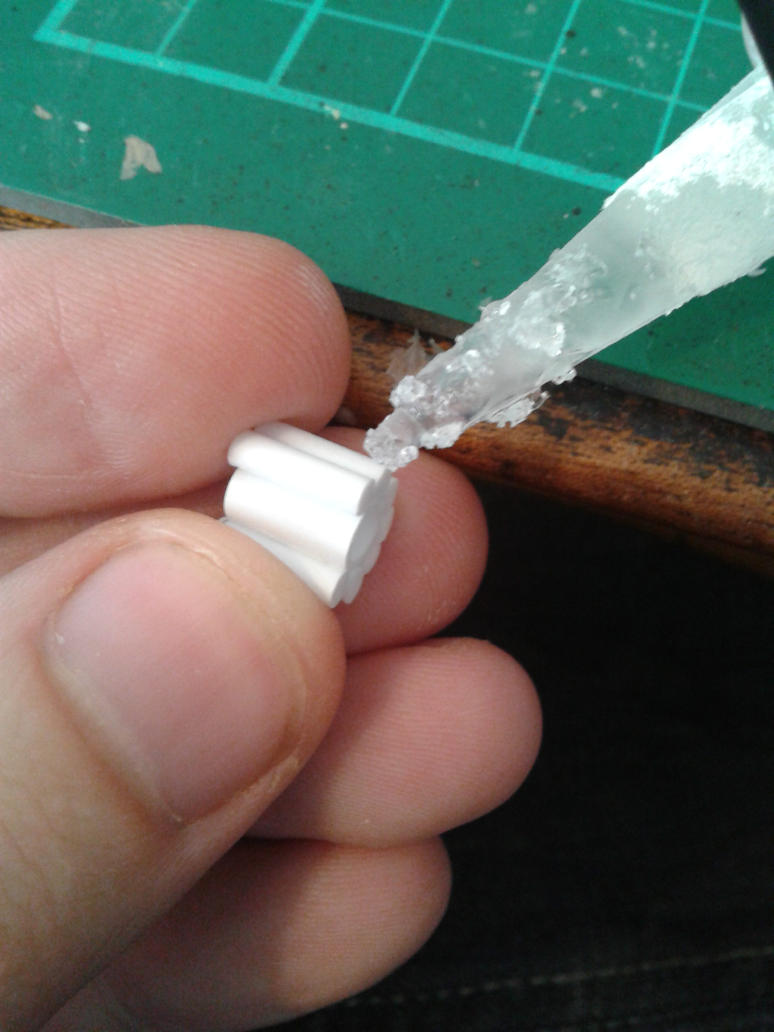
Apply superglue to the rest of the strip to be glued. Note that we're using superglue and not poly cement here because we need an immediate bond. If you use poly cement, you will find that the strip simply pulls itself off from where you've glued it, unless you hold it down which always results in unsightly fingerprints, because the poly cement will soften the styrene strip.
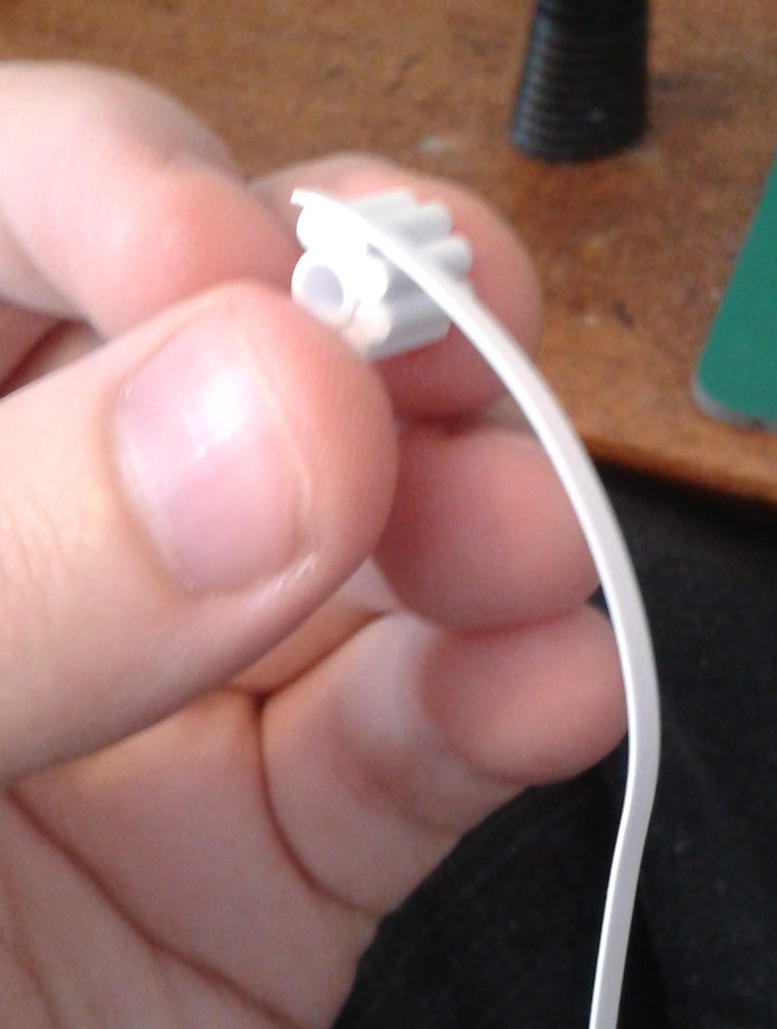
Once you have applied the superglue, pull it down tightly onto the shells until the bond is fixed this should only take a few seconds and then cut off the excess strip.

Repeat this process on the other side:
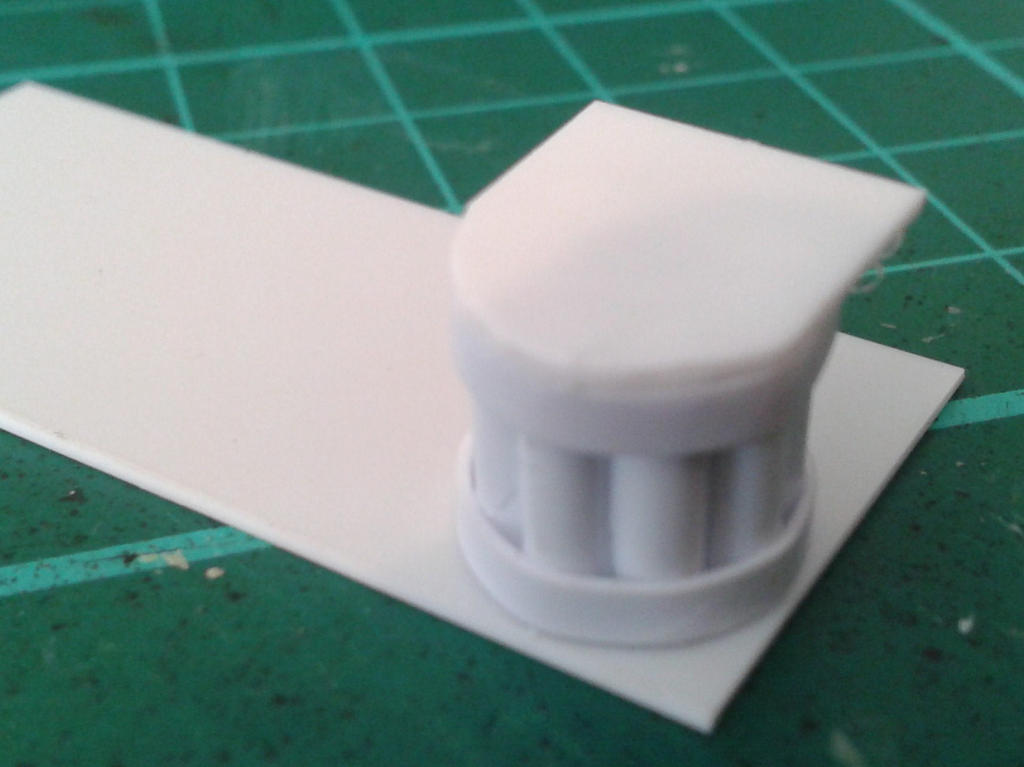
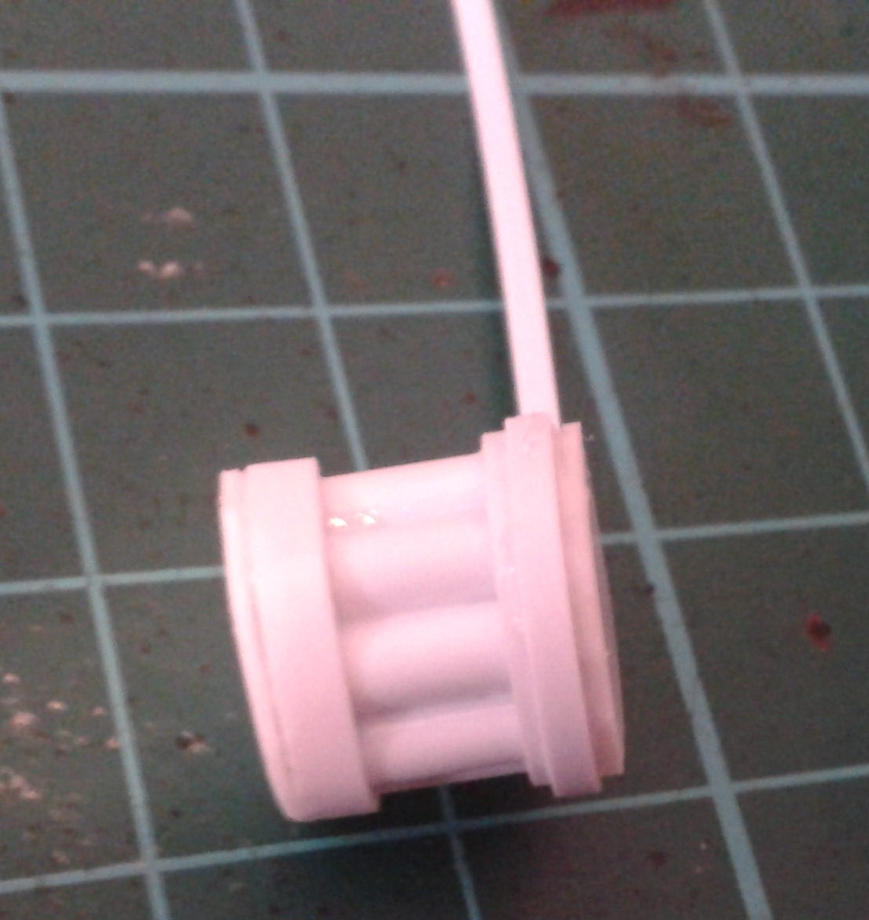
Next, using poly cement, glue the ammo drum down onto your piece of thin plasticard like so:
Last part when I get a reply.AUT TACE AUT LOQUERE MELIORA SILENTIO
-
06-05-2014, 11:50 AM #4Initiate
- Join Date
- May 2014
- Location
- where you least expect
- Posts
- 2
this will be very useful to produce a lot of spare ammo drums to decorate the bases of my models, thanks.
-
06-05-2014, 12:01 PM #5First-Captain
- Join Date
- Dec 2012
- Posts
- 1,997
Oh, you're quite welcome.
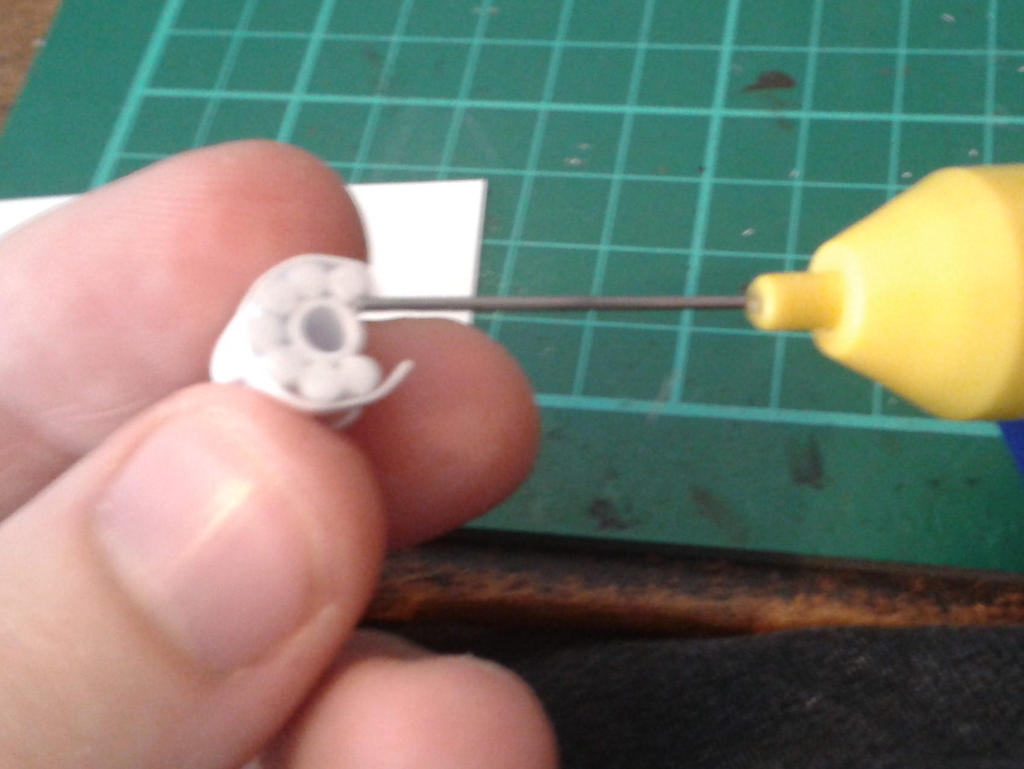
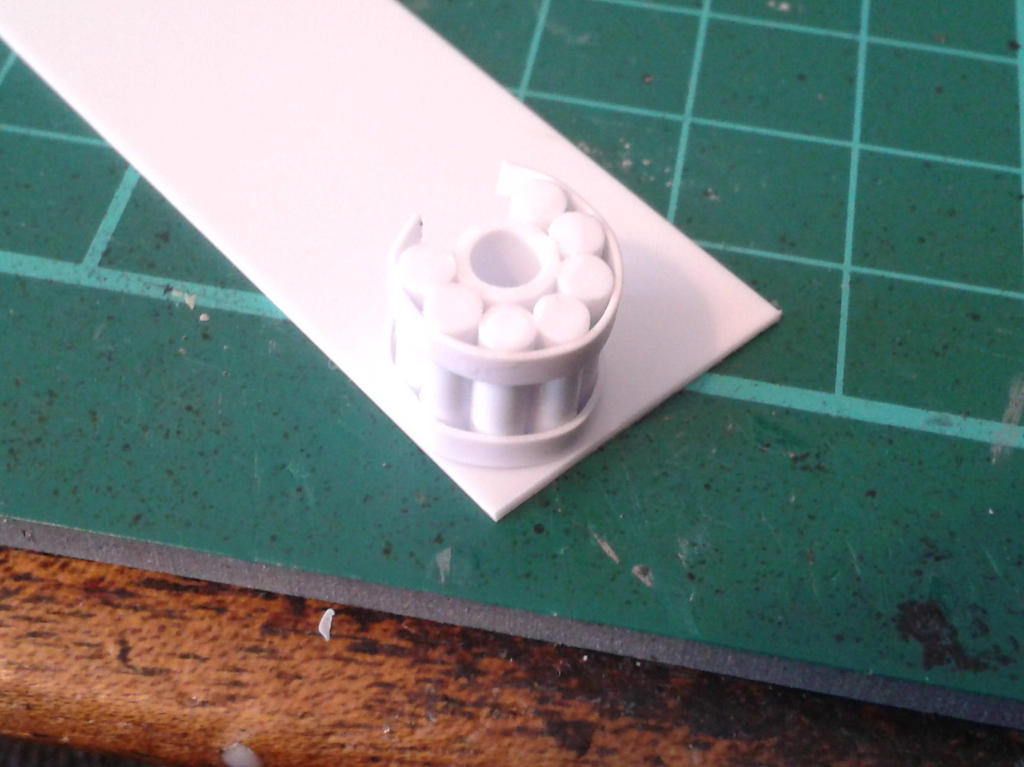
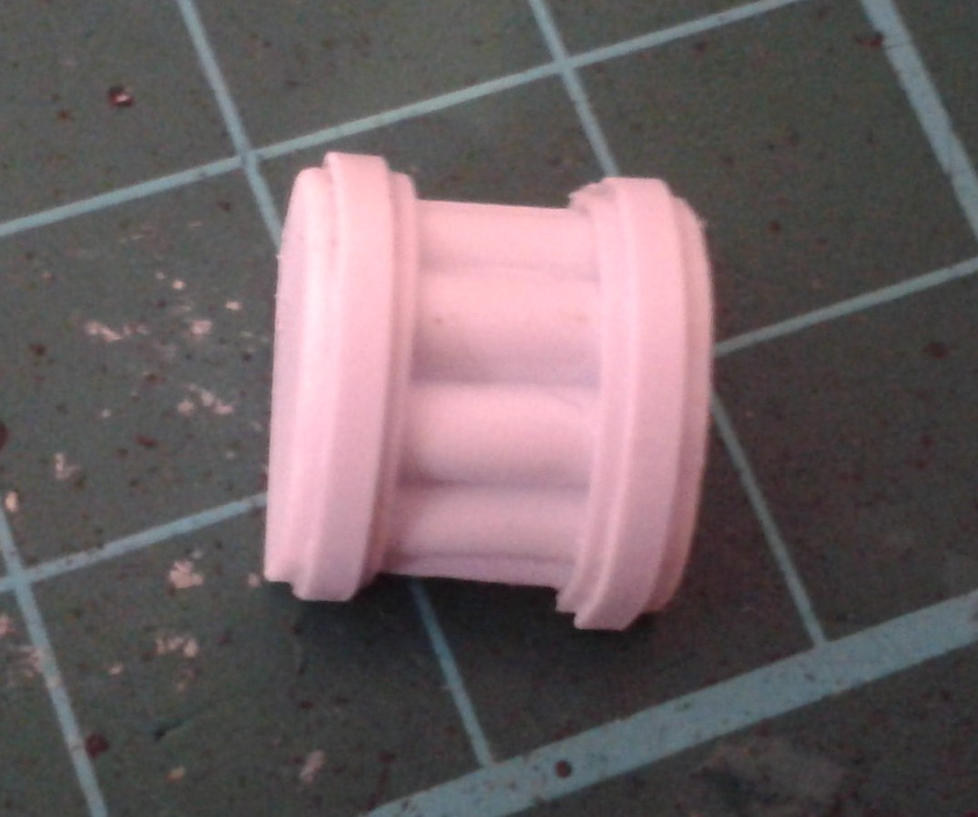
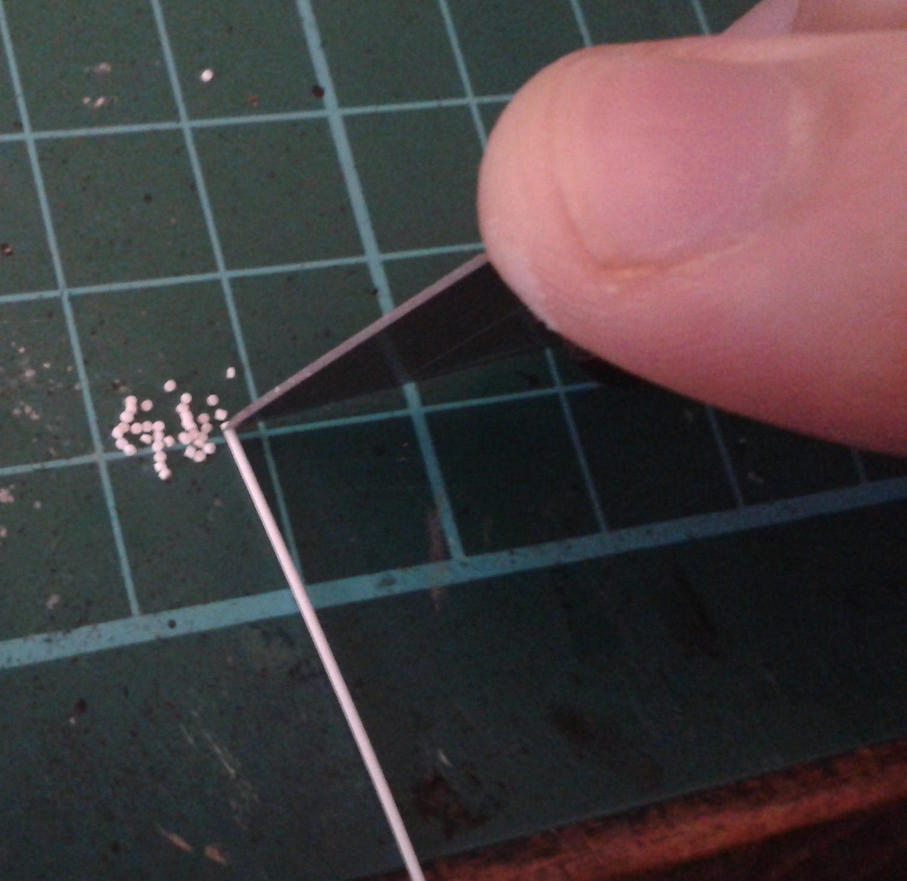
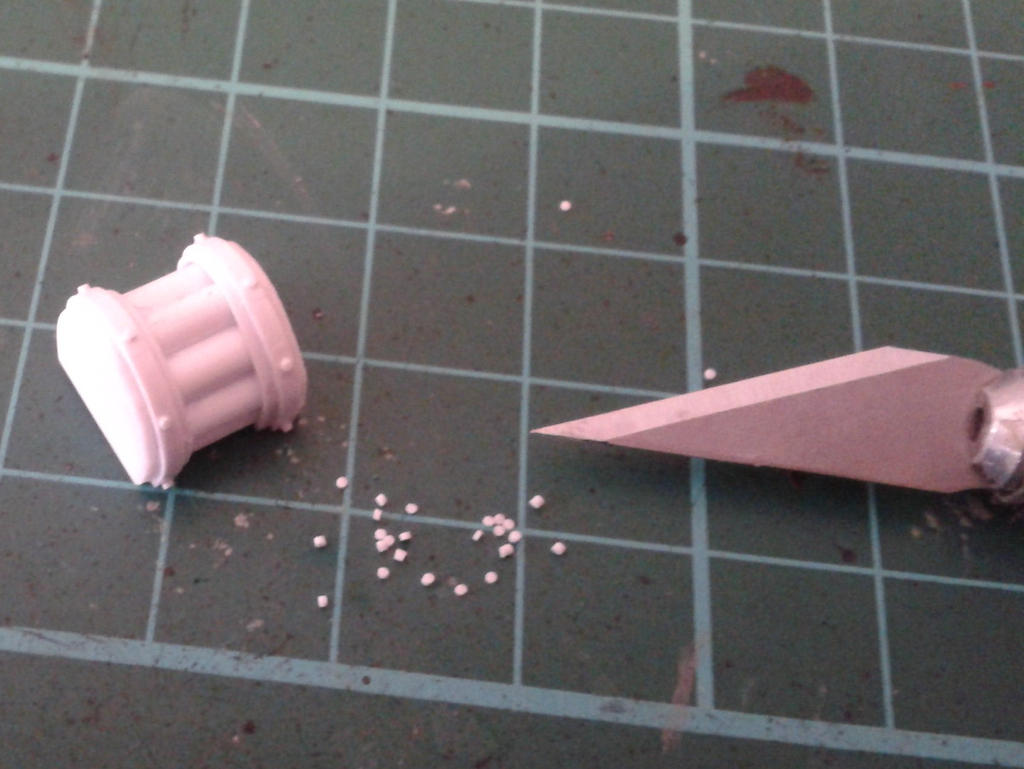
Then, trim the square edges off the plasticard, flush with the styrene strip, to make it into a nicely cylindrical drum shape. I do this by pressing down and clipping off most of the excess plasticard, then gently shaving off anything left to neaten it up. You can see the excess plasticard chips in the second photograph below. Just bin them.
Repeat this for the other side of the drum.
And the core of the drum is done!
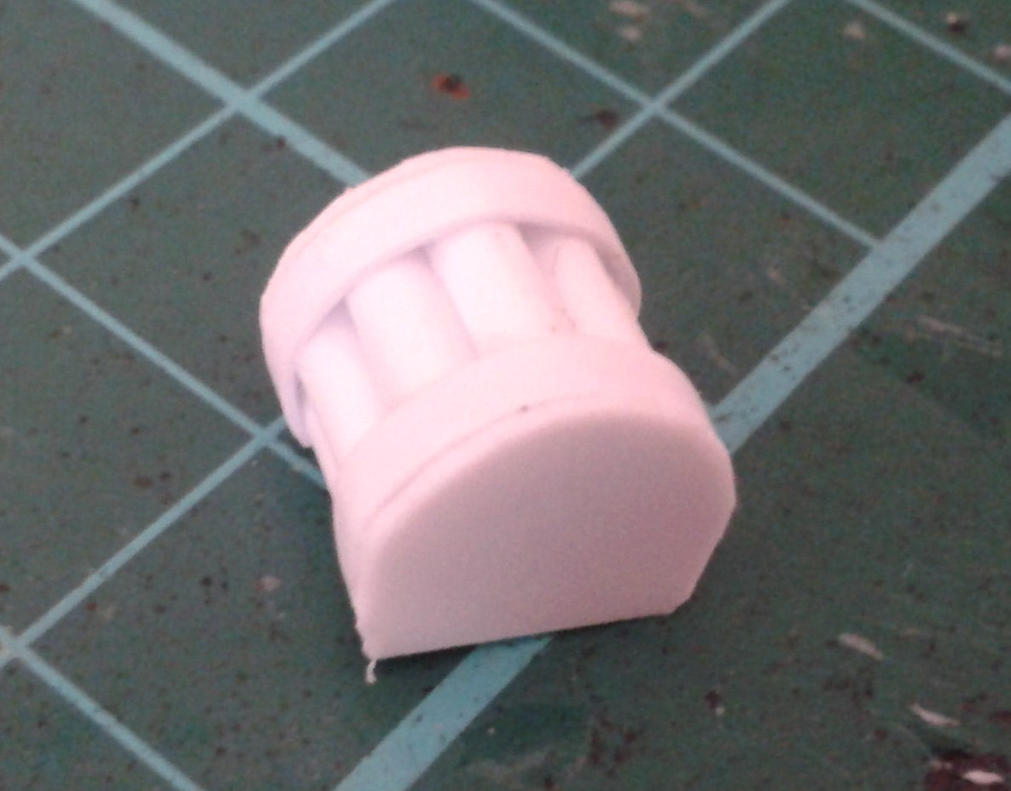
I then like to greeble them by adding a 'reinforcing' styrene strip across the initial styrene strip I used; I place this carefully over any gaps between the plasticard and initial styrene strip to better avoid any need to use filler. I hate having to faff around with filler.
I then add a little more greebling by slicing little rivets from a thin styrene cylinder, add adding them with poly cement and a scalpel.
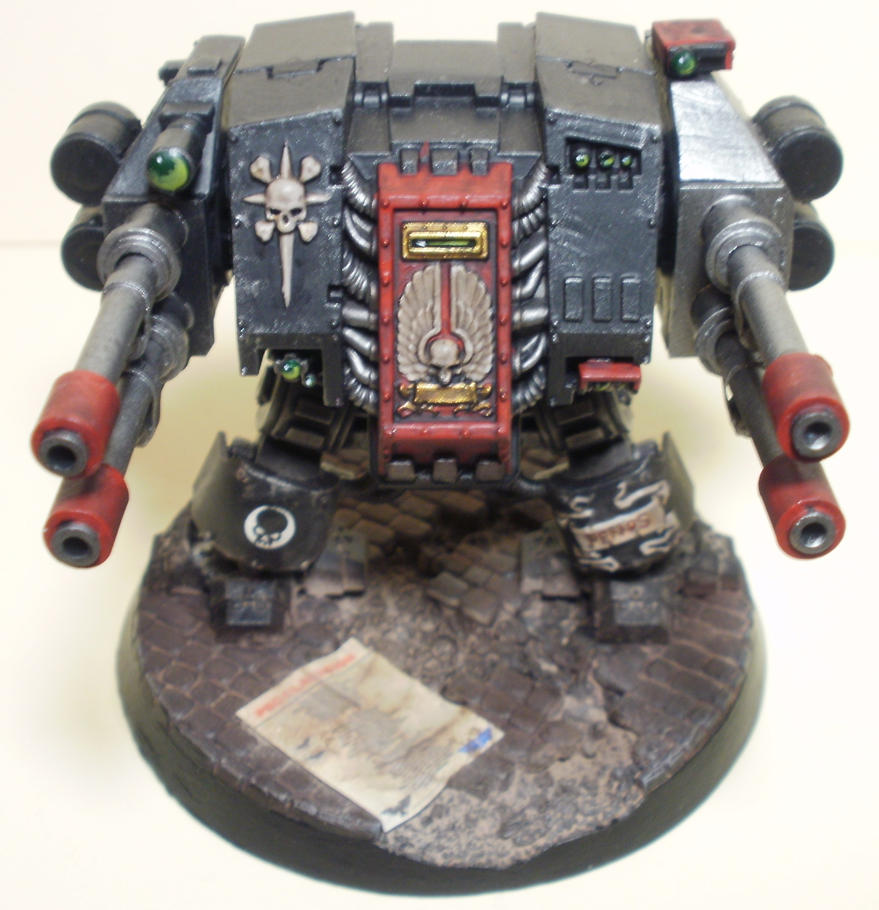
Add to a gun and you're done!
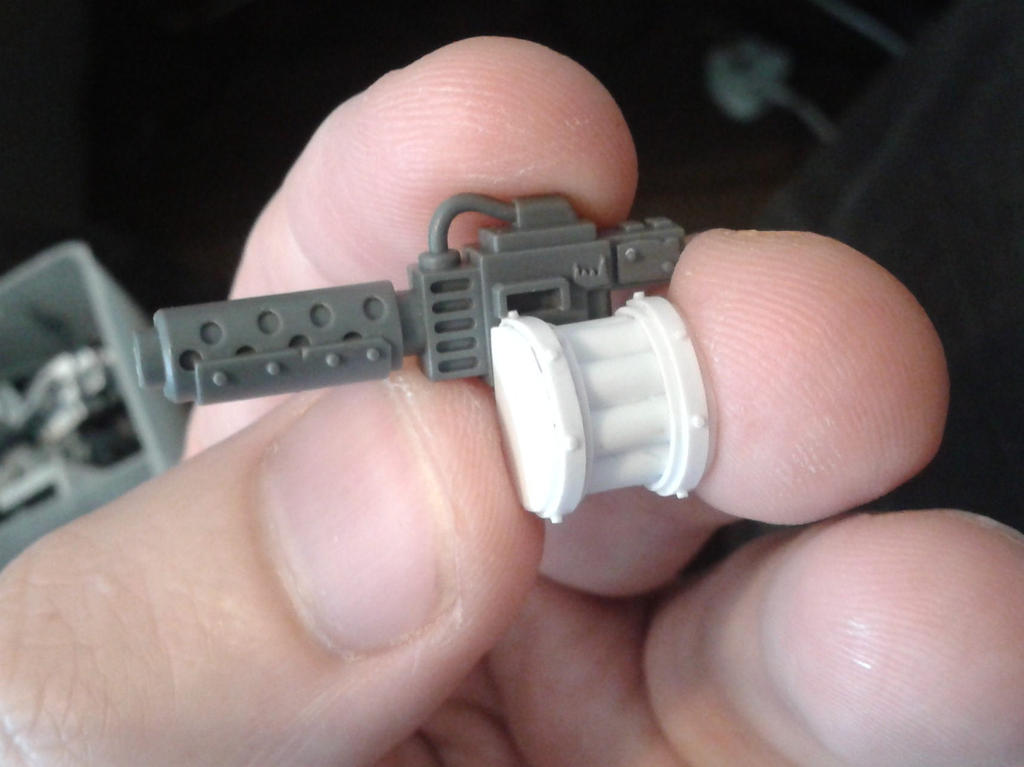
I've used this quite frequently, on account of the fact that Autocannon are often not as readily accessible as one might like.
Anyway, that's it for this tutorial. Thank you as always for reading, and I hope you are inspired to give some of this a go!AUT TACE AUT LOQUERE MELIORA SILENTIO
-
06-06-2014, 12:46 AM #6Librarian
- Join Date
- Dec 2012
- Location
- United Kingdom
- Posts
- 508
I may have to give this a go soon.

"Let them come. We shall smite them down where they stand" Warsmith Vorax of the 15th Grand Battalion.


 Reply With Quote
