I suddenly want a chrome Eldar army... Awesome stuff.
BoLS Lounge : Wargames, Warhammer & Miniatures Forum
Results 41 to 49 of 49
-
03-16-2016, 10:03 AM #41Chaplain

- Join Date
- Jul 2013
- Posts
- 464
 Visit my war gaming blog at: lookoutsir.blogspot.com
-
03-16-2016, 10:26 AM #42Veteran-Sergeant
- Join Date
- Aug 2014
- Posts
- 150
Thanks Cactus! Stay tuned...the Assassin might give you reason to consider that. The chrome goes on better on the minis than it did on my Hunter. I also changed my methodology up on it, so the chrome looks great now; I wasn't 100% happy with how it turned out on the Hunter, but it was more of a practice piece to learn what does and doesn't work. Updates and pics coming soon of a chromed assassin....
Check out the blog of unceasing fun, defiantworkshop.blogspot.com!
-
03-16-2016, 10:55 AM #43Veteran-Sergeant
- Join Date
- Aug 2014
- Posts
- 150
Time to put paint to the Assassin himself! Like I stated above, I wanted to diverge from the standard paint job on this one, and do a more cyber future stealthy version, so I wanted to do some blacks, grays, and blue greens. For some reason, that's just what popped into my head. I started by spraying him in gloss black enamel, which wreaked havoc with my camera. I did this a few days ago and finished up some commission work while I waited, b/c enamels take a good long while to dry.

So while he dried I finished some Ravenwings, and when I came back a few days later, he was gassed out and ready for a quick chrome application:

From there, I based him back out, since the chrome is a lacquer, it can be safely painted over, so just based him in plain ol' Abaddon Black, then some quick highlights to bring it out, and then I greened up his armor and accessories as well.

 Check out the blog of unceasing fun, defiantworkshop.blogspot.com!
-
03-29-2016, 01:42 PM #44Veteran-Sergeant
- Join Date
- Aug 2014
- Posts
- 150
Went with a different color scheme, more of a "stealth suit" approach than the traditional paint job. Chromed the skull, went with a more sci fi clean approach for the corridor base, and added some wiring in the conduit pipe.
Thanks for looking!Check out the blog of unceasing fun, defiantworkshop.blogspot.com!
-
04-04-2016, 08:30 AM #45Veteran-Sergeant
- Join Date
- Aug 2014
- Posts
- 150
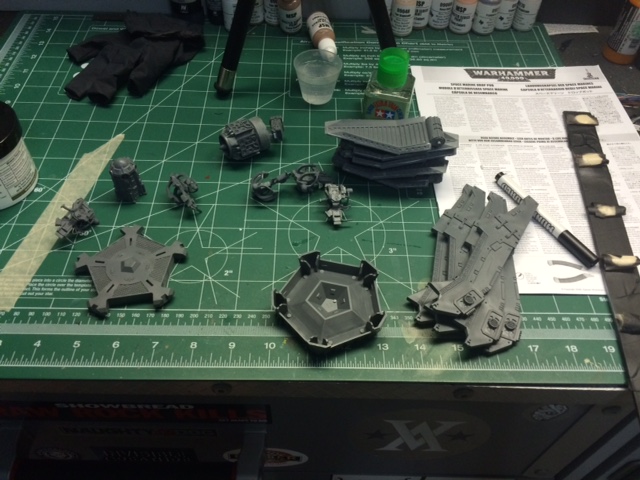
Had this drop pod mostly built in sub-assemblies for a while now, so it was time to clear some closet stock for more kits.
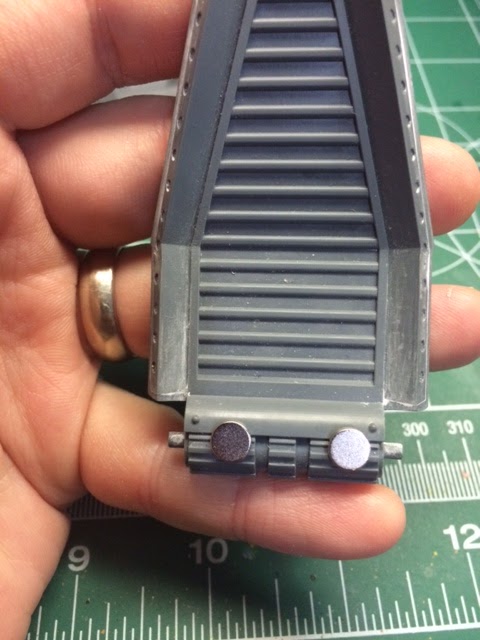
When I built the two halves of the opening panels, I placed magnets on the inside. The panels had a tendency to flop open due to gravity and too much wiggle room, so I planned on placing magnets on the inside of the panels and the base. The magnets you see are attracted to the ones inside, these aren't where I placed the actual ones for the panel:
From there, I marked the panels 1 through 5, and put one magnet per panel at the base. If you do more than one, they start attracting each other, even through putty, so you have to give enough time for the putty to cure a bit before doing the second set per panel, if that makes sense? Also, just in case the polarities are different per panel, it helps to mark which panel corresponds to which side of the base. In the end, I have the whole works covered in putty. This also keeps the piece bottom heavy, which is an added bonus.
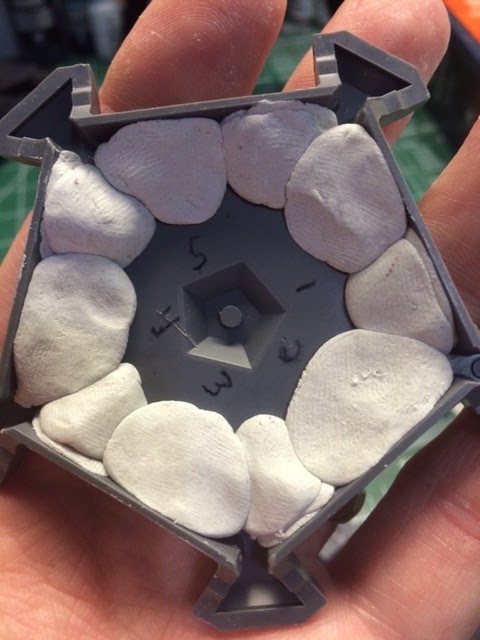
Now that those are attached, you can see that the piece now stands upright on its own. The magnets in the base and the panels have just enough attraction to "lock" the panels upright, but aren't so strong that they don't allow for you to easily open the pod to show off the inside.
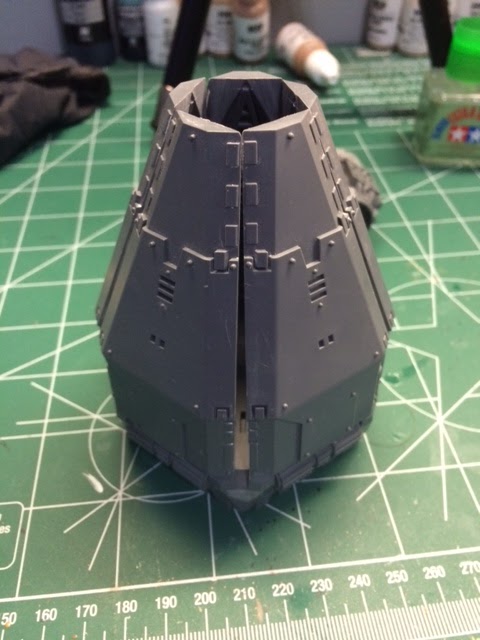

I had to hold the piece down for the picture, since I will glue the two base halves after painting, and with all those magnets, they push the base around a bit when not in the attract position, but that won't be an issue when the base is glued down. Now its on to priming and painting. Thanks for looking!Check out the blog of unceasing fun, defiantworkshop.blogspot.com!
-
04-08-2016, 06:16 AM #46Veteran-Sergeant
- Join Date
- Aug 2014
- Posts
- 150
Starting to airbrush the Drop Pod after a quick airbrush reboot! I took a quick detour while I disassembled and cleaned my airbrush to start this by painting Groot really quick, but its time to get back on track. I wanted to do this in the same color scheme I did the Stormtalon, just for consistency. I don't have any army in this scheme, I just really like how it looks together. Started by painting the supports in Tamiya NATO Black, like before. The NATO Black is just a bit lighter than regular black, with what looks like a touch of green to it. Here's the NATO black painted posts next to a primed piece in Chaos black to show the difference.
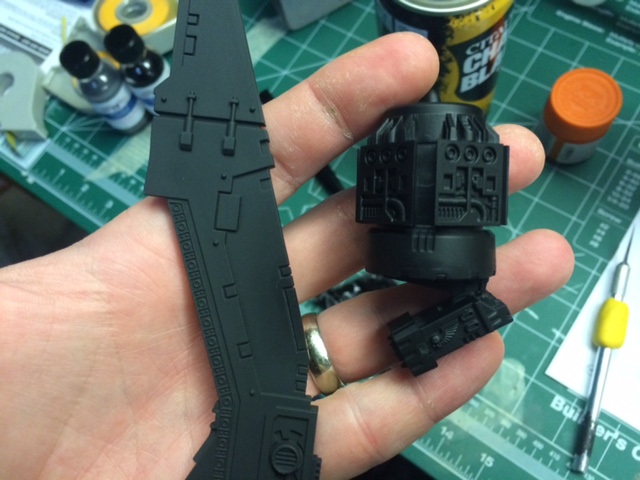
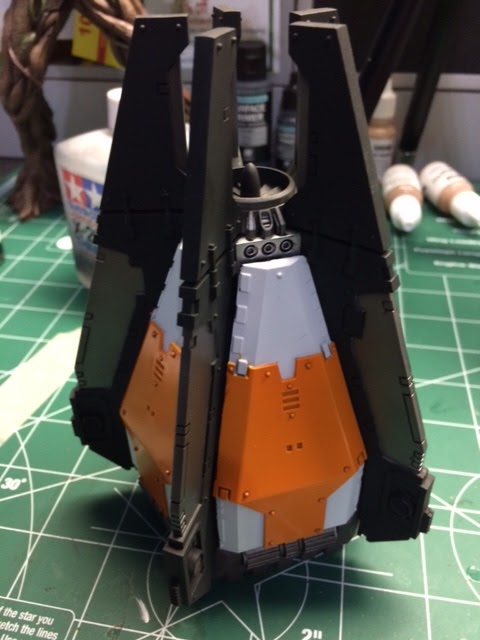
As you can see, it is useful in that it makes your brain think its black, but gives you a step down to go to for shading. From there, I sprayed the opening panels in white (primed in gray). Sprayed from an angle so as to let the panels have some pre-shade.
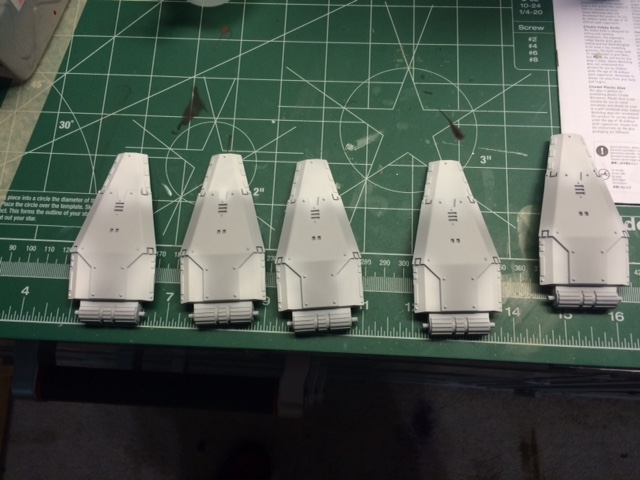
From there, it was an evening of applying masking tape, after taking the kids to practice to let the white paint sufficiently dry. Then two light coats of orange, and one final "wet" coat to even it all out, and this is what I netted:
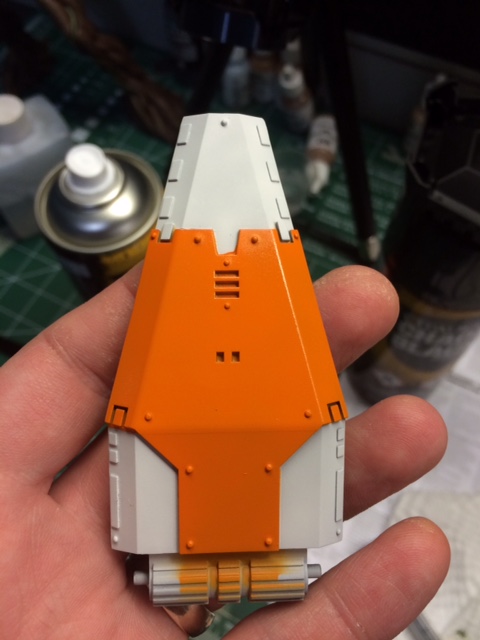
Right now the colors seem stark, and I thought they were when I first painted the Stormtalon, but they look great and really that to work well together when the shading and weathering goes on. Stay tuned for that! Thanks for looking!Check out the blog of unceasing fun, defiantworkshop.blogspot.com!
-
04-11-2016, 06:25 AM #47Veteran-Sergeant
- Join Date
- Aug 2014
- Posts
- 150
So after laying paint down on the panels and posts, I slapped some paint onto the harnesses and central console, getting ready to put them inside and start gluing the pieces together. If I was more patient, I'd wait and weather everything, the build it all, but I'm not, so I built it, and will now weather it as a whole. Kind of a six of one, half a dozen of another situation.
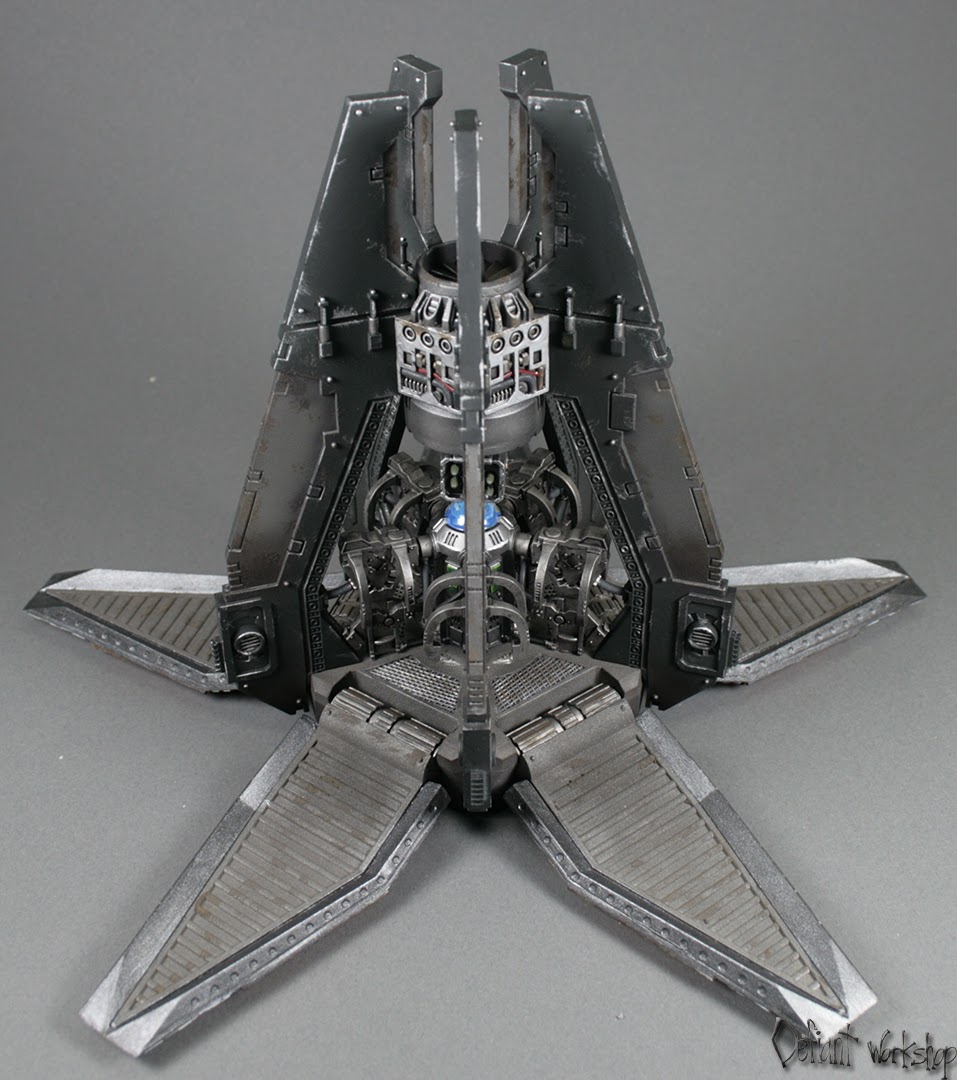
The main interior was sprayed with Alclad Magnesium paint, then immediately after with Steel, which is this almost gritty looking, dull metallic paint. Honestly not the biggest fan, but it does give it the look I was after, a used, dirty, worn interior where Space Marines in large heavy armor trod daily. I did the magnesium paint first to give it a shiny look, then sprayed the steel unevenly across it to make it splotchy, like at one point this thing looked pretty good. I then gave it the requisite washes, highlights, etc.
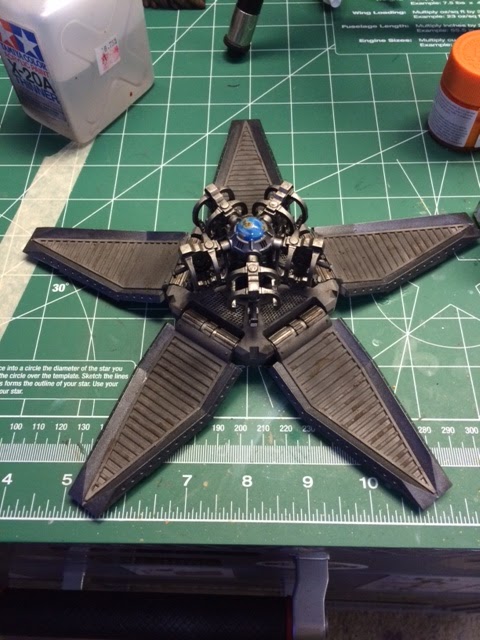
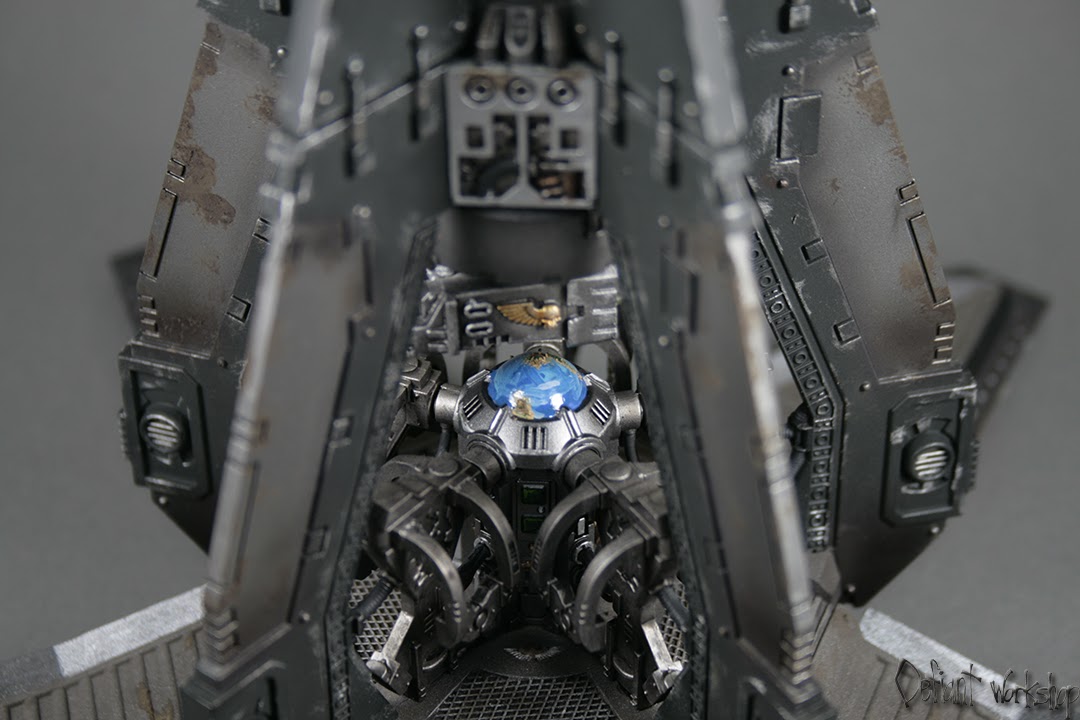
I didn't really know what to do with the top of the central console. I've seen some use it like a radar orb, but honestly, doing straight lines and concentric circles on a sphere by hand isn't my strong suit. I decided I'd try a 3D "hologram" look, like advanced tech showing where they're landing. While most of the worlds a Space Marine would travel to are probably quite alien looking, I decided to make it more earth-like in appearance to give a better idea of what I was trying to convey, since an earth-like world would be instantly more recognizable. I got a few different blue colors, and just slathered them on in different intervals and strokes, and then used some of GW's Armageddon Dust texture paint, stippled on, then washed in brown and highlighted with green to give the appearance of landmasses with various topographies. Shame is, it looks decent considering I was just winging it, and will be mostly covered by the turret in the middle.
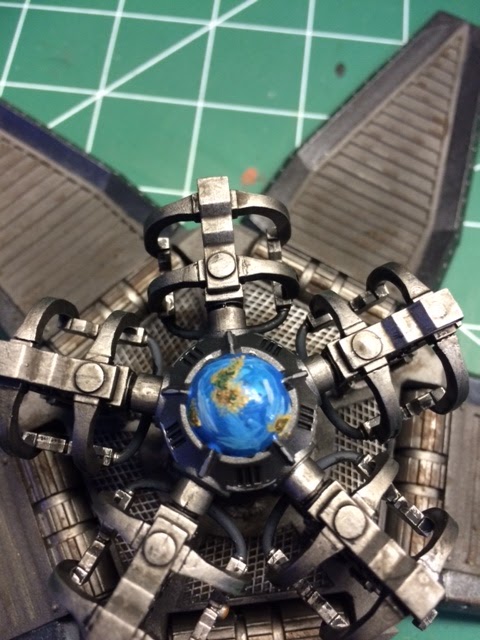
After all that was glued down, it was time to add the final posts and turret in the middle. The fit was a little tight since I did it out of order, but painting was a breeze in the subassemblies, so no complaints here. Also, the magnets are doing their job well, holding the drop panels up in a lock position, while being easily opened without any mechanical pieces to do that work.
So next, I'll be washing, weathering, and generally messing up the paint work you see here. This will tone down the brightness of the orange and white, and honestly, I plan on really getting on it, since this thing theoretically drops through serious conditions in the game fluff, so I might go a little heavy on the weathering. Until next time, thanks for looking!Check out the blog of unceasing fun, defiantworkshop.blogspot.com!
-
04-13-2016, 06:16 AM #48Veteran-Sergeant
- Join Date
- Aug 2014
- Posts
- 150
Moving on...
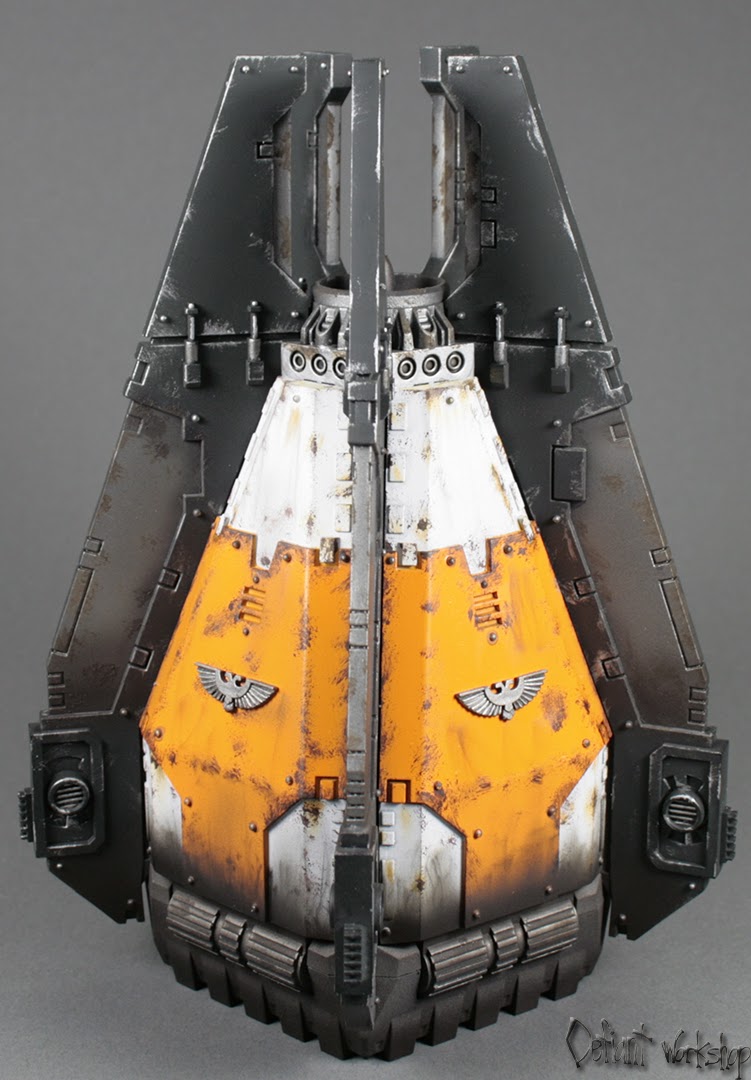
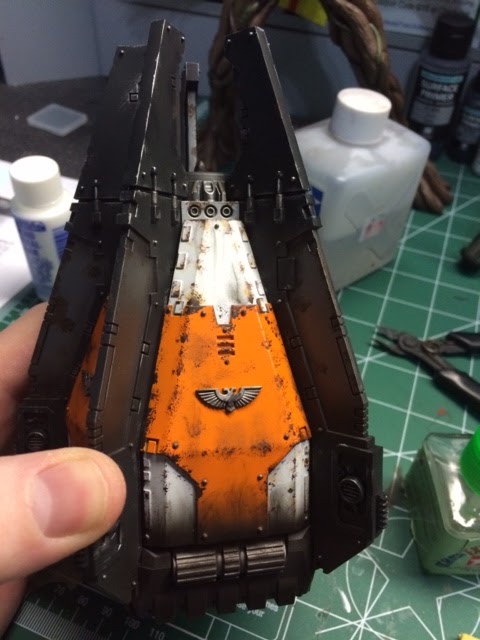
So started off with plain white and orange like you can see above. From there, I just ripped off a bit of a makeup sponge and dabbed it in some Rhinox Hide from Citadel, and dabbed it randomly, but mostly along the edges of the orange and white.
I then took some Tamiya weathering powders and rubbed them around. Some Oil Stain and Soot at the bottom to recreate the look of atmospheric entry. On the white, around where I dabbed the Rhinox Hide, I put on just a bit of Rust and Orange Rust.
Next up, I got the airbrush back out, and went over the atmospheric entry strokes, and the inside of the silver metallics, with Alclad's Burnt Iron....
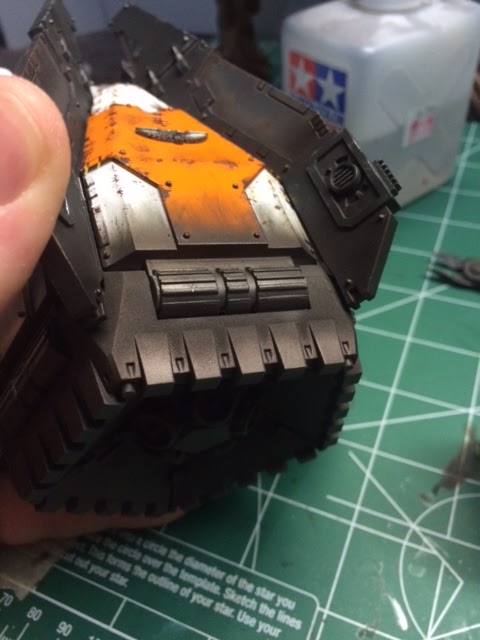
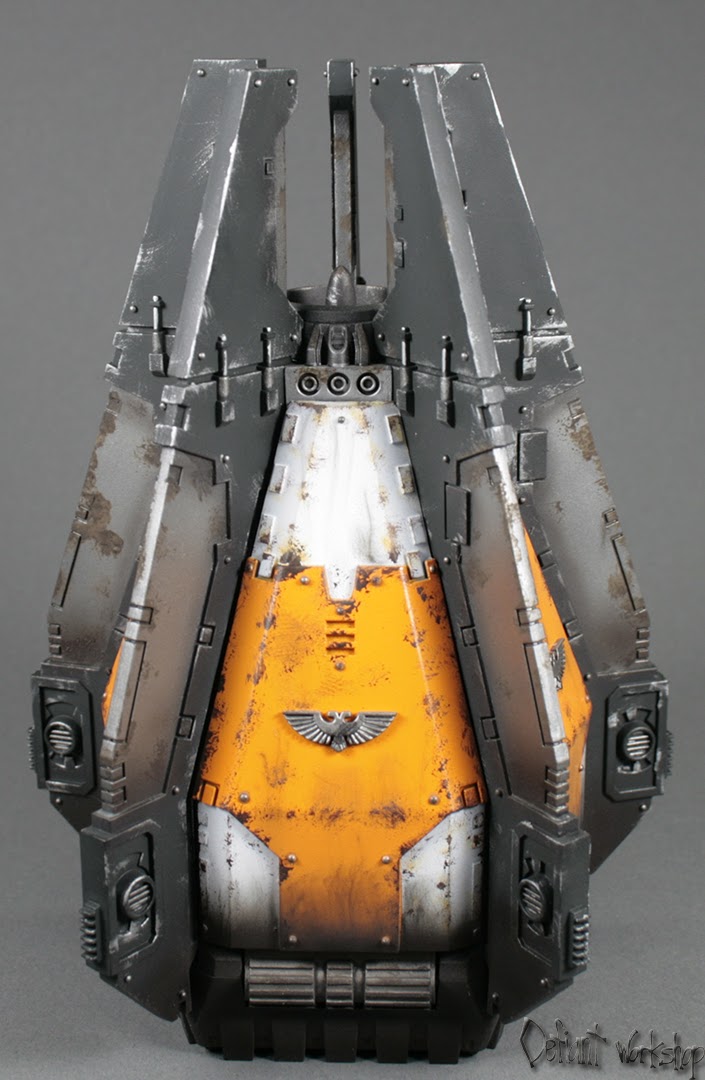
Then just a touch of Exhaust Manifold....a very very dark copper color, which more gives the slight metallic hint of burnt metal. In a light coat, its almost indistinguishable from the Burnt Iron color I just put on. But when it catches the light in the right way, it gives this burnt metal sheen I really like:
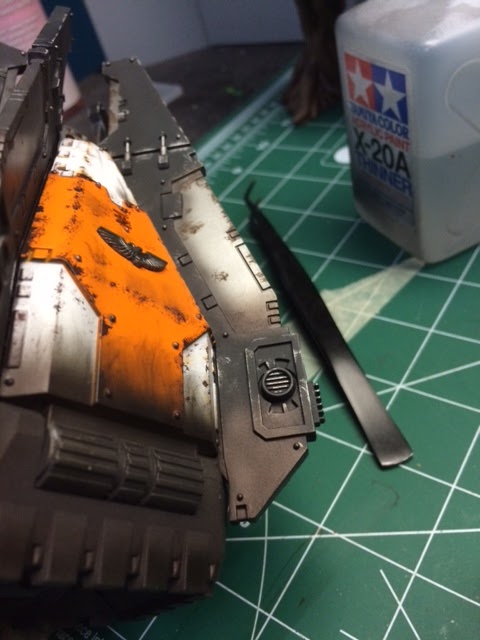
And that's it! Calling this one finished, so I'll try to take pictures this afternoon. Thanks for tuning in!!!Check out the blog of unceasing fun, defiantworkshop.blogspot.com!
-
04-13-2016, 07:23 PM #49Veteran-Sergeant
- Join Date
- Aug 2014
- Posts
- 150
And the final shots:
You can see a rotating view of it [url=https://www.youtube.com/watch?v=7GeXZJqBPow]here.[/url] Thanks for looking!Check out the blog of unceasing fun, defiantworkshop.blogspot.com!

 Reply With Quote