Good afternoon BoLS!
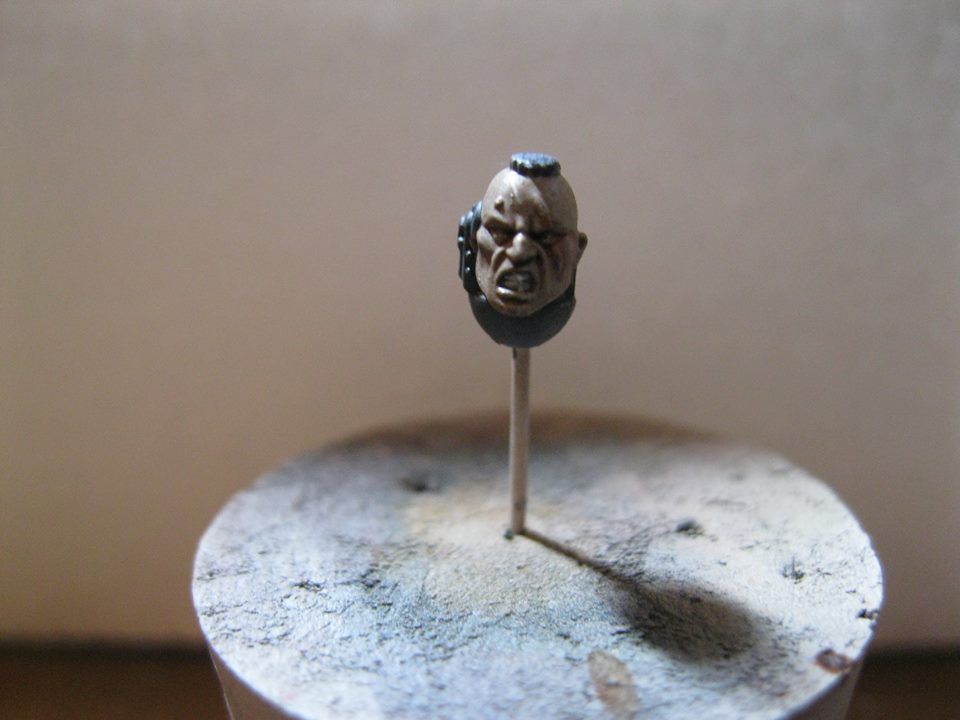
I've recently had a fair few people approaching me and asking how I paint the skin and faces of my models, so I whipped up a quick tutorial on how I get mine done, the quick and dirty way.
Step 1: Start by getting rid of all the mold lines. This is important to give the model an overall smooth finish.
Step 2: Prime the model. This helps the next layers of paint to adhere to the plastic better. Any kind of primer will do. I am just a persnal fan of priming with black.
Step 3: Paint the model in a flat skin tone. I've used the Citadel Foundation paint Tallarn Flesh, but any kind of flesh shade should work, depending on how dark you want the skin to be.
Step 4: With Citadel Ceramic White, carefully draw the eyes in. Don't worry about any paint going where it isn't supposed to be, we'll clean up at a later stage.
Step 5: With Citadel Dryad Bark, carefully draw the pupils into the eyes. Try to get the two pupils to line up. This takes a lot of practice, so if it doesn't go right the first time, just keep at it.
Step 6: With the same colour as the rest of the face ( Tallarn Flesh in my case ) carefully clean up the areas around the eyes, leaving neatly painted eyes where they are supposed to be.
Step 7: Let's add some highlights. I used the Citadel Dry range for this, in particular Terminatus Stone to add some definition to the face. Don't worry about messing up the eyes, they are too deeply recessed to be effected.
Step 8: After the model has dried for a good amount of time, shade the whole face using either a brown or a skin coloured wash/pigment. I've shaded this face with Citadel Agrax Earthshade, as it gives a very nice definition to the highlights, without the face turning too Red or Pink.
Step 9: For a little bit of drama, add a second bit of wash/pigment underneath the eyes, nose and lower lip. Not really manditory, but I like the subtle effect it has on the face.
Step 10: Paint up the rest of the details on and around the head and there you have it, painting faces, the quick and dirty way.
So there you have it. This is how I paint faces of humans. It might not be the best way, but it definitely gets the job done and is, I feel, a very solid way for the non golden demon painters among us that struggle with faces, eyes and skin.
Happy painting guys.
BoLS Lounge : Wargames, Warhammer & Miniatures Forum
Results 1 to 4 of 4
-
03-28-2015, 05:38 AM #1
 Splatter Tutorial - Painting Human Faces
-
03-28-2015, 08:43 AM #2Veteran-Sergeant

- Join Date
- Apr 2011
- Posts
- 204

Nice tutorial. I've not painted eyes in decades, but might give it another go now.
-
03-28-2015, 08:49 AM #3

Nice, I airbrush my heads and usually don't bother with the eyes. Might give this a go.

Last edited by Deadlift; 03-28-2015 at 08:59 AM.
http://paintingplasticcrack.blogspot.co.uk
-
03-28-2015, 10:10 AM #4

I know this will sound like the old reel, but eyes are a matter of practice. And after 12k of Fantasy empire, Ive had more then enough. Haha
I do however, apologize for the quality of the pictures, only had an Iphone at hand this morning. But I hope that you guys find it useful non the less.


 Reply With Quote
