

I got tired of looking to buy fans for the upper cooling compartment. I managed to make a few after some trial and error so the last one I took some pictures of the process.
It took about 20 minutes to make the four after they're trimmed and under the cover screen I believe they'll look fine.
Blackadder
This is my goal, a shot of the cooling compartment of a real Warhound.
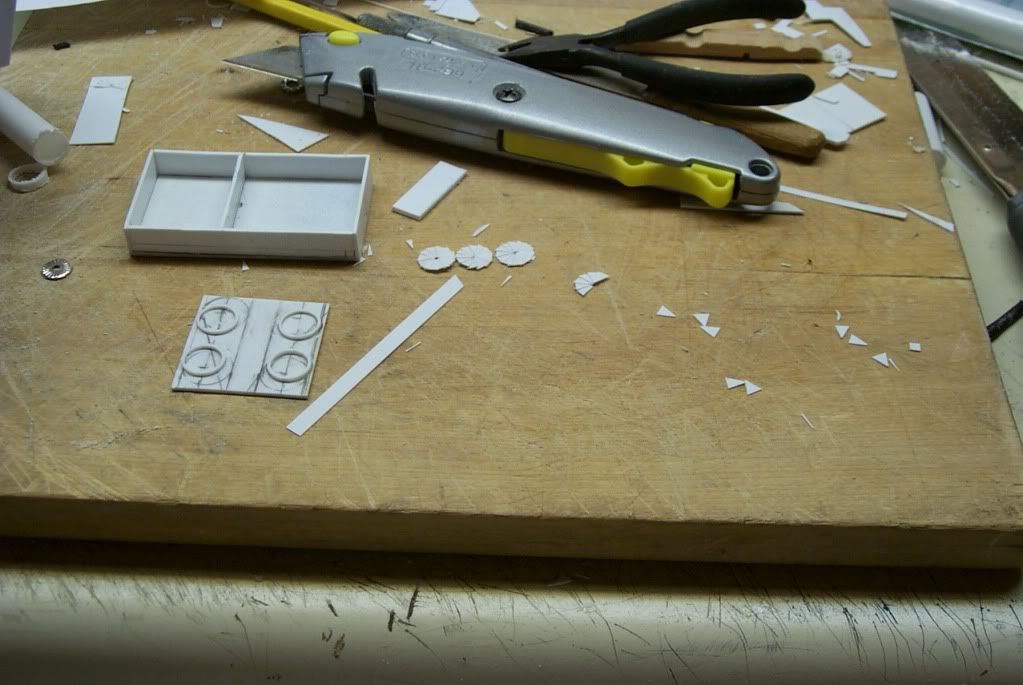
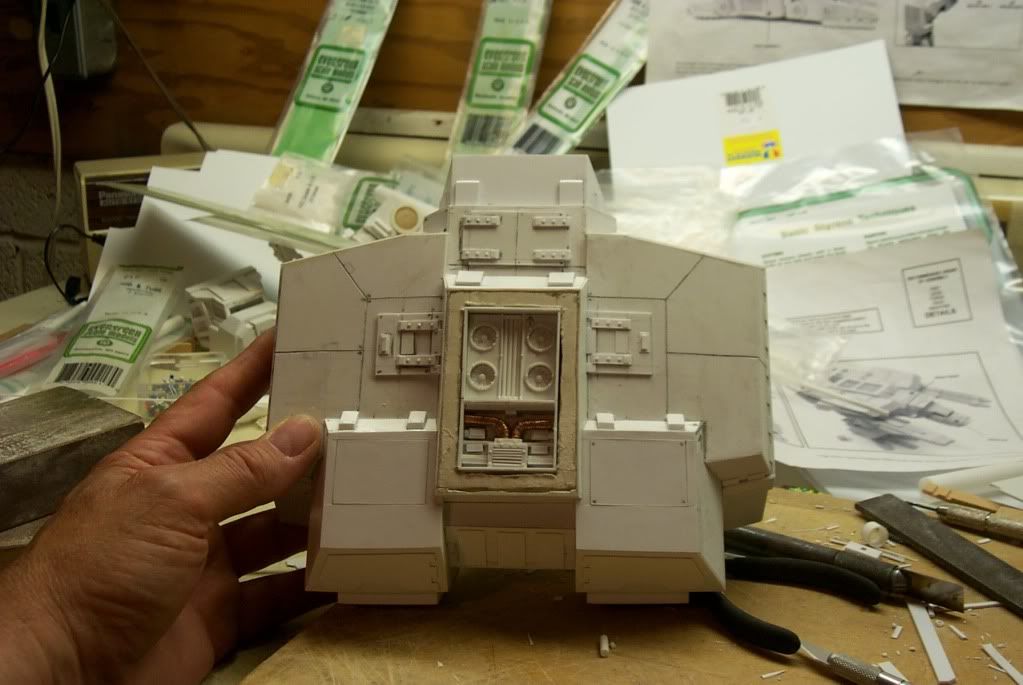
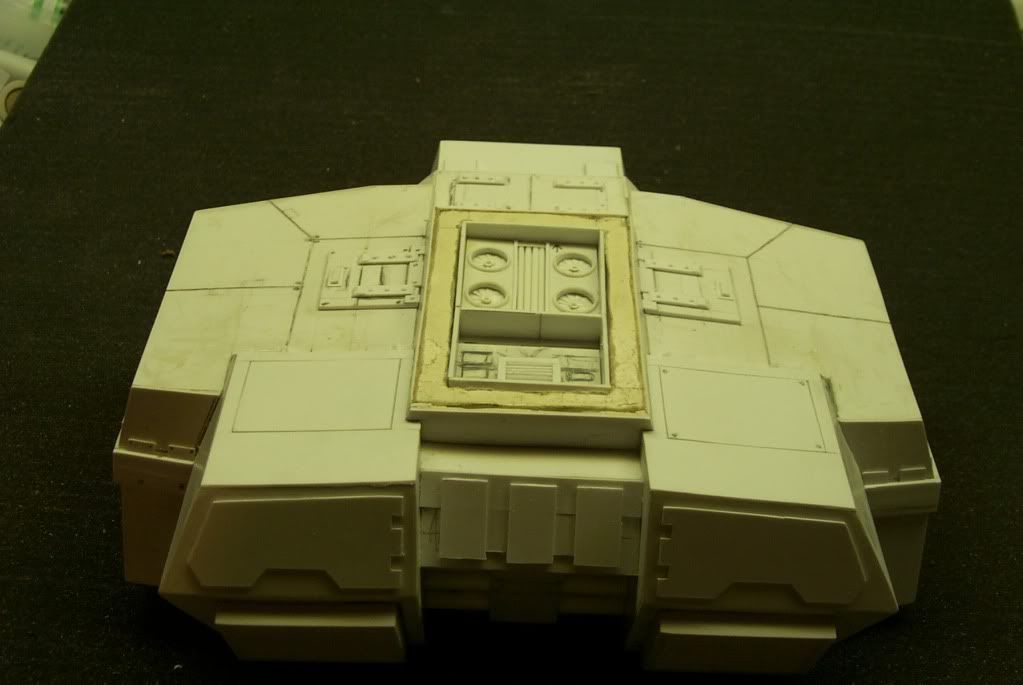
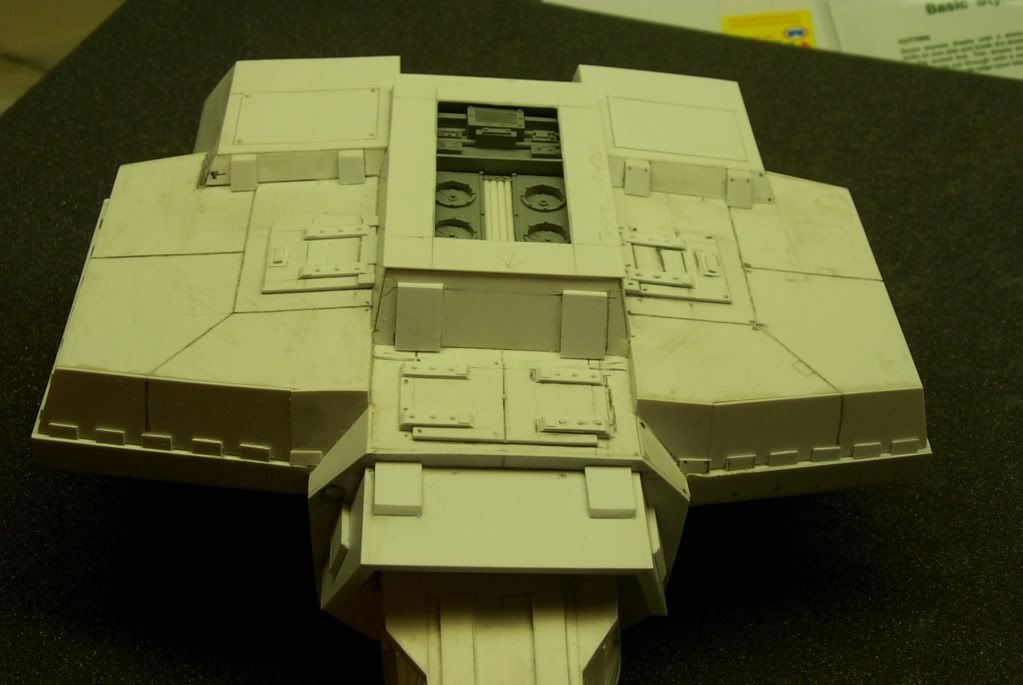
This is the empty space to fill.
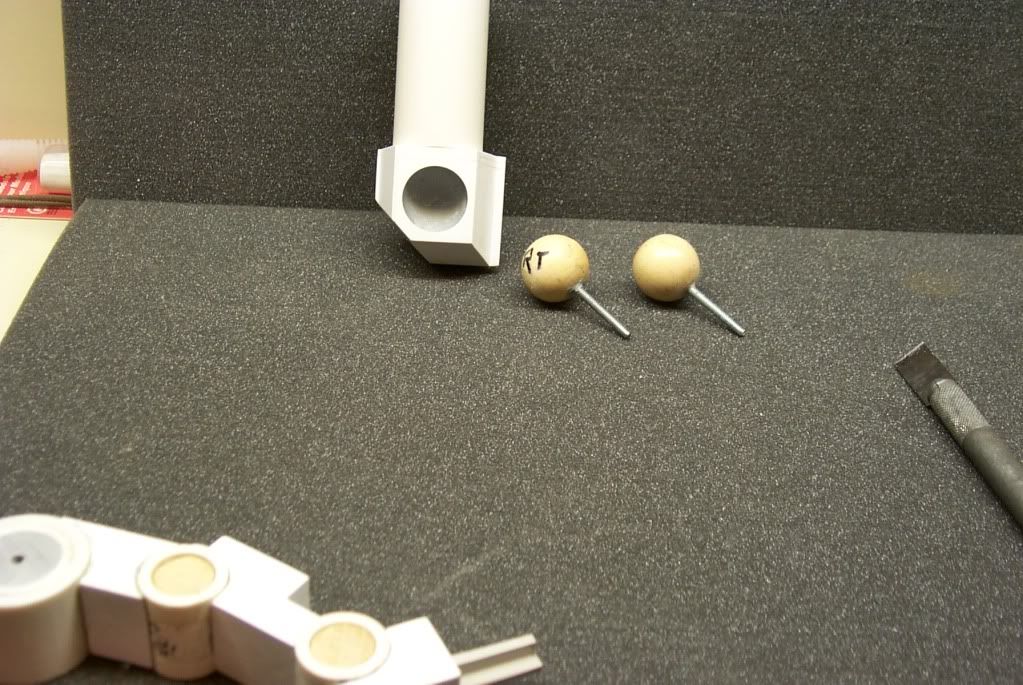
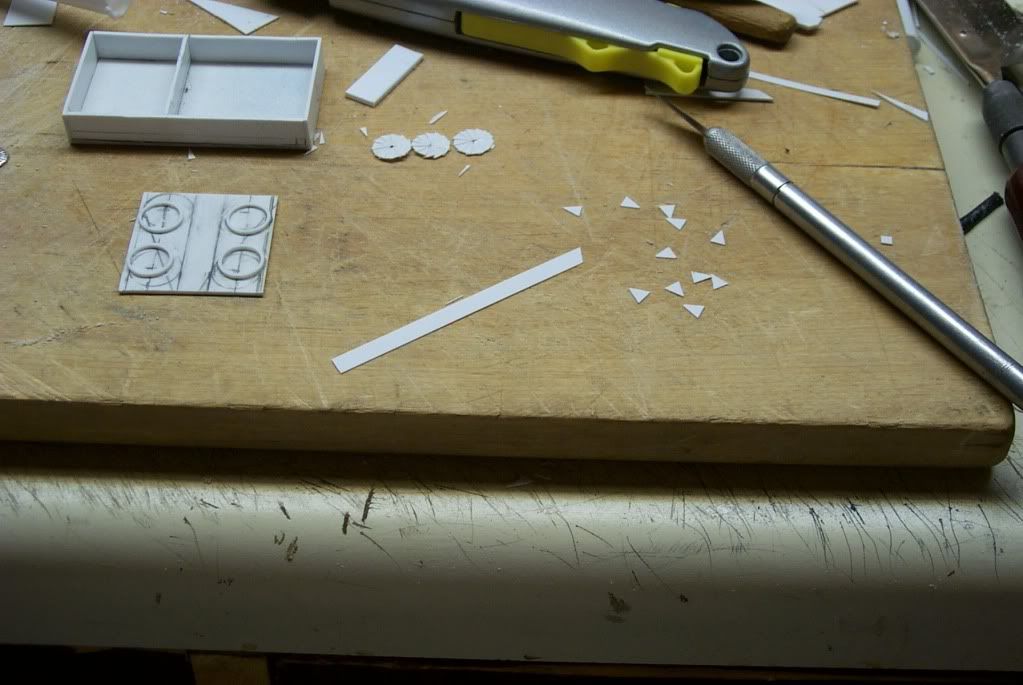
I started by making a box to house the fans and AC units. The fans were mde up of small triangles of 0.25mm styrene. The completed fans are 9.0mm in diameter.
BoLS Lounge : Wargames, Warhammer & Miniatures Forum
Results 21 to 30 of 154
-
04-19-2010, 06:50 PM #21First-Captain

- Join Date
- Apr 2010
- Posts
- 1,684

-
04-19-2010, 06:52 PM #22First-Captain
- Join Date
- Apr 2010
- Posts
- 1,684
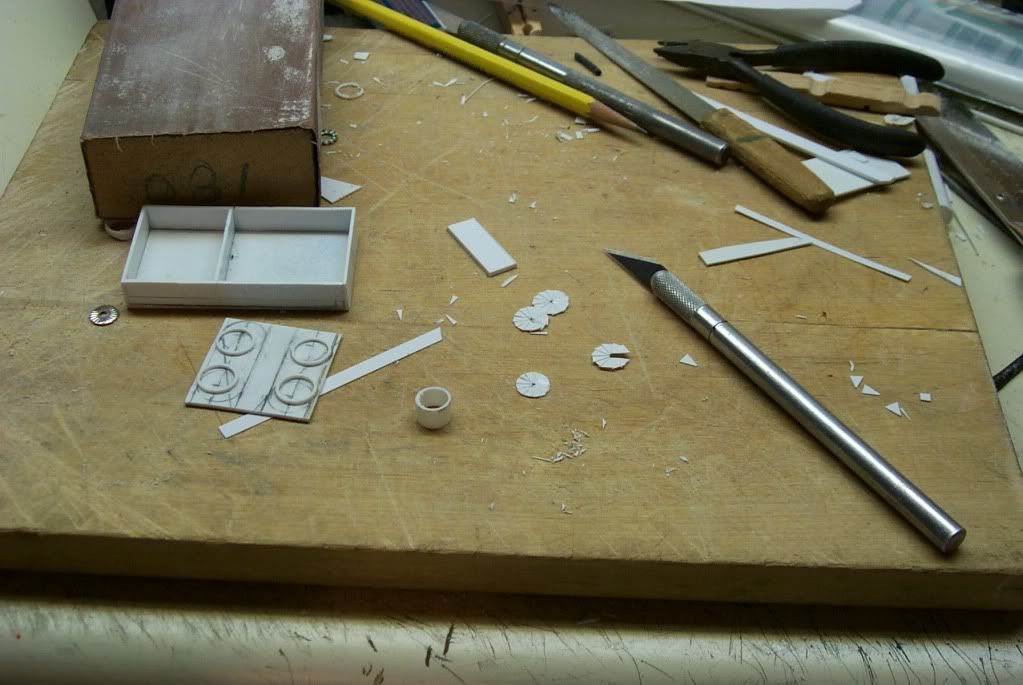
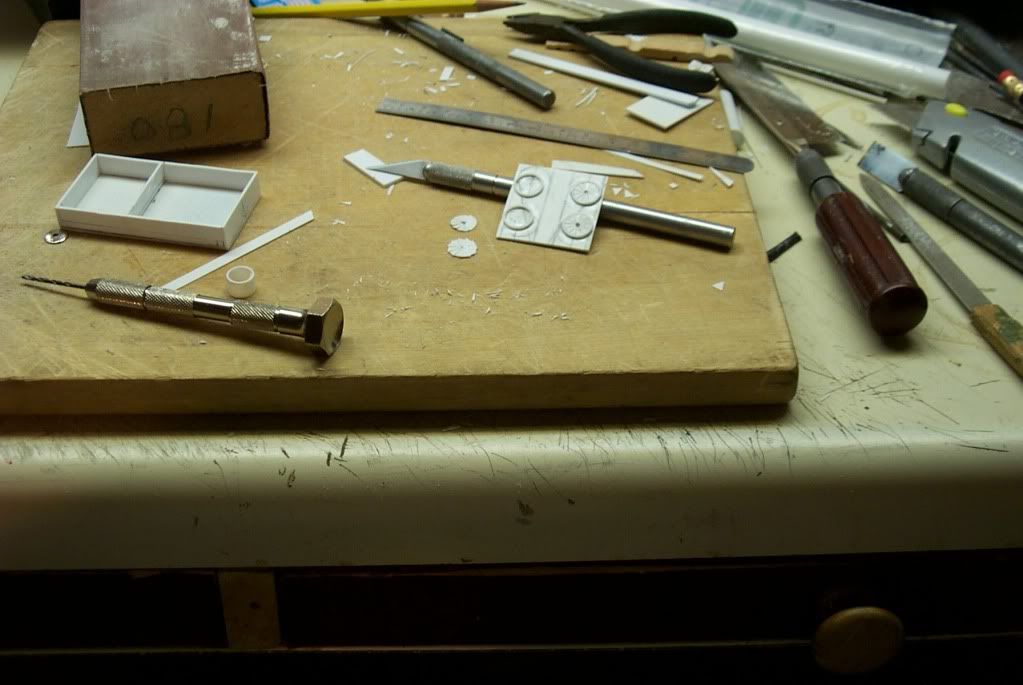
After rough gluing the fanblades into the approximate shape I filed them round and drilled an axle hole.
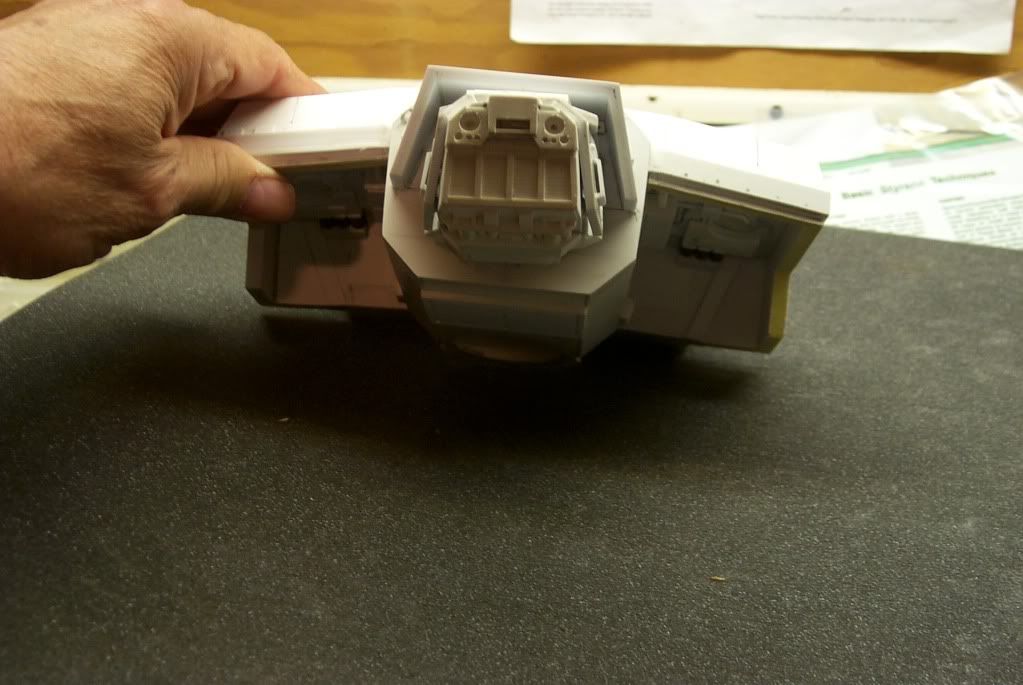
The fans installed in the compartment and set in the hull.
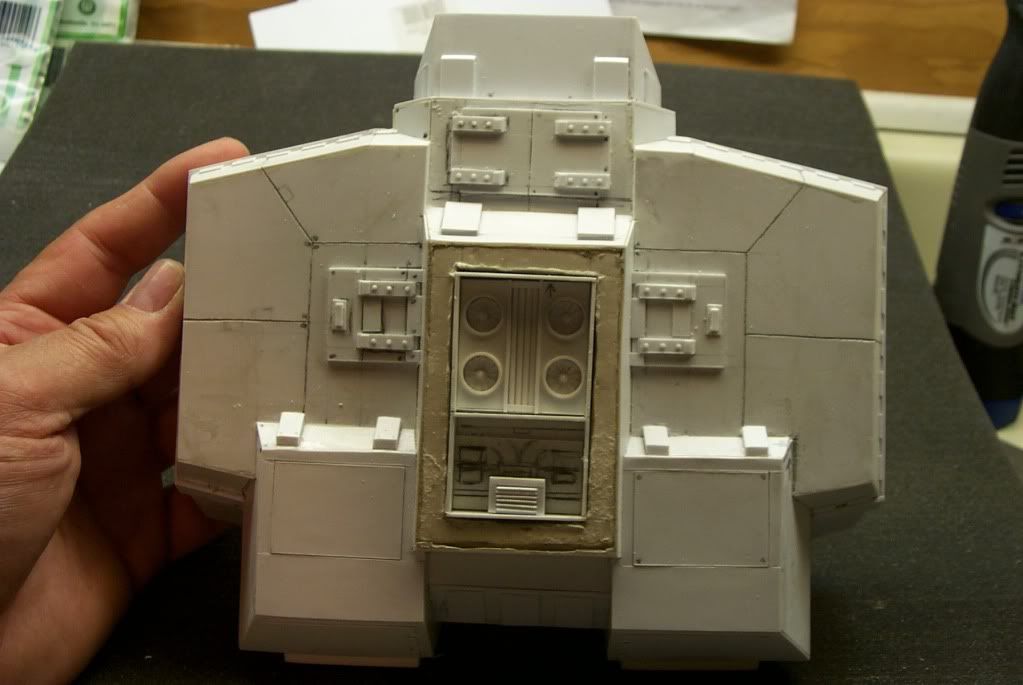
The AC unit installed.
-
04-19-2010, 06:53 PM #23First-Captain
- Join Date
- Apr 2010
- Posts
- 1,684
A close up good enough for G'ment work.
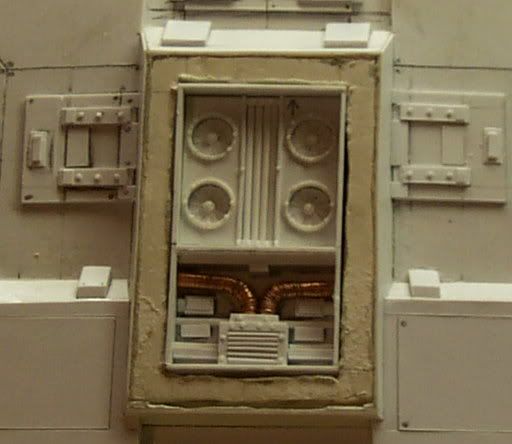
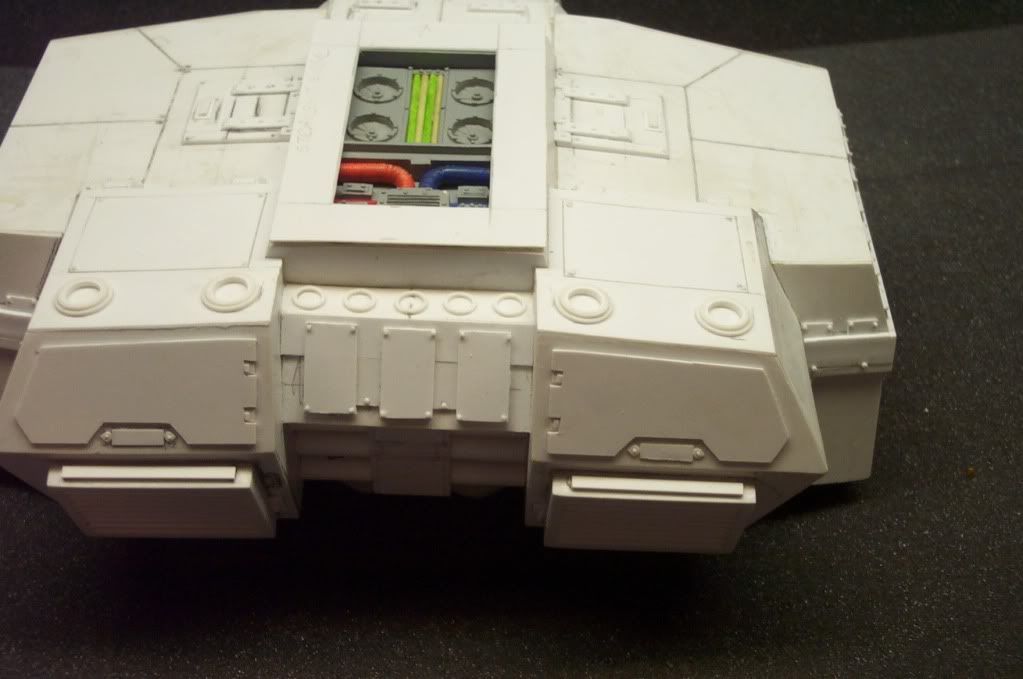
As this is the only interior detail it got painted first.
-
04-19-2010, 06:57 PM #24First-Captain
- Join Date
- Apr 2010
- Posts
- 1,684
I'd been agonized over the following step and trying to figure out how to make a proper ring of plastic around the orbit of the ankle and hip ball socket receptacle and the following is how I finally managed to accomplish it.
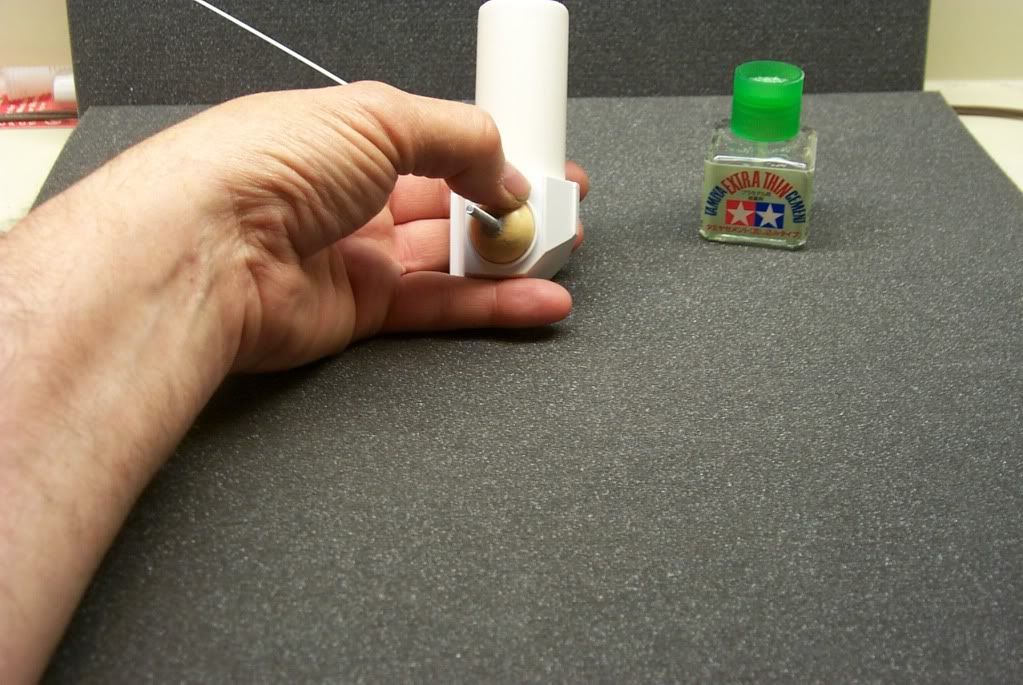
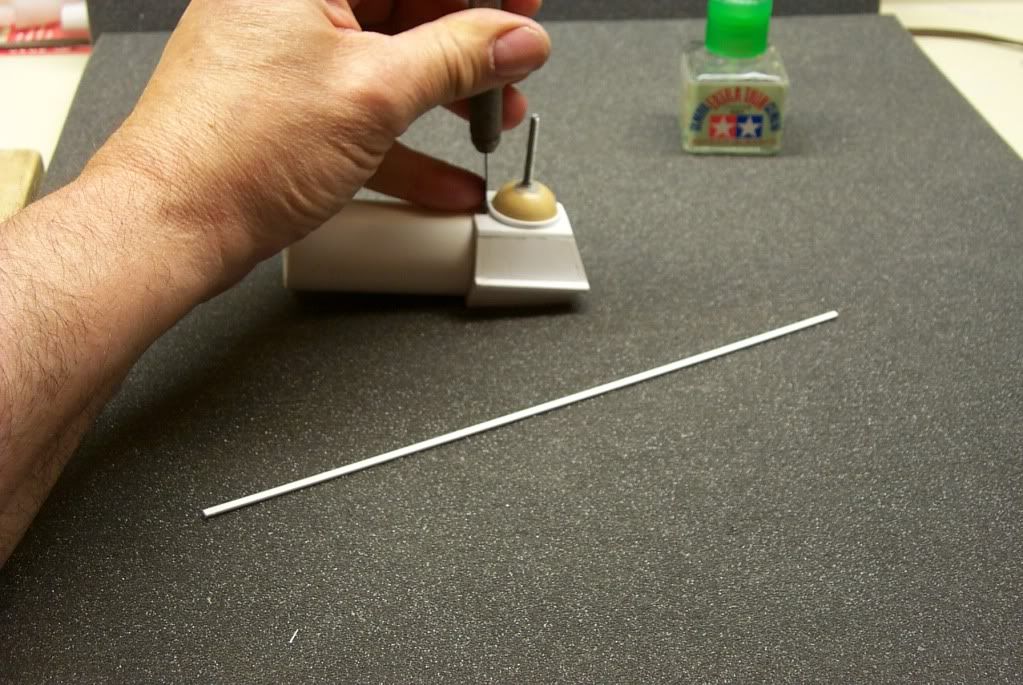
Surprisingly it was simplicity itself but the most obvious somehow escapes us. I started by gluing with a good grade of thin liquid plastic glue. I use 'Tamiya - Extra Thin Cement :
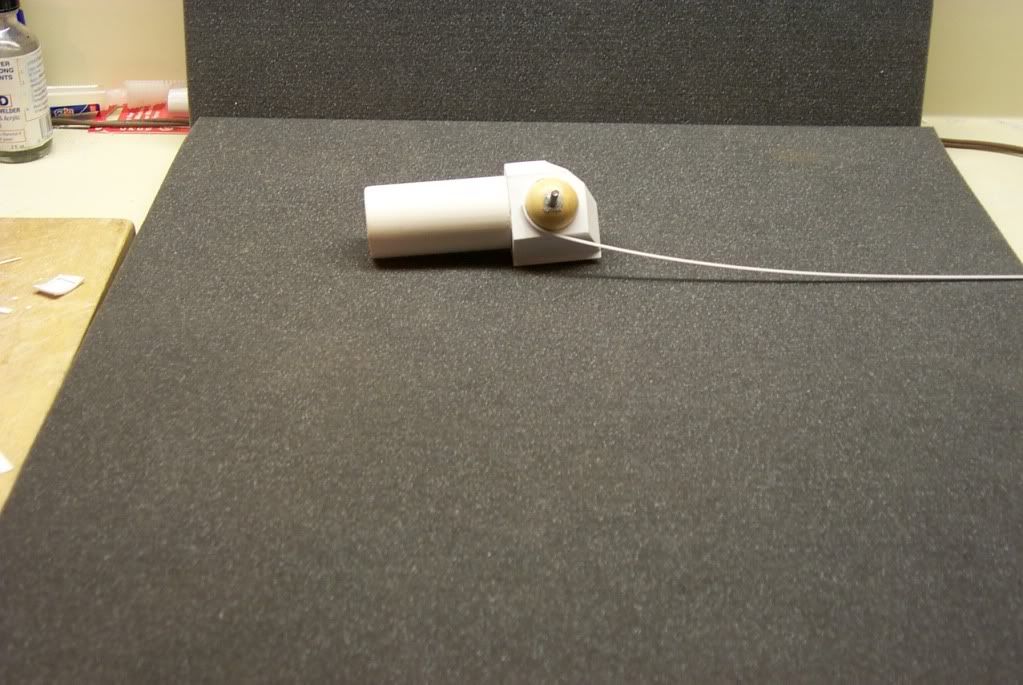
I glued the selected piece to the periphery of the socket using the installed ball as an inner guide. fortunately I used wooden spheres so they are not affected by the glue. I imparted a slight curve to the ring strip initially and started a bit before the desired location so the beginning end could be cut off leaving a curved beginning.
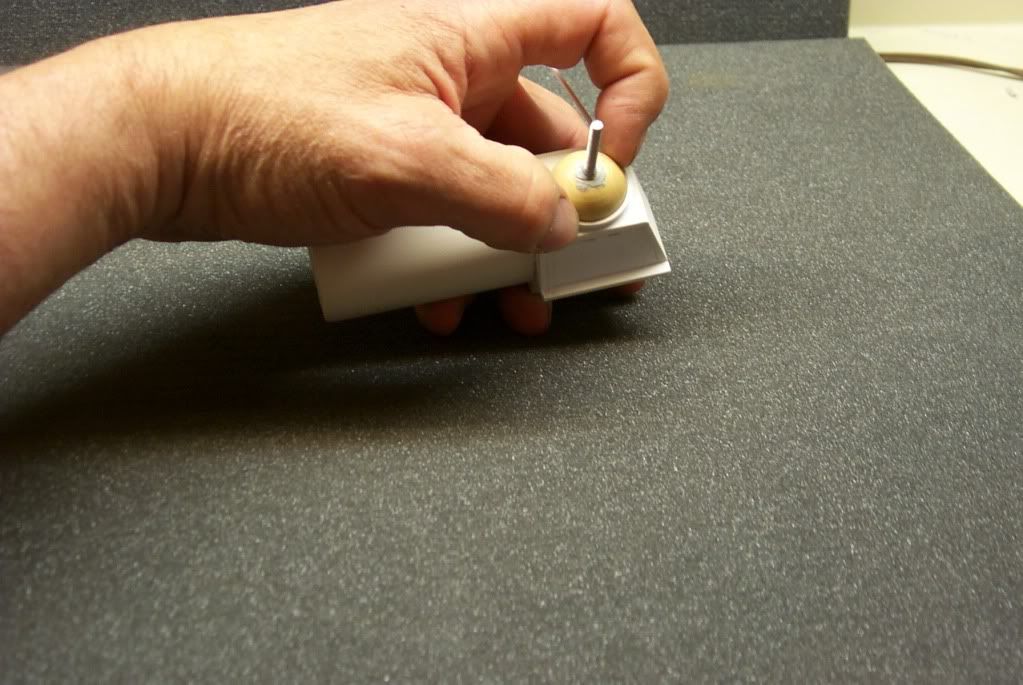
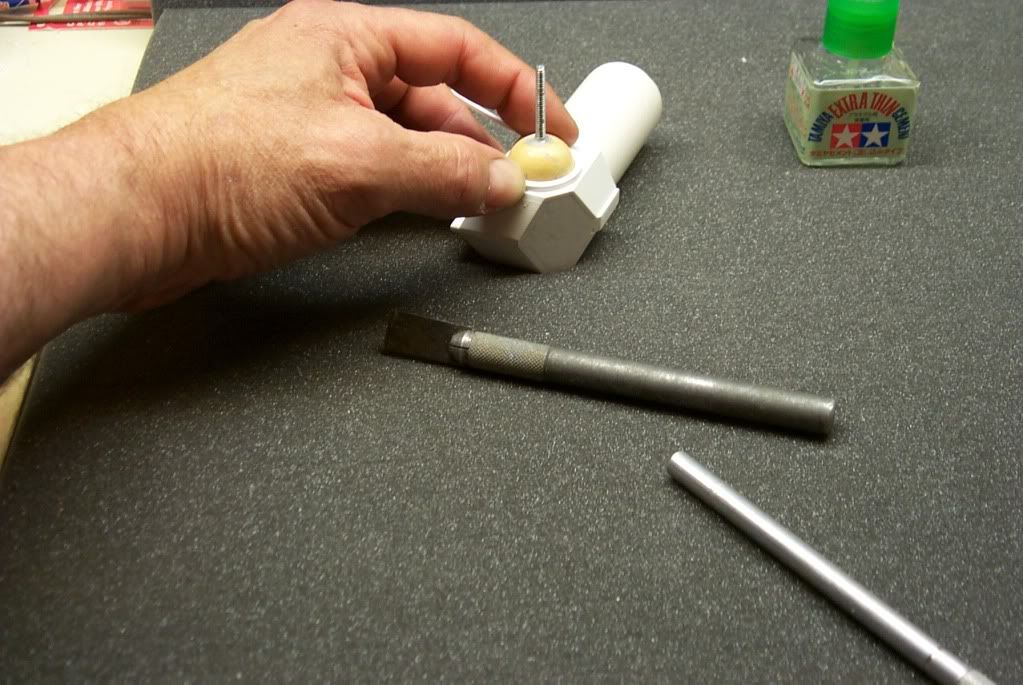
Applying pressure with your thumb (or favorite finger) serves two purposes; one it is a clamp you can rely on to make the proper curve and two the heat of your hand speeds the drying of the glue.
Following the curve of the ball make gluing every 30 degrees or so being careful to not let the glue flow back to the starting point as it may dissolve the original joint and you'll have to start over.Last edited by Blackadder; 05-02-2010 at 09:26 AM.
-
04-19-2010, 06:58 PM #25First-Captain
- Join Date
- Apr 2010
- Posts
- 1,684
Working your way around the ball to the starting point, cut off the short straight piece from the beginning and cut the end of the strip to butt with the beginning and voila; a perfect ring of plastic.
I needed a second layer to thicken the ring on the ankle and hip but the second layer is easier than the first and my only complaint is why didn't I think of this sooner.
The mentally challenged Blackadder
-
04-19-2010, 07:00 PM #26First-Captain
- Join Date
- Apr 2010
- Posts
- 1,684
Once the ring was installed the rest of the detail was just hunkering down and doing it. The problem I see with most scratchbuilts is that while it doesn't have to be identical to the original model most builders never take the time to install enough detail. I hate the rough work of building the base form but the real fun of scratchbuilding is the detail except for the rivets. Gad I hate rivets and Lucie has thousands. There's no fast way to install rivets I'll go over the best way I've found in a subsequent post.
Now for the waist detail:
The coiled conduit is 0.025 copper wire wrapped around an undersized round bit of white sprue, same as the AC conduit in the cooling compartment. Once wrapped a touch of Cyno-acetate holds it in place.
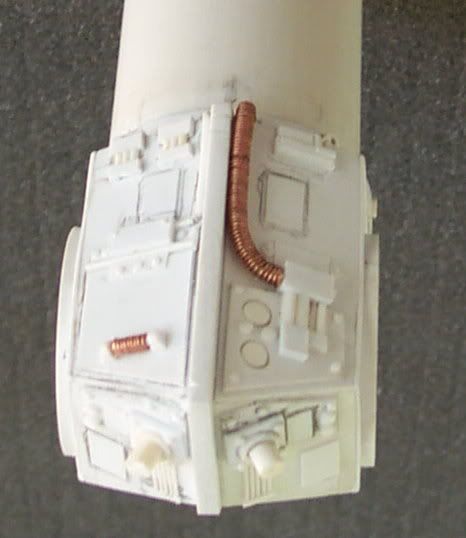
Some views of the almost never seen bottom of the waist:
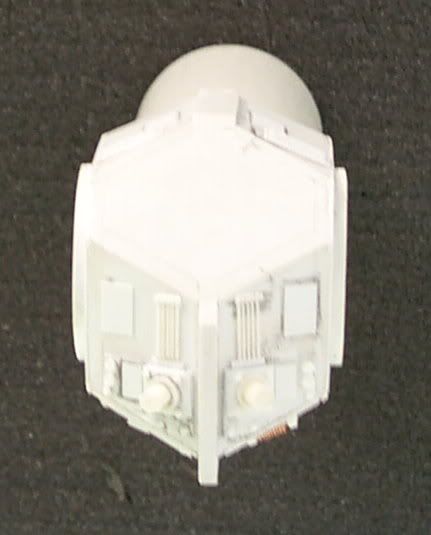
Blackadder
-
04-19-2010, 07:02 PM #27Veteran-Sergeant
- Join Date
- Oct 2009
- Location
- Sydney, AU
- Posts
- 138
Looking at the quality of some of the details I have to admit I had my doubts, but I seeing the build I have to say that that doubt is a pretty good compliment to your skill. That's some really good work. Originally Posted by Blackadder

-
04-19-2010, 07:03 PM #28First-Captain
- Join Date
- Apr 2010
- Posts
- 1,684
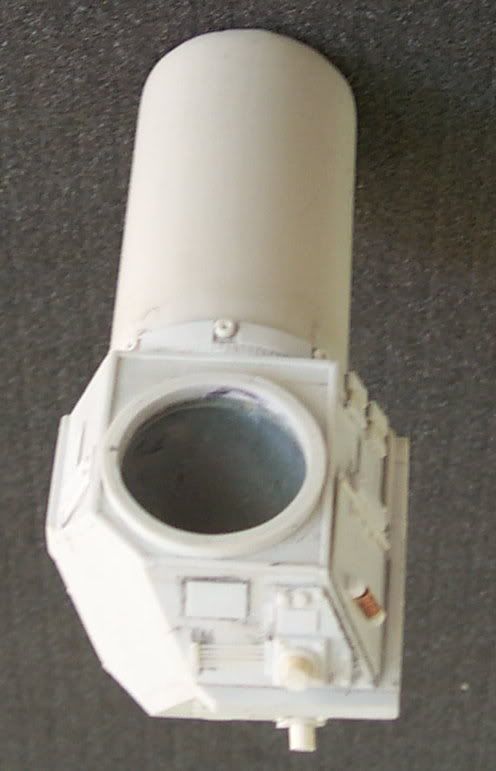
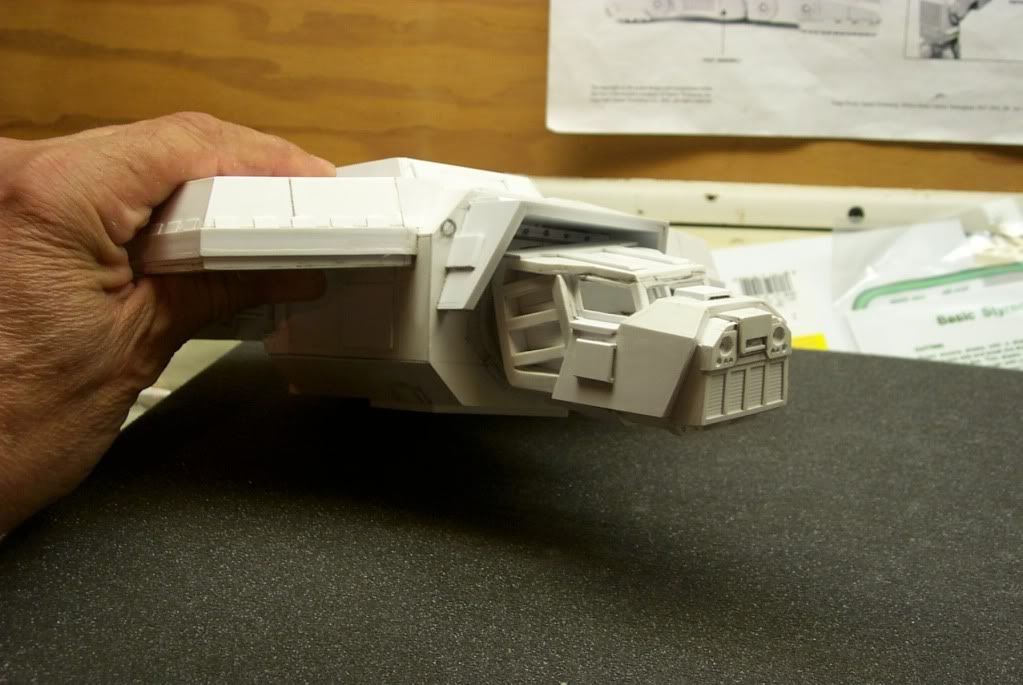
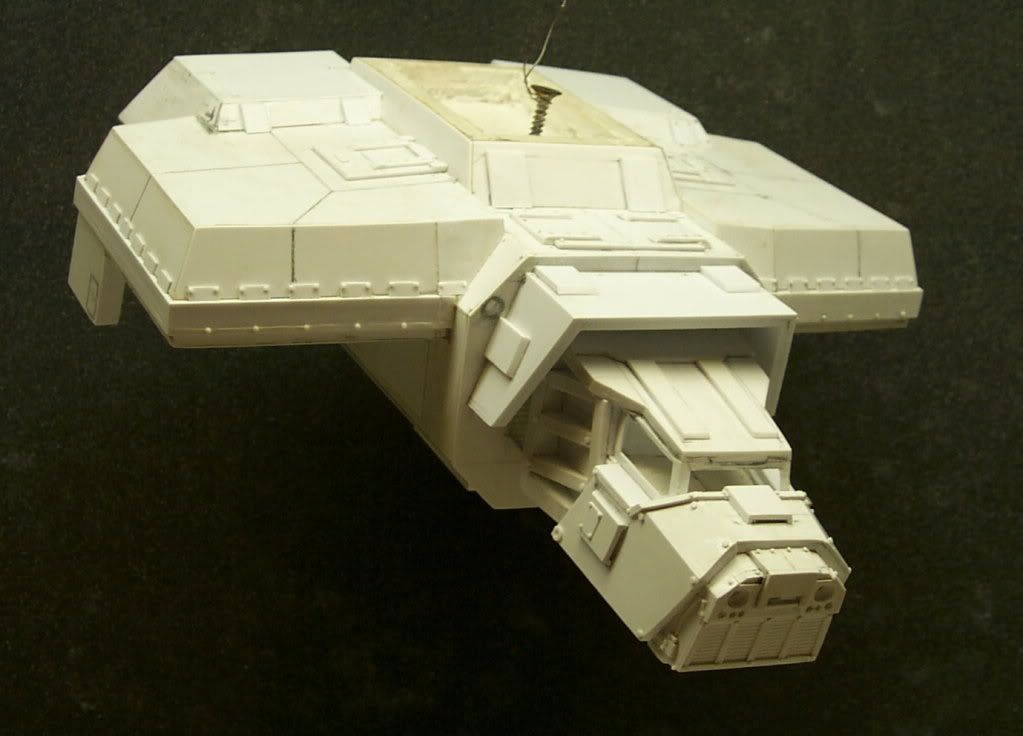
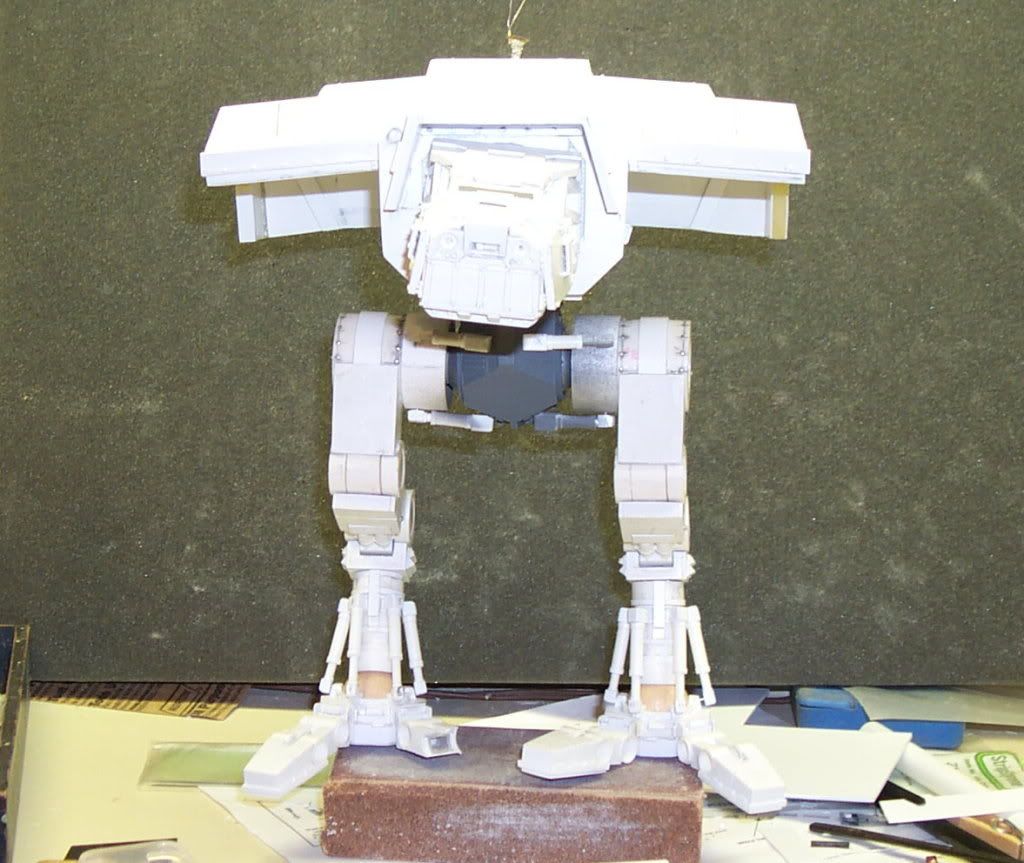
I'll take a step back and show the detail of the head . Pigment aficionados will be happy to note that I have begun painting by applying a coat of gray primer to the engine compartment. Meanwhile I was adding detail to the head.
The head is coming along very well after I bit the bullet and with a good deal of trepidation drilled recesses for the "headlights, parking lights and directional signals" for want of better terms.
To drill relatively large holes into soft plastic I use new bits exclusively. even then the bits cut too deeply to fast so I turn the bits backwards by hand. It's a bit slower but the cutting doesn't rip the plastic as it would using a power drill.
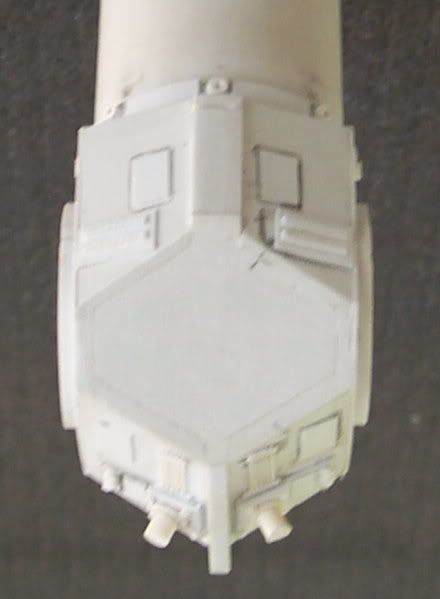
The hood and cheek vents look about done then the edging for the head armour can be installed.
-
04-19-2010, 07:05 PM #29First-Captain
- Join Date
- Apr 2010
- Posts
- 1,684
For those interested,
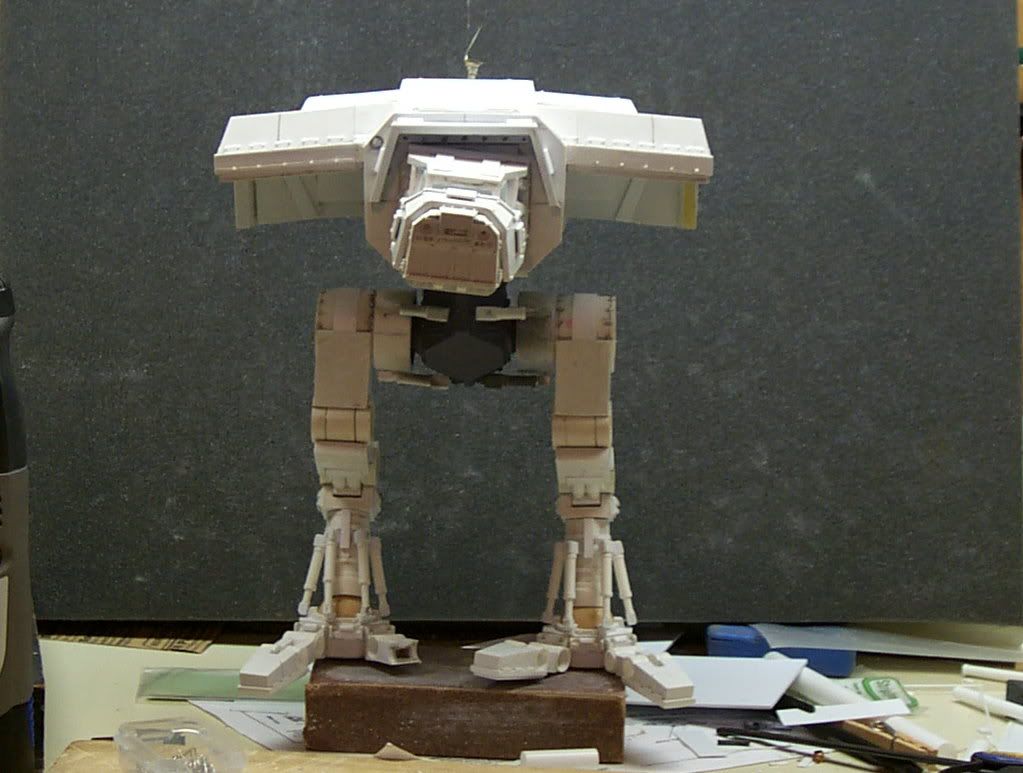
I did a little 'Photoshopping' (Actually I use Photo Impact Pro #10 which I think is a better program than Photoshop.) since I'd completed most of the detail on the head.
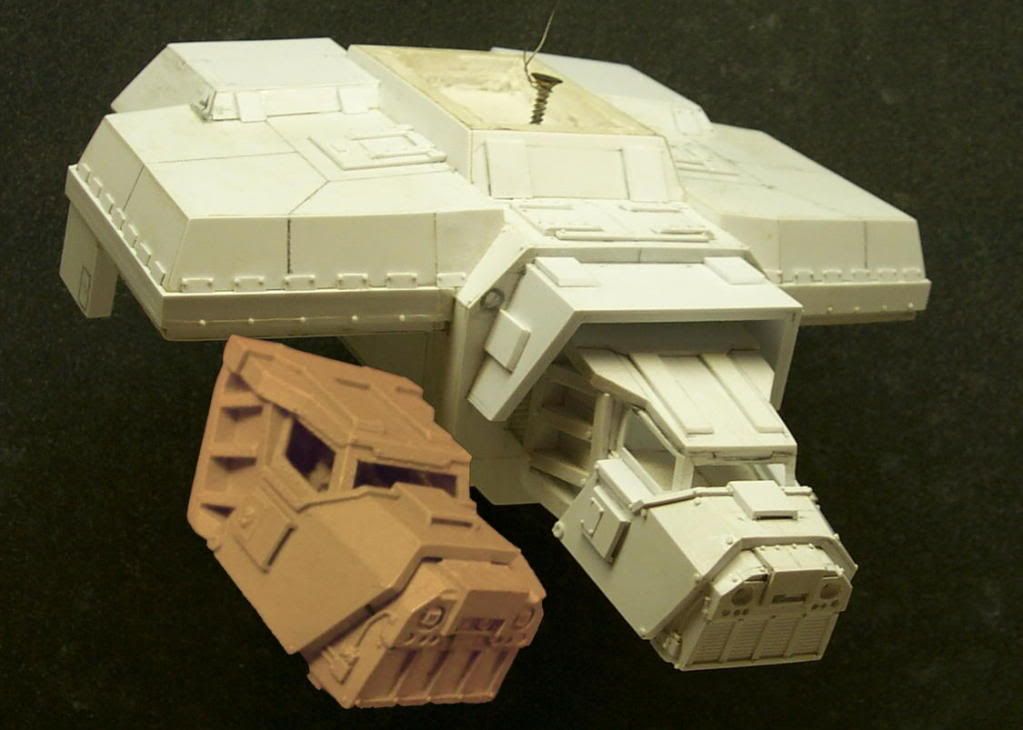
I still had the armour on the top of the head to do and the windows and window framing replete with rivets need to be added after painting.
So I copied and pasted one of my images of a real Warhound head onto my recent image. I was greatly pleased and surprised how well it came out.
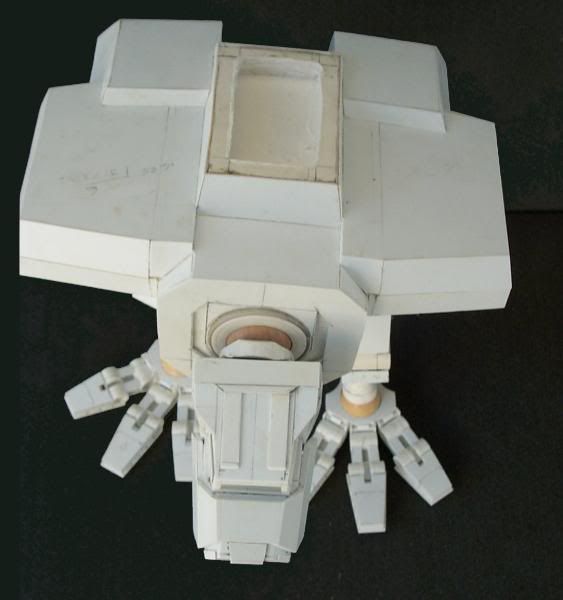
There is a wealth of detail on the head that is never seen or photographed. I managed to get a picture of the underside of the head and add the detail to my model.

Blackadder
-
04-19-2010, 07:07 PM #30First-Captain
- Join Date
- Apr 2010
- Posts
- 1,684
I started installing the umpty ump rivets I lost count after 300. I used 0.020, 0.030, 0.040, 0.050. 0.060 diameter styrene rods shaved 0.20mm thick, and half inch straight pins.
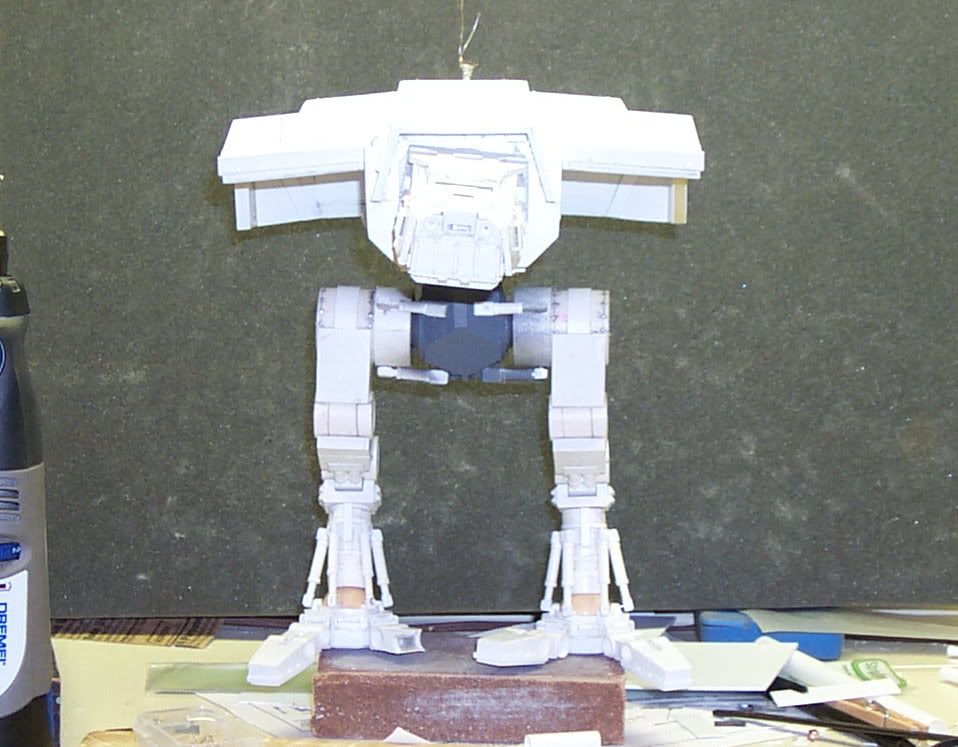
Note the damage on the toes. Assembly and disassembly took it's toll; they were much too weak and had to be reinforced. A project I had been putting off for obvious reasons. Gahhh!


 Reply With Quote
