


So after months of playing around and teasing and generally not getting anywhere done the Knights of House Hermetika are complete (albeit with a small job on the carapace still outstanding).
The models took some time and the pics below show the various progress and some tips and tricks I've picked up along the way.
To accompany my Skitarii and be useful in both 30k and 40k games I decided I wanted a few different variations and I wanted an Ad Mech house (my true 40k knights will be imperial aligned) so as you may have seen already I decided on Hermetika but with some variations to their scheme.
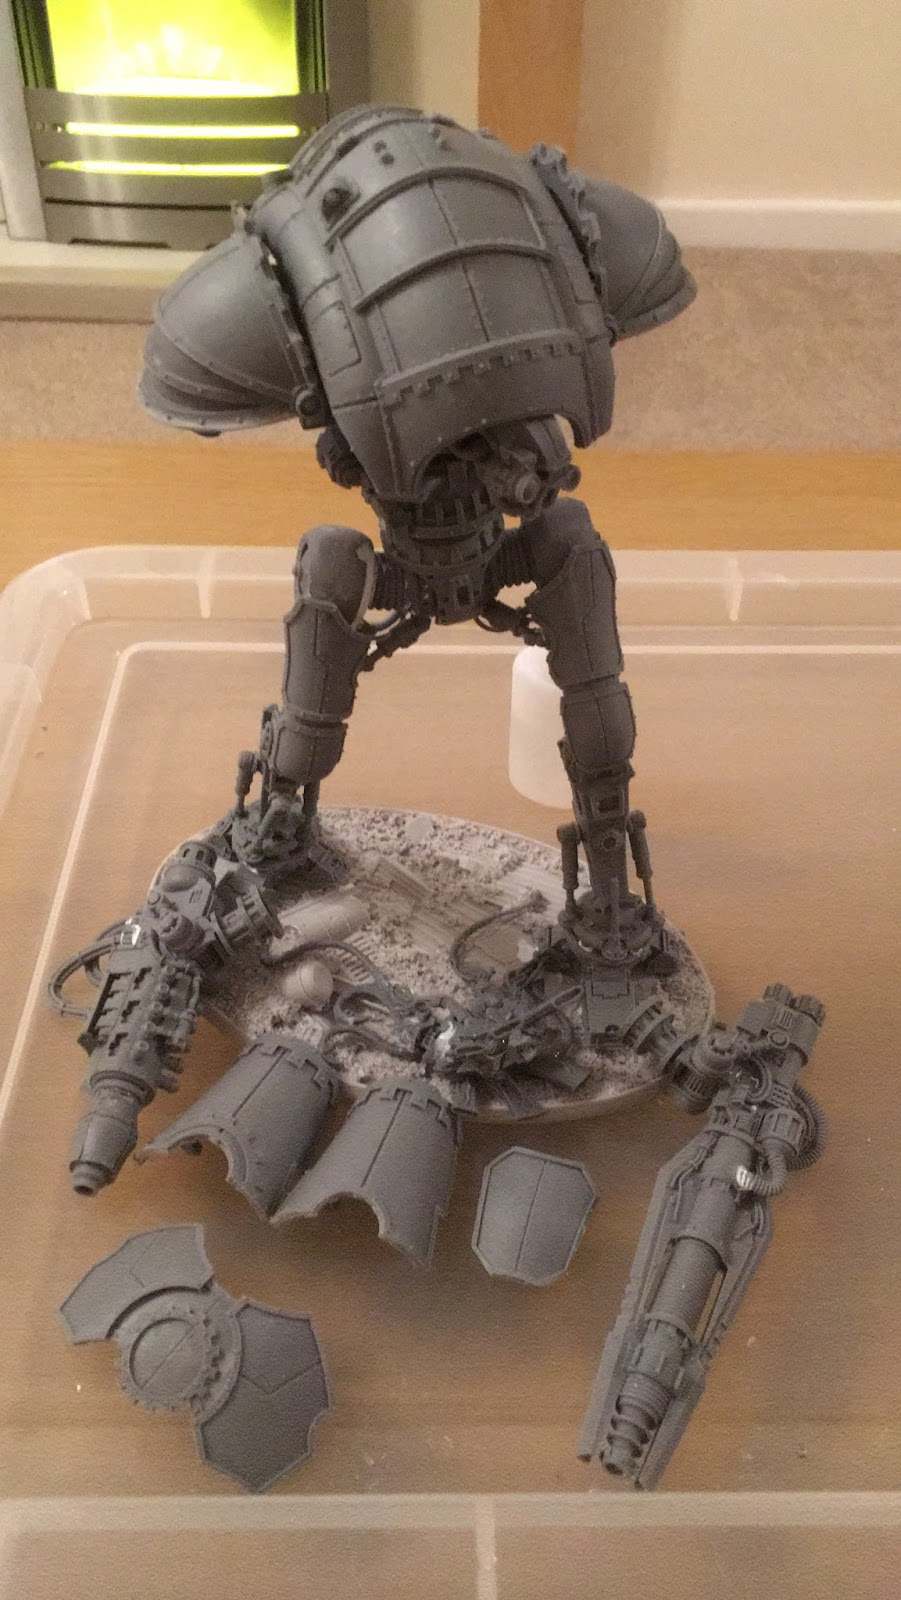
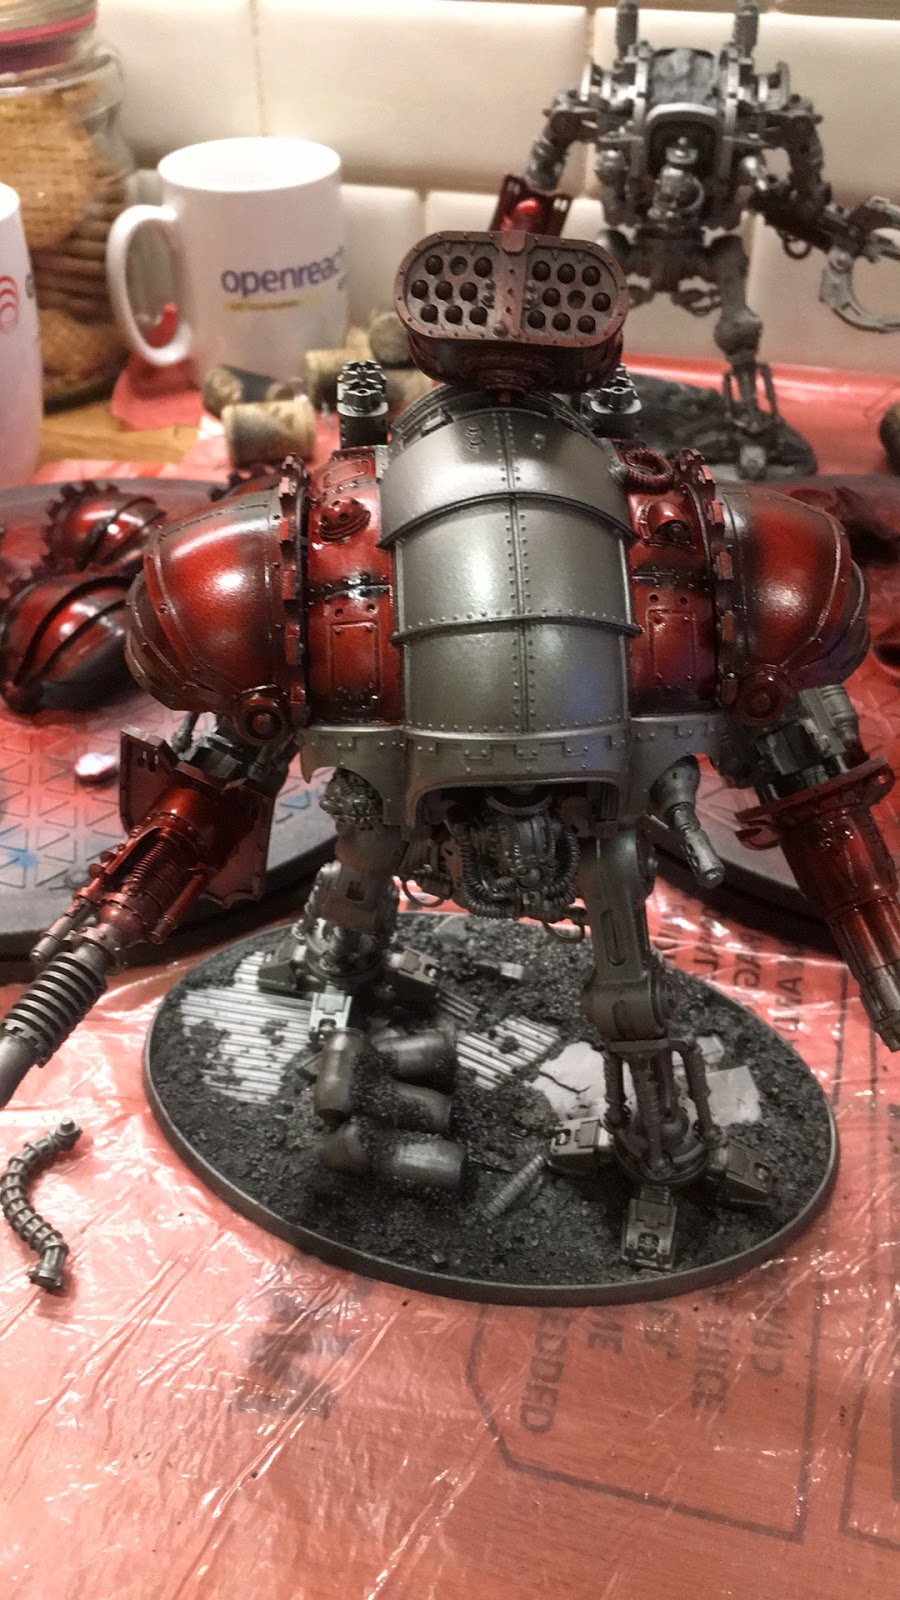
My favourite knight to both build and looks is the Atrapos, the combination of the Ad Mech Armour and the Cerastus pattern body is brilliant so I had to have one.
The model was a pleasure to build and had an awful lot more parts than I was expecting (each piston is a two part piece with a shaft and tube - uber detail!) but went together so well.
Here he is looking hardcore on a Secret Weapon Scrap Heap base.
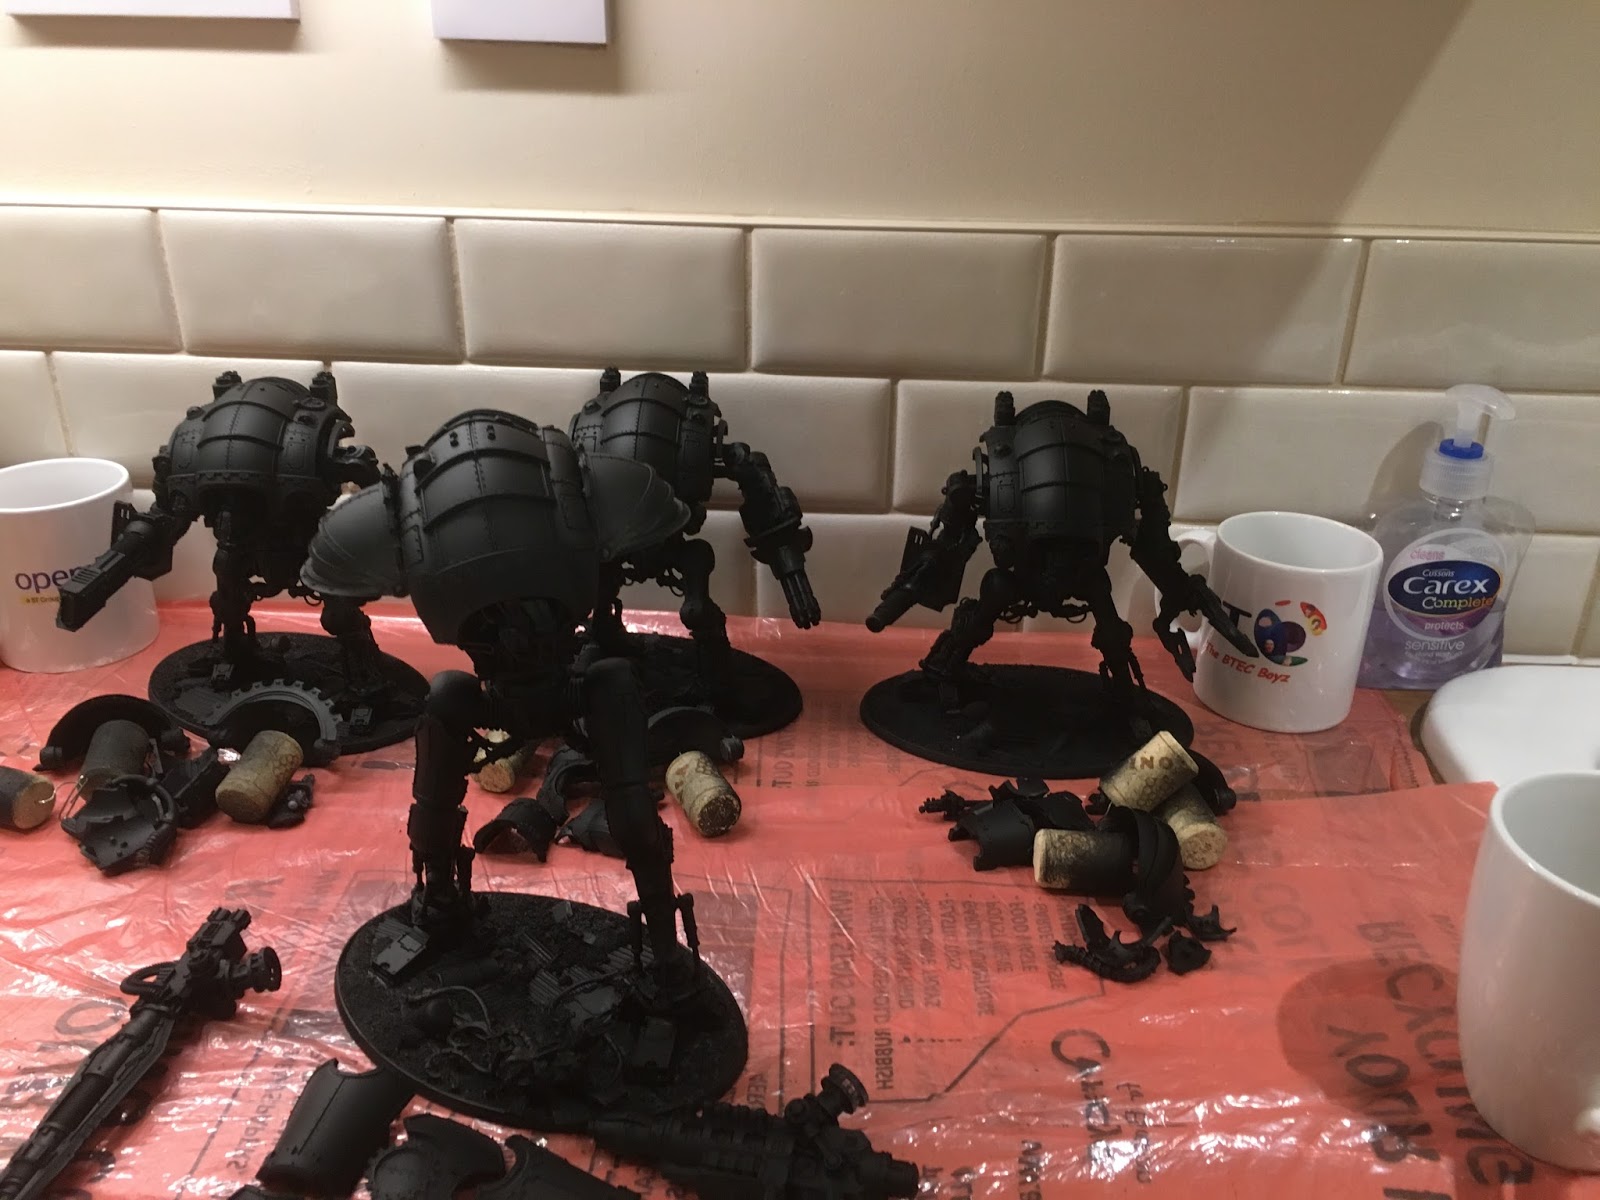
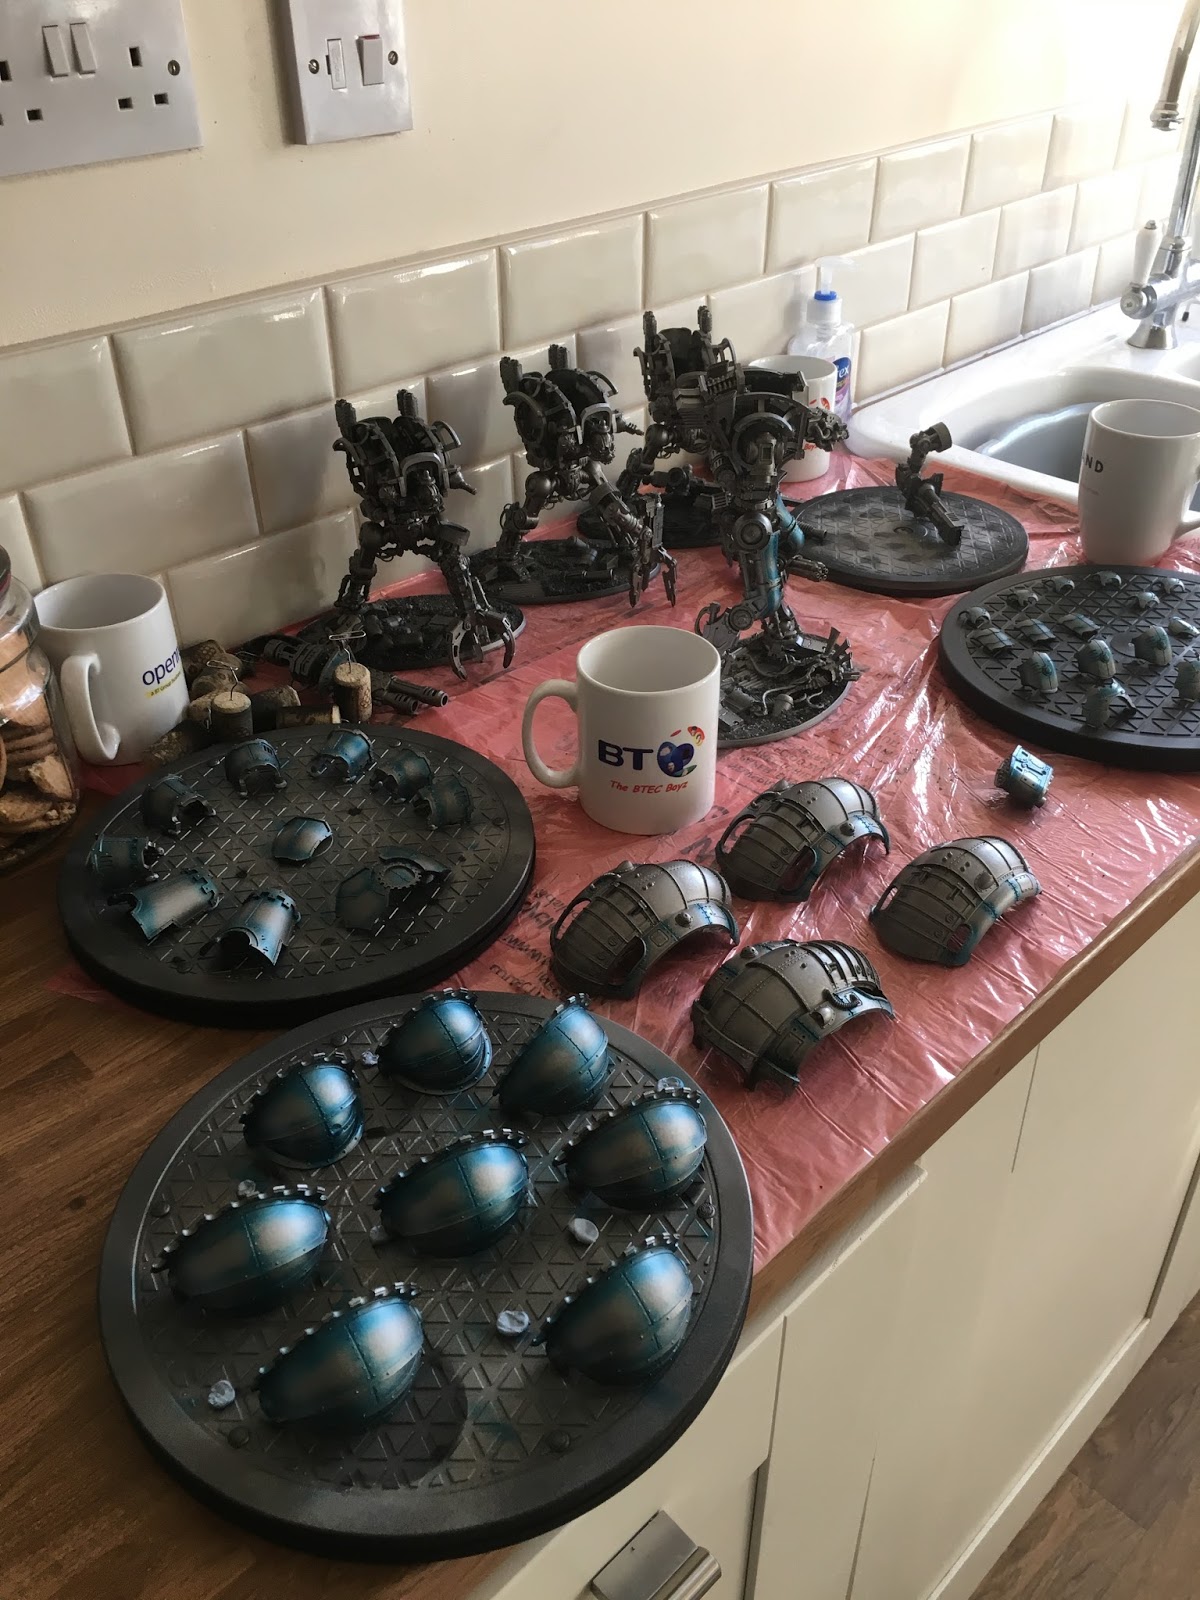
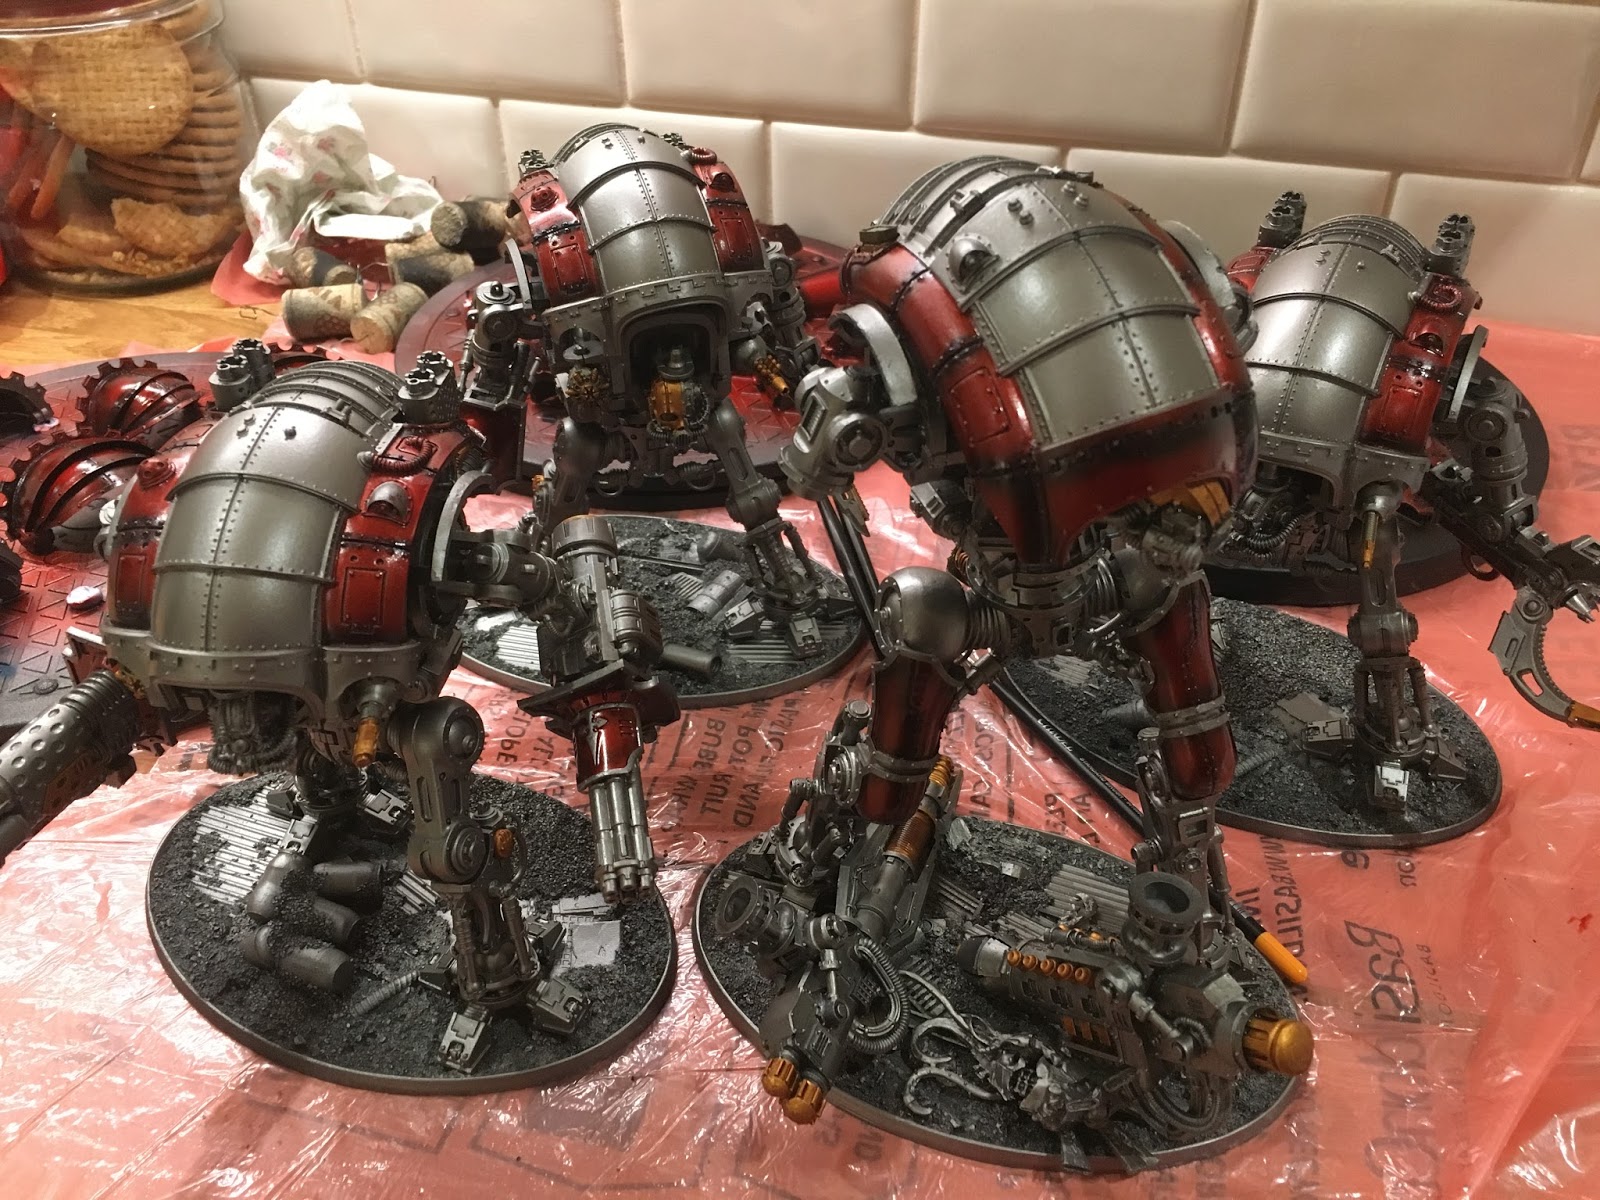
Once built he joined my "standard" knights. All presented undercoated are a styrix and magaera (which will count as battlecannon and melta versions for 40k) and finally a warden. All have the FW ad mech armour which is brilliant and adds a lot of character.
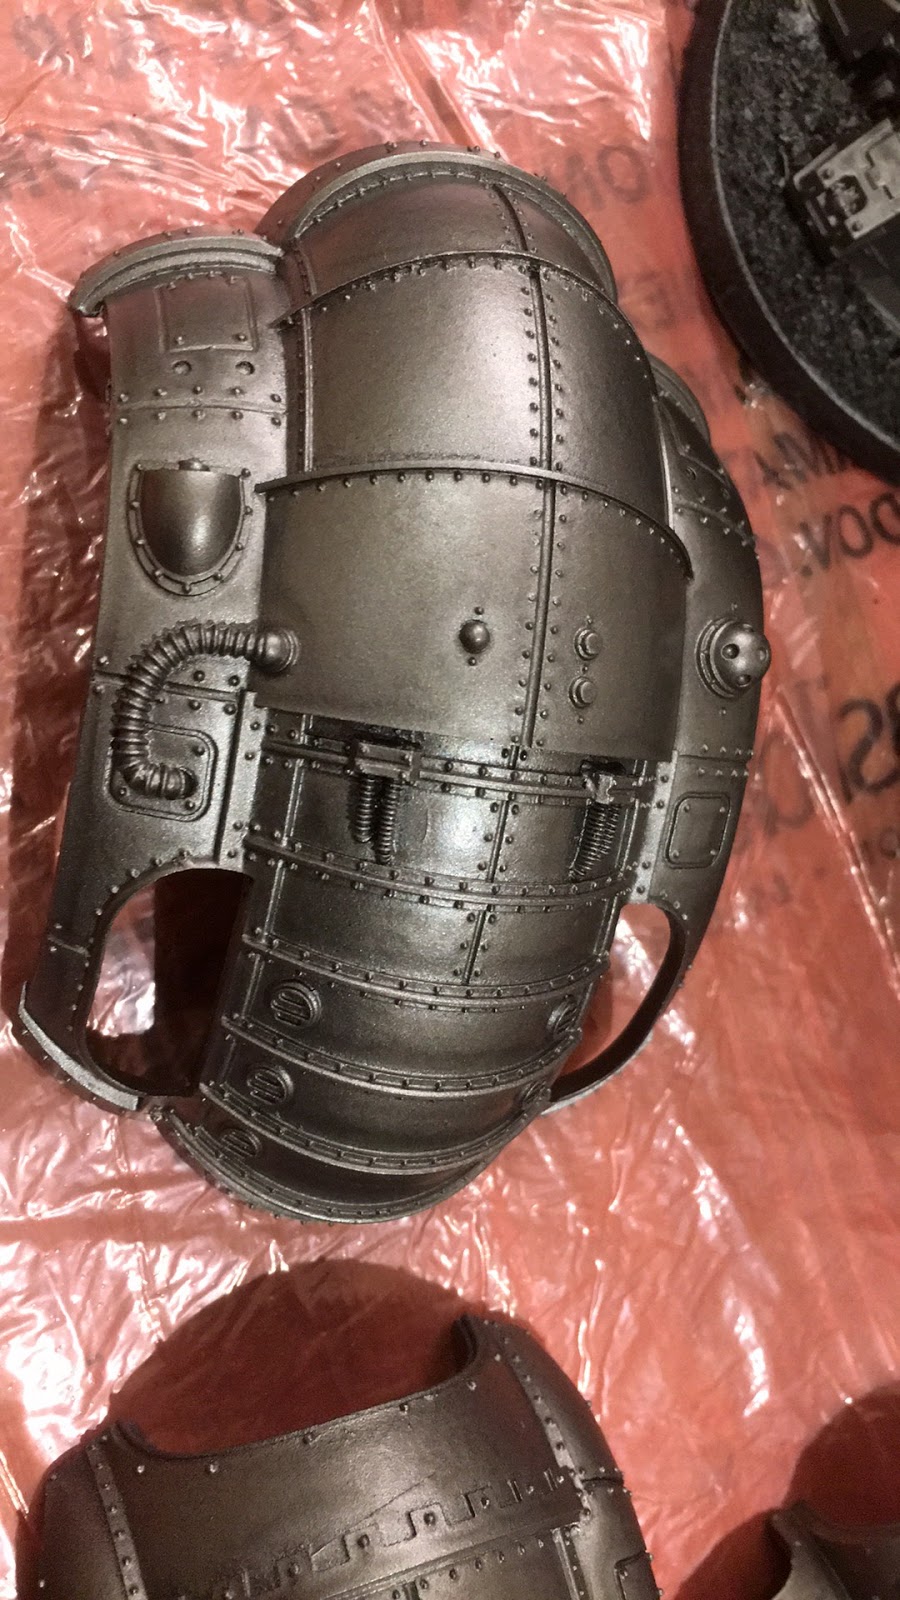
for the metallics I finally used my airbrush and started with the GW Air paints, their lead belcher is so smooth and once applied gives a lovely finish.
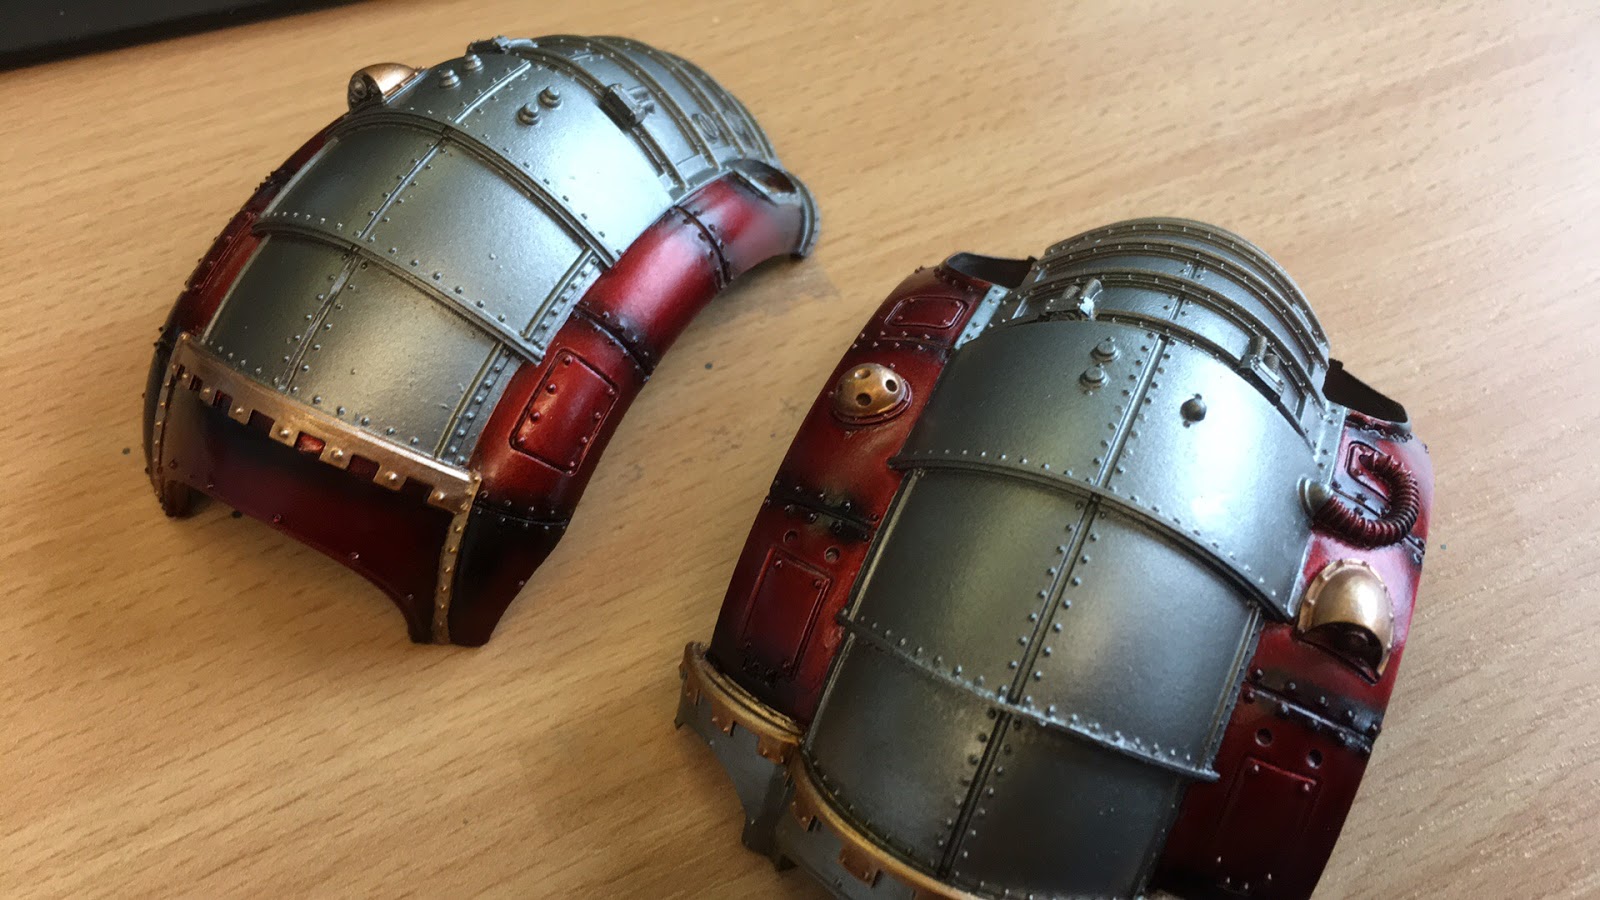
I decided to add to that metallic finish by using a variation on the "Cherry red" scheme that is popular with FW Ad Mech knight. In the guide they base using a very bright silver but I decided to dull it down slightly and use plain lead belcher to give a darker tone. I also chose to use the FW paints as per the Imperial Armour Horus Heresy Masterclass for a number of reasons but mainly because I knew I could obtain them, so all steps below follow that guide more or less.
First steps once the base coats of silver (lead belcher as opposed to the guides lighter silver - this is my only major deviation) were dry seem counter intuitive but that is to shade all the "edges" or curves you'd like to pick up with Calth Blue! It seems crazy but bare with it, these transparent paints are magic.
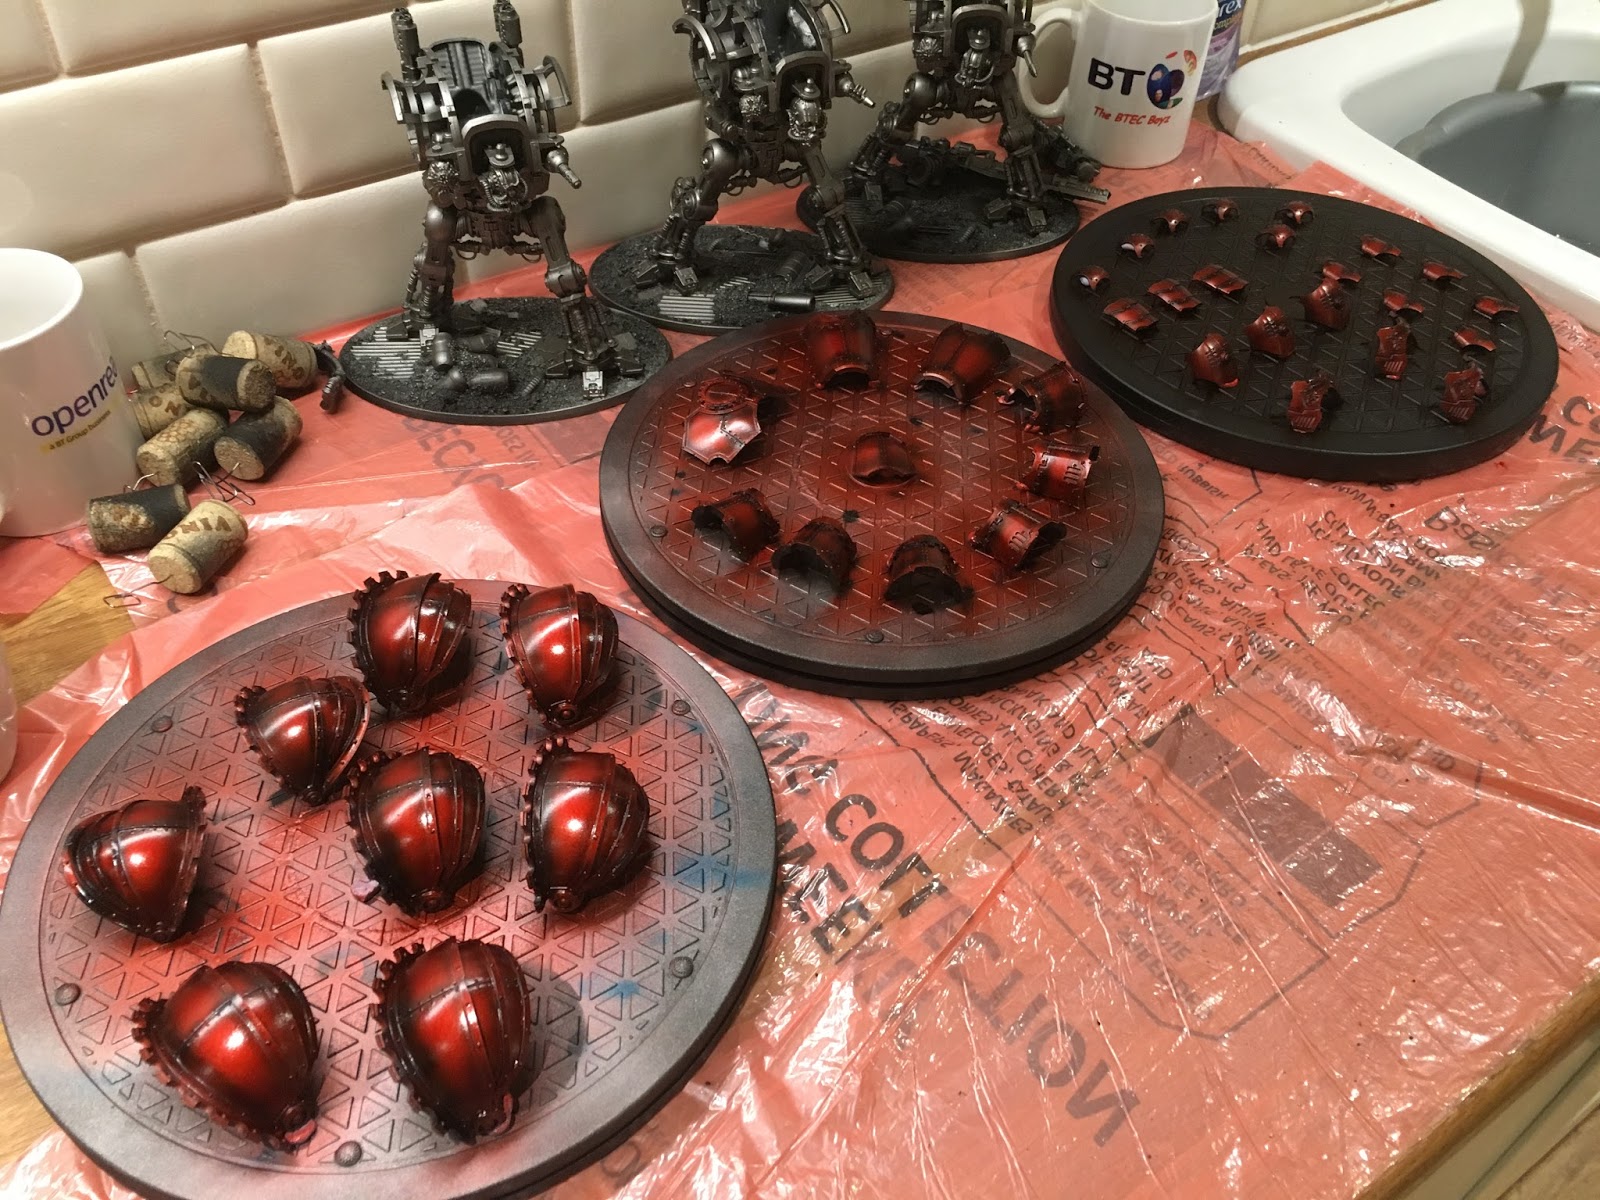
next up comes several thin coats of FW Angron Red, this "clear paint" gives a lovely smooth coat and dries with a nice sheen as you can see below - in the book it says a number of coats, I found 3-4 was sufficient.
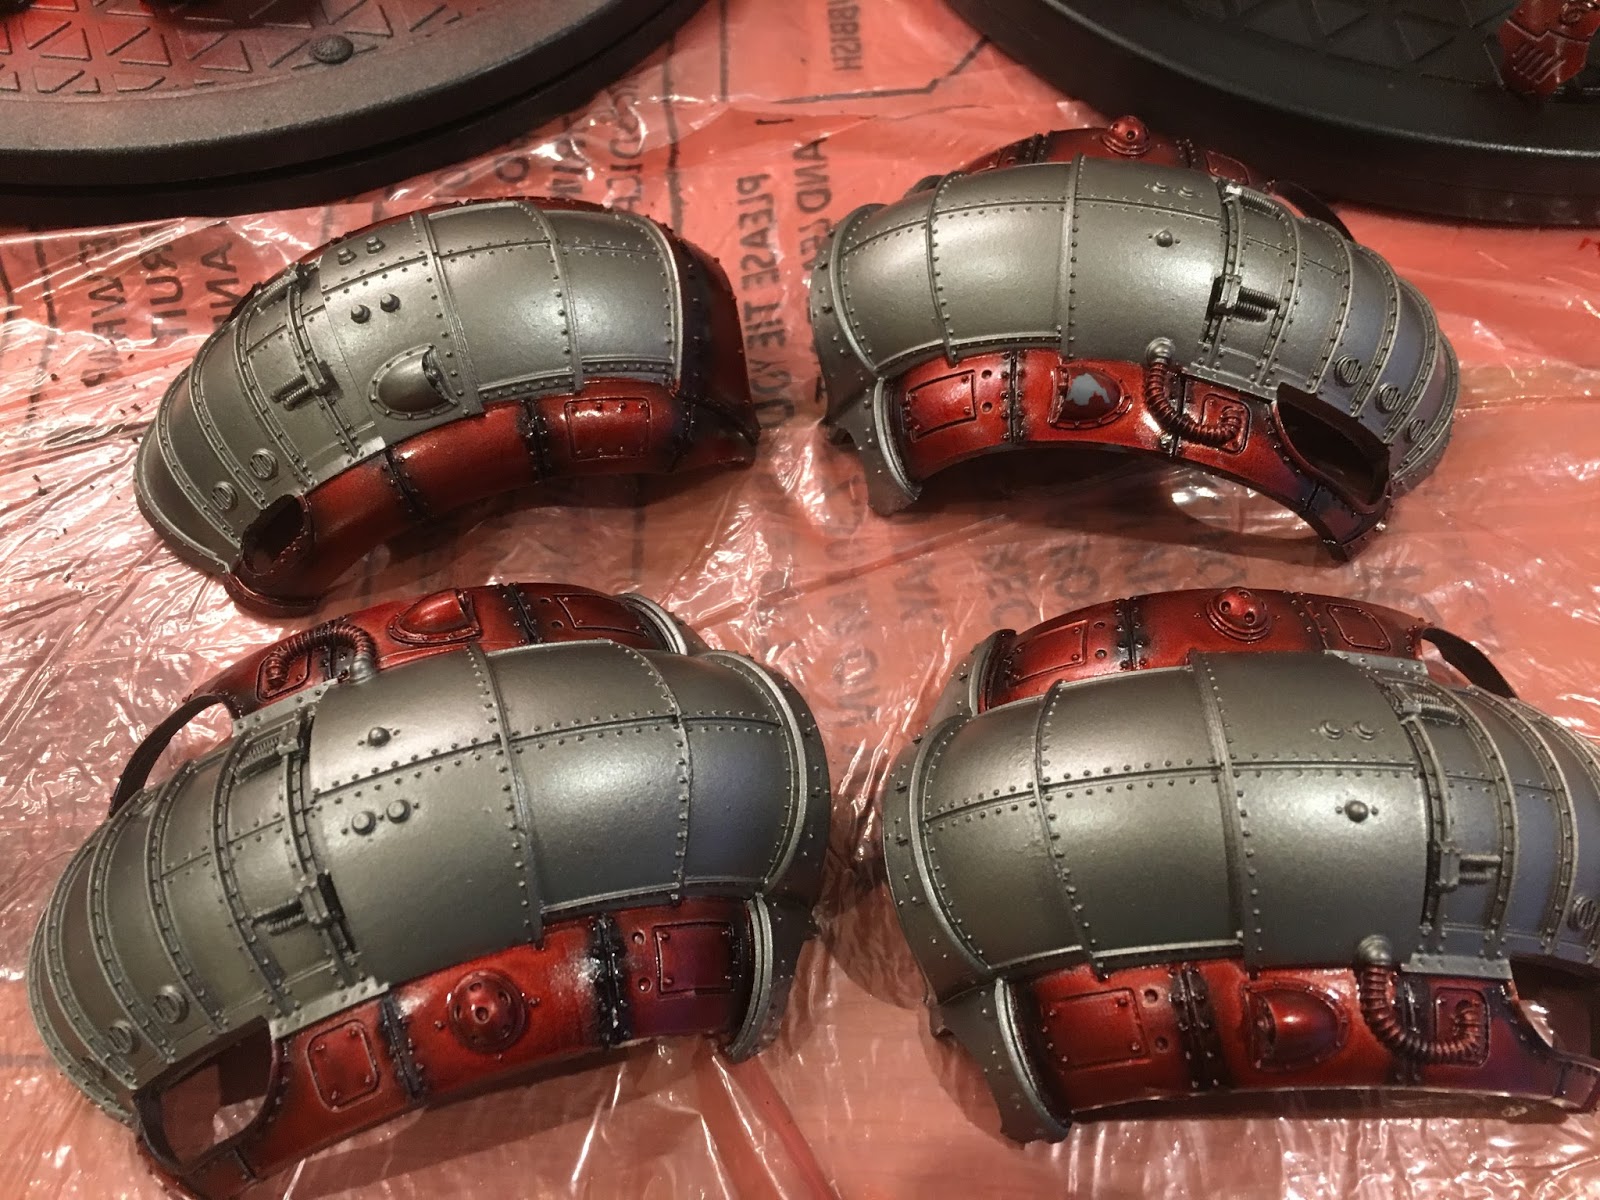
here is some further detail of the carapace armour to show how the blue banding presents through the red and how it highlights the curves, I guess you would call it "pre-shading".
Here are some rough assembly and WIP pics of the knights to give you an overall idea of the look I was aiming for.
Once dried the details and brass was then applied to the appropriate surfaces and detailed.
BoLS Lounge : Wargames, Warhammer & Miniatures Forum
Results 1 to 4 of 4
Threaded View
-
02-23-2017, 06:18 AM #1Brother-Sergeant

- Join Date
- Sep 2009
- Location
- Essex, UK, United Kingdom
- Posts
- 59
 House Hermetika - Millest builds a Household!

 Reply With Quote